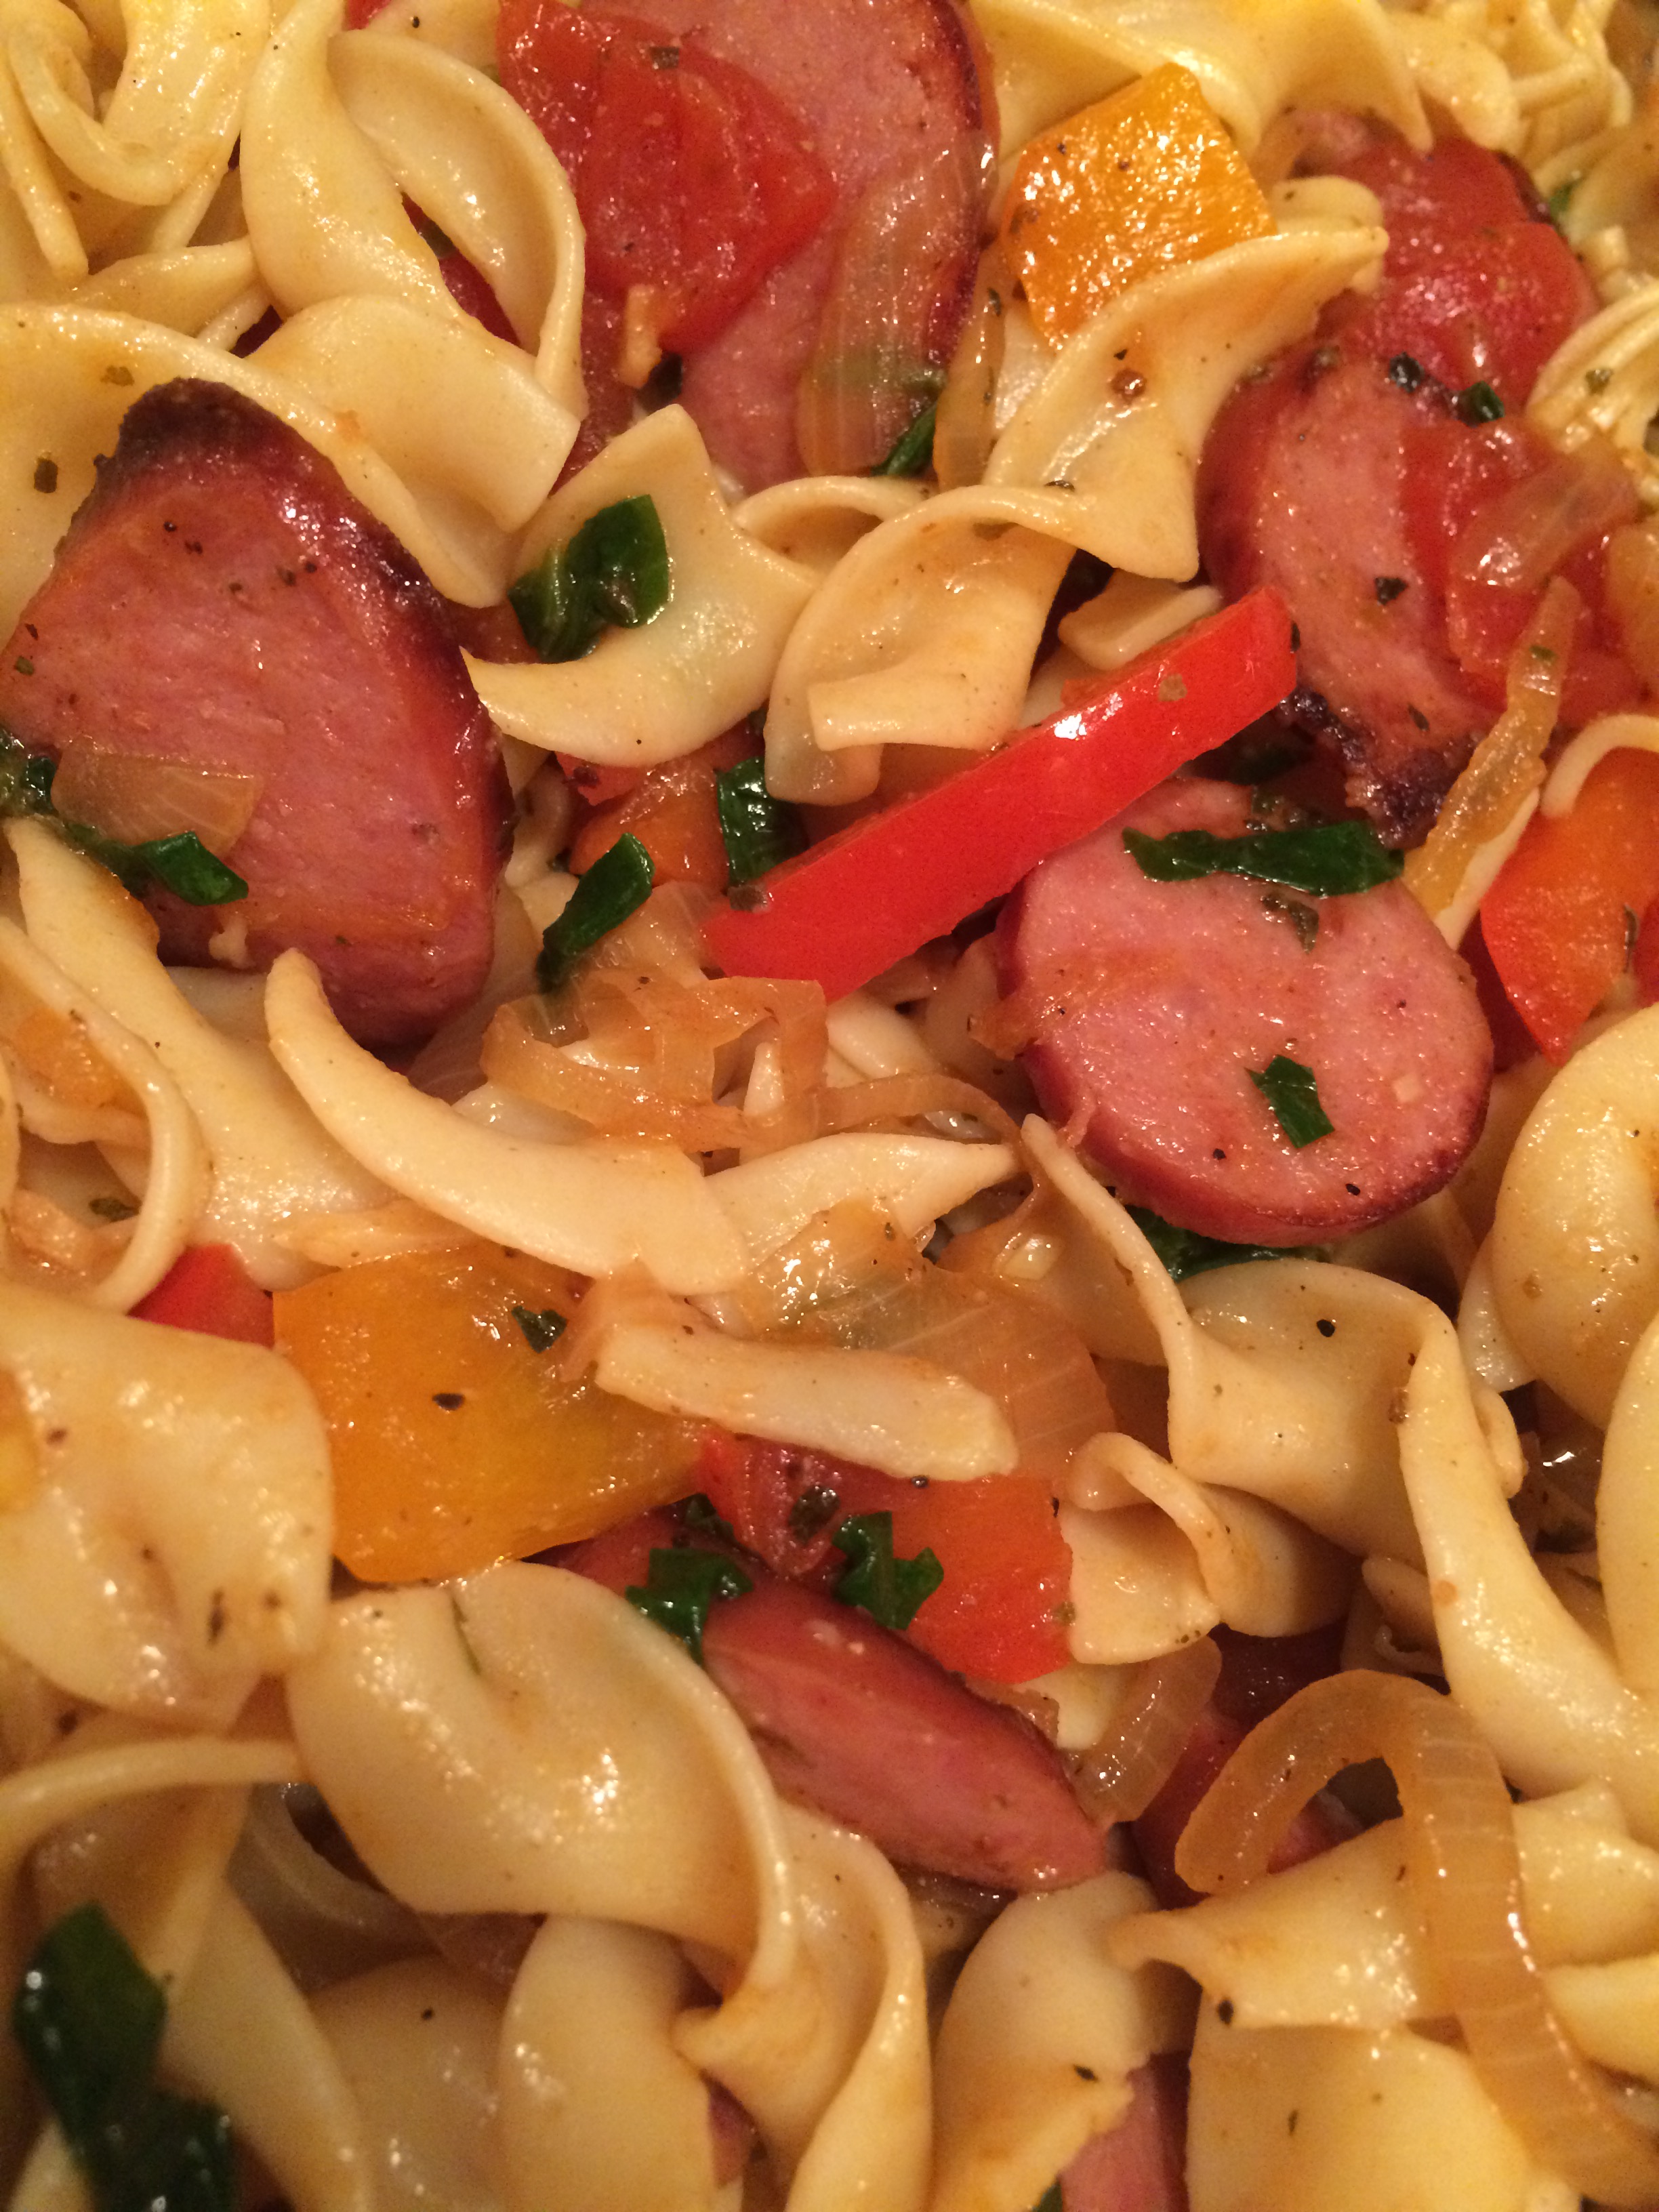
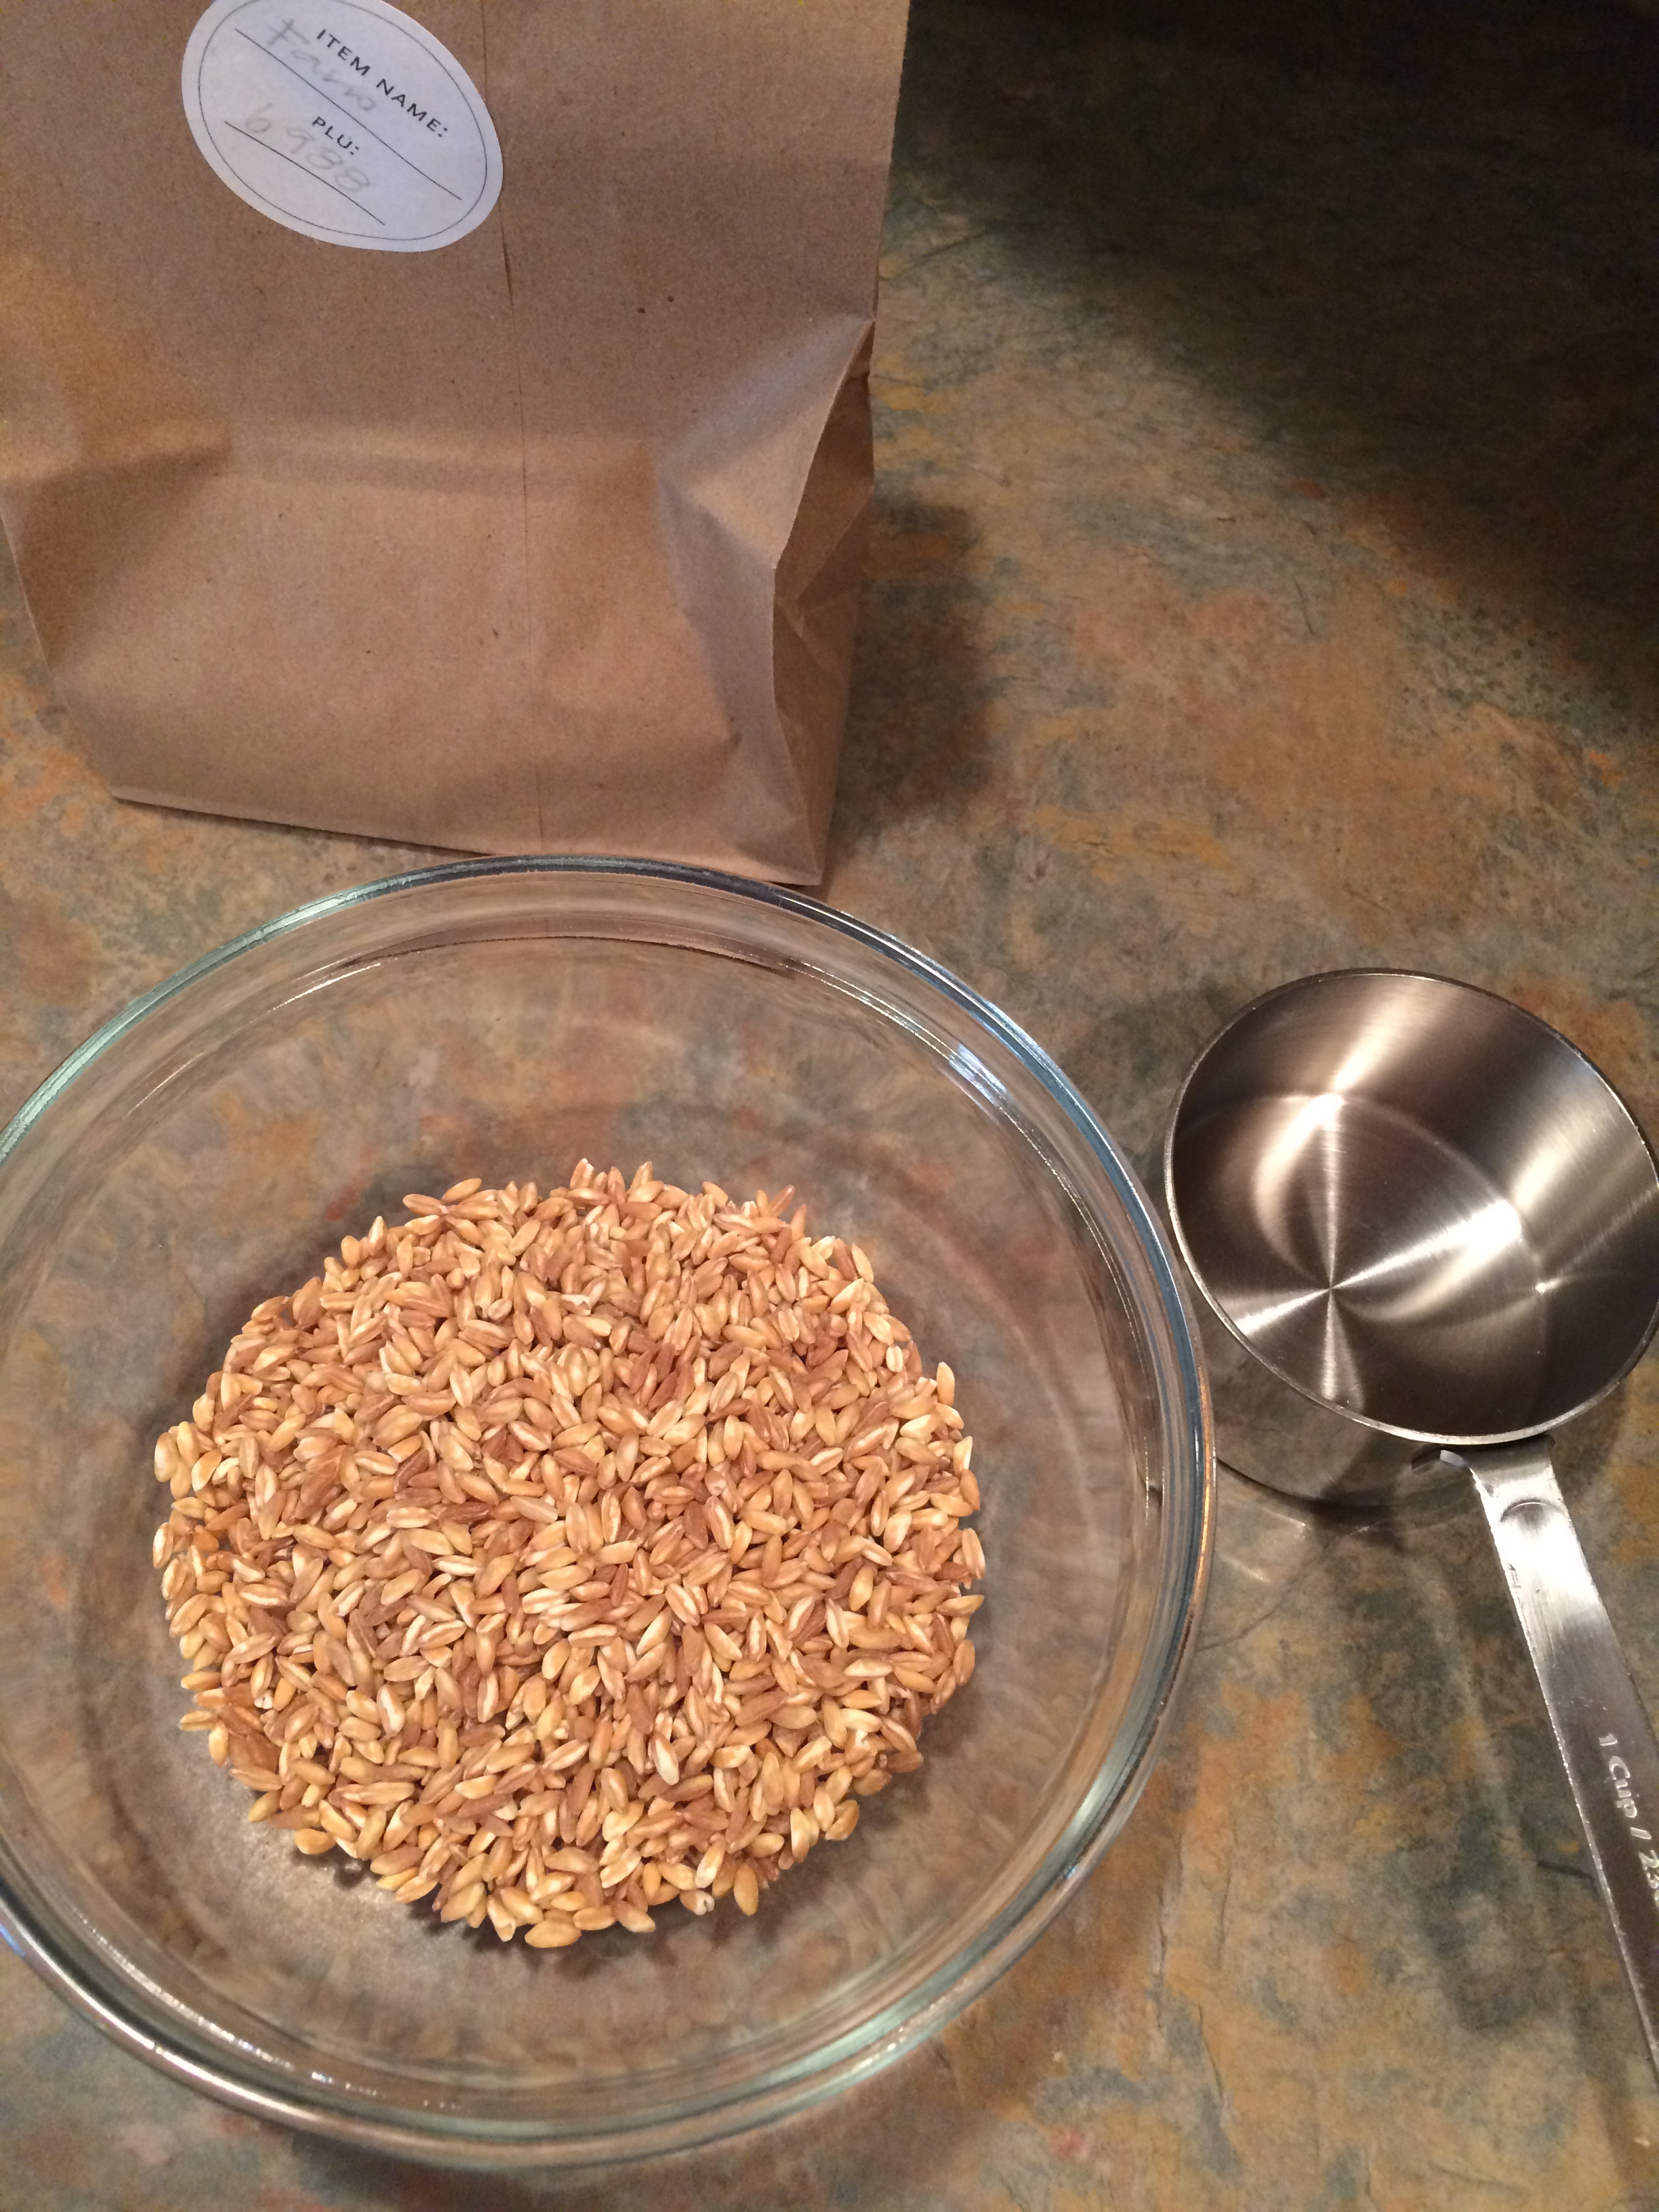
So i met Farro last year… i was thumbing through a magazine and saw a lovely rustic one pot meal involving some browned sweet sausages, bright and beautiful spinach and carrots and something called ‘farro‘… what in the hell, i asked, is FARRO?? (linked wiki there for ya) so i got to googling it and hopping around on food sites, and long story short, i was in Whole Foods later that afternoon buying some in bulk! -and i’ve been cooking with it ever since. it is the most amazing and easy addition to various soups, stews, salads, etc. you literally toss it into a pot, add water until level is about two inches above that of the farro, and bring it up to a boil. reduce heat and simmer, stirring occasionally for 30 mins. drain and set aside. that’s it!! then you can take and add it to whatever you have in mind! OR, keep it in the fridge in an airtight container for up to a week, adding it on top of salads, mix it into your morning yogurt, stir it in with some oatmeal, add it to wonton soup when you get Chinese…. you feelin’ me?!? Farro makes an already healthy breakfast, lunch or dinner choice all the more healthy… and it’s great post workout too, to help the body recover. WHY? it contains lots of B3’s (niacin) which helps your body break down fats & carbs like a motha. it has tons of magnesium for muscle support too! it’s protein and fiber rich- and it has a fantastic nutty and chewy texture! get on board yo!
so the other day i was thinking… “spags, you have some leftover tortellini in there, you have some farro in the pantry, you have plenty of canned tomatoes, a fridge full of veggies, fresh thyme in the garden begging to be used and some tomato paste in a little baggie in the freezer you’ve been meaning to use up.” visions of a stew started to dance in my mind…. totally could have gone ‘meatless’ here PS. -and please do if you desire! i happened to also have two bone in chicken breasts begging me to rub them down and roast them. so they got invited to this soiree.
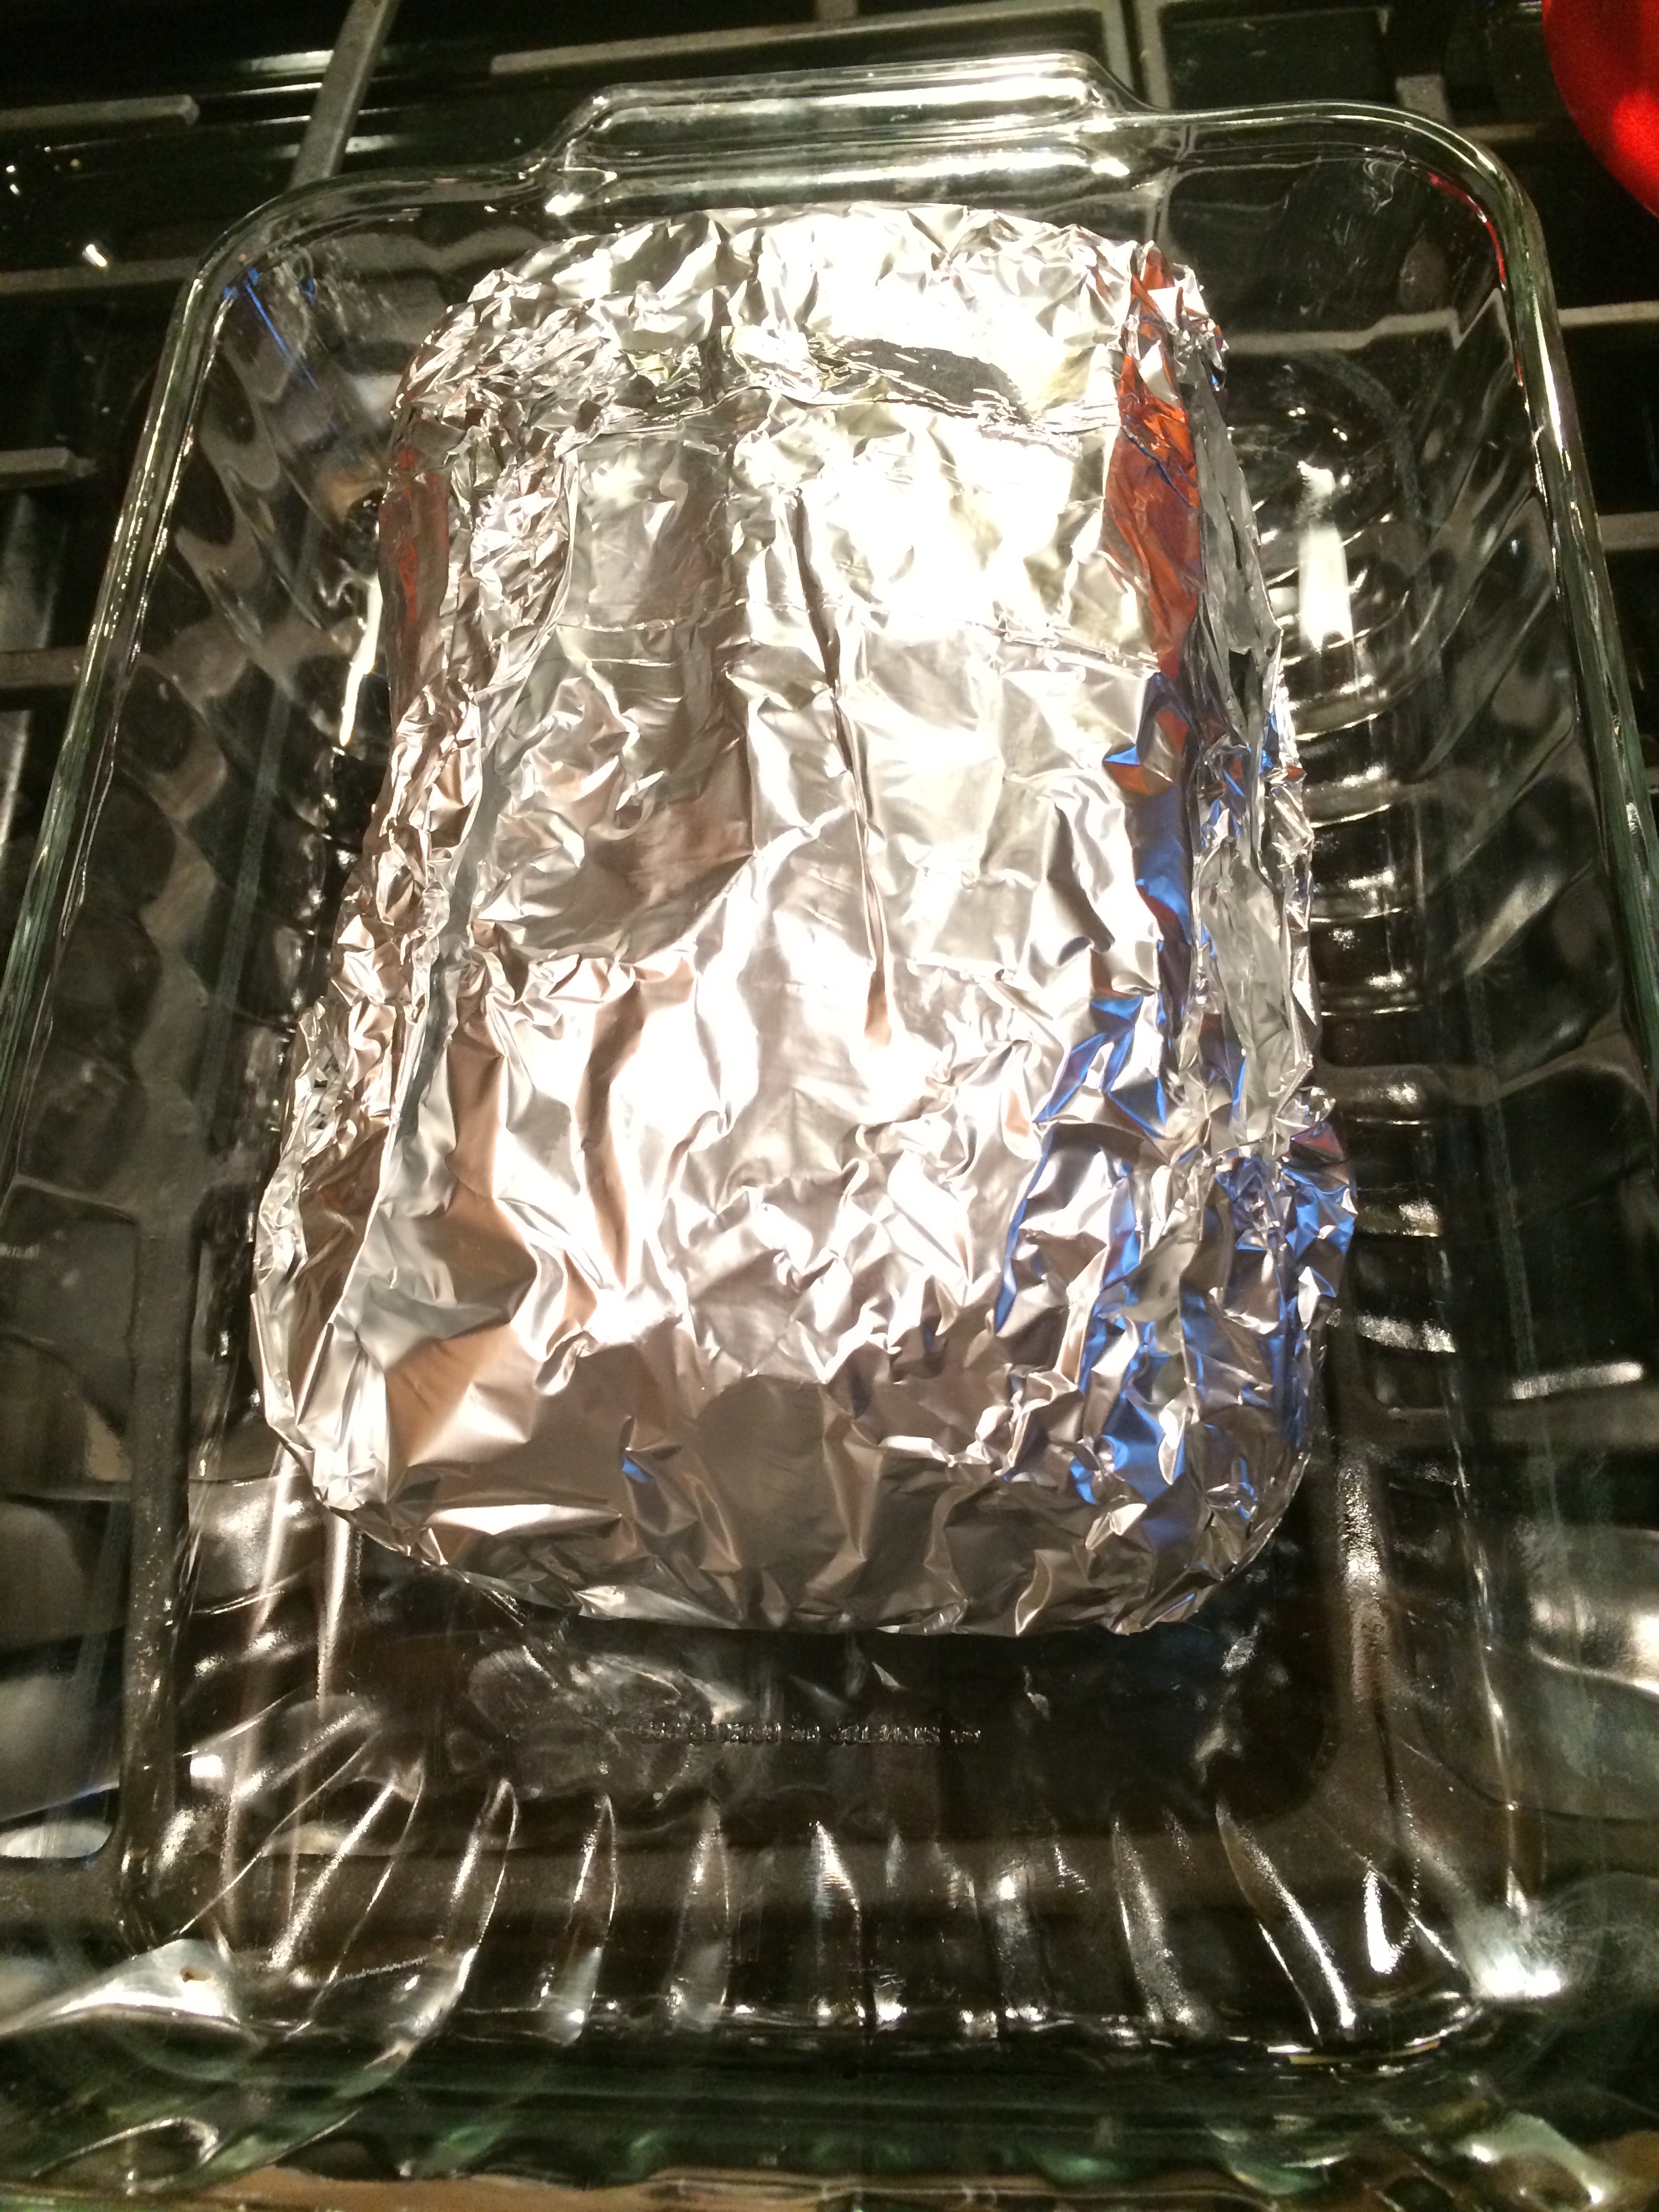
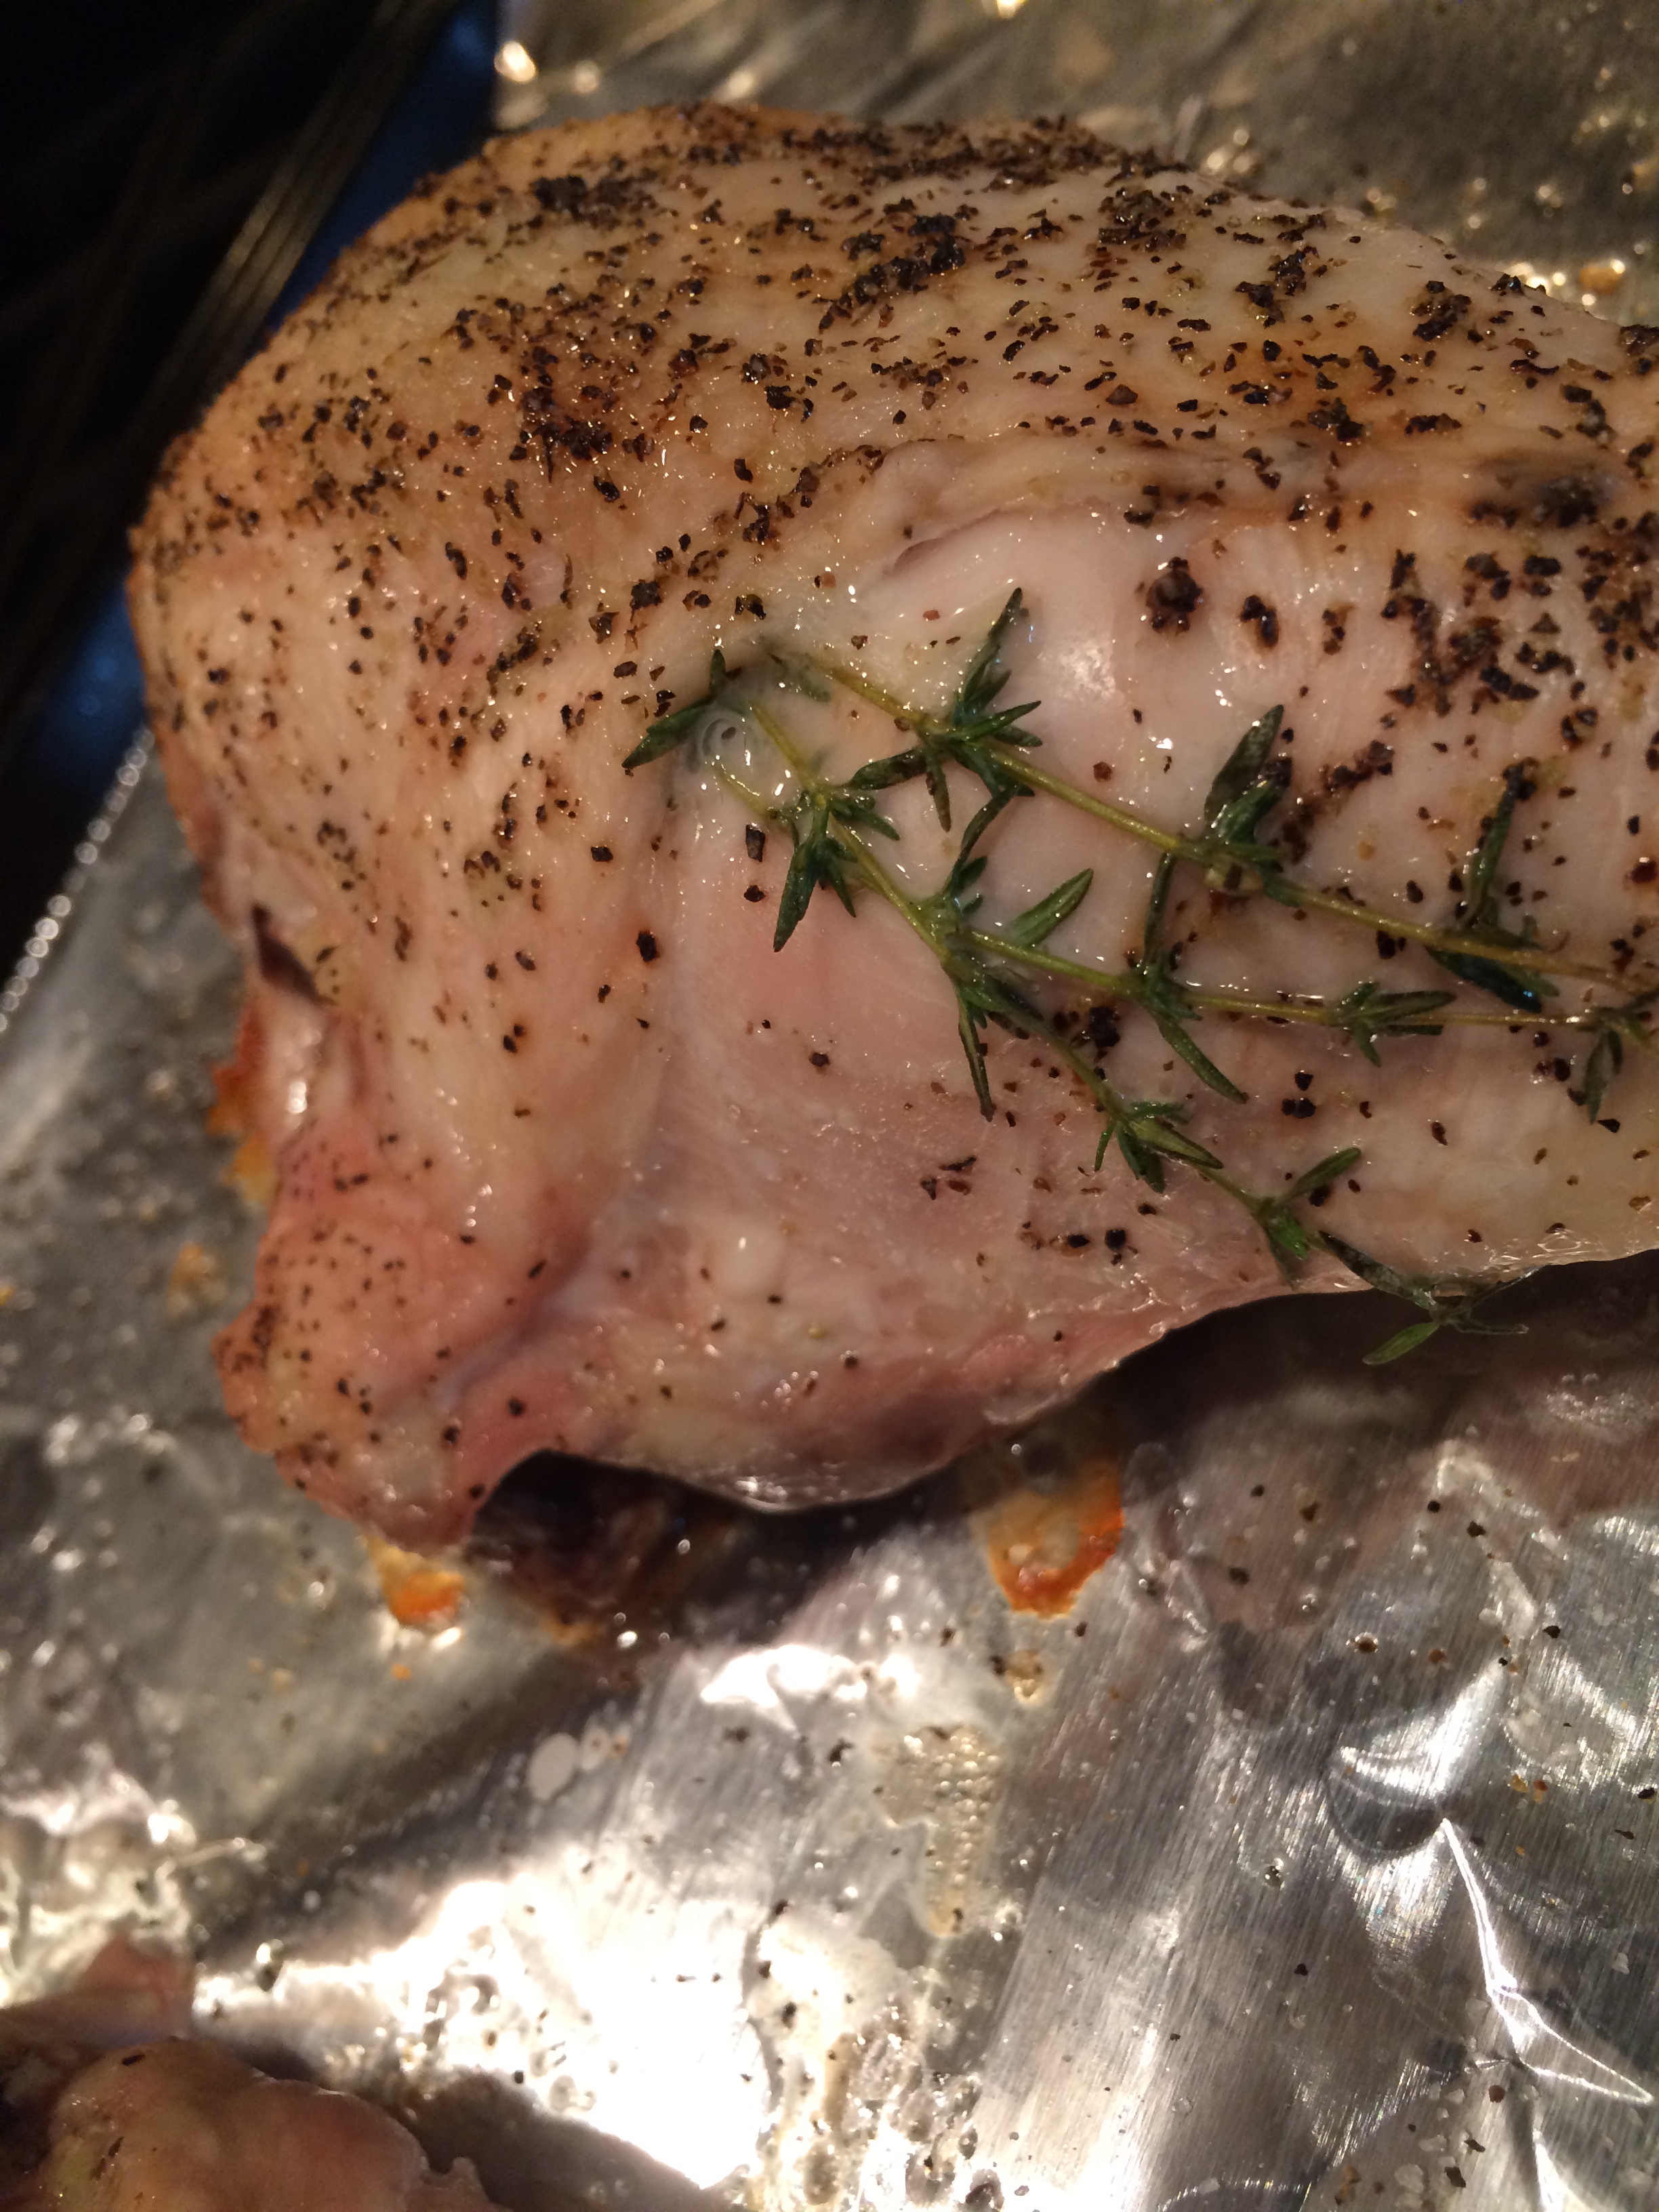
HOPPING ON SOAP BOX…. if you have never been educated by Ina Garten of Barefoot Contessa on how easy and mouth watering it is to roast bone in chicken breasts for use in almost any capacity… then you need to listen to this.
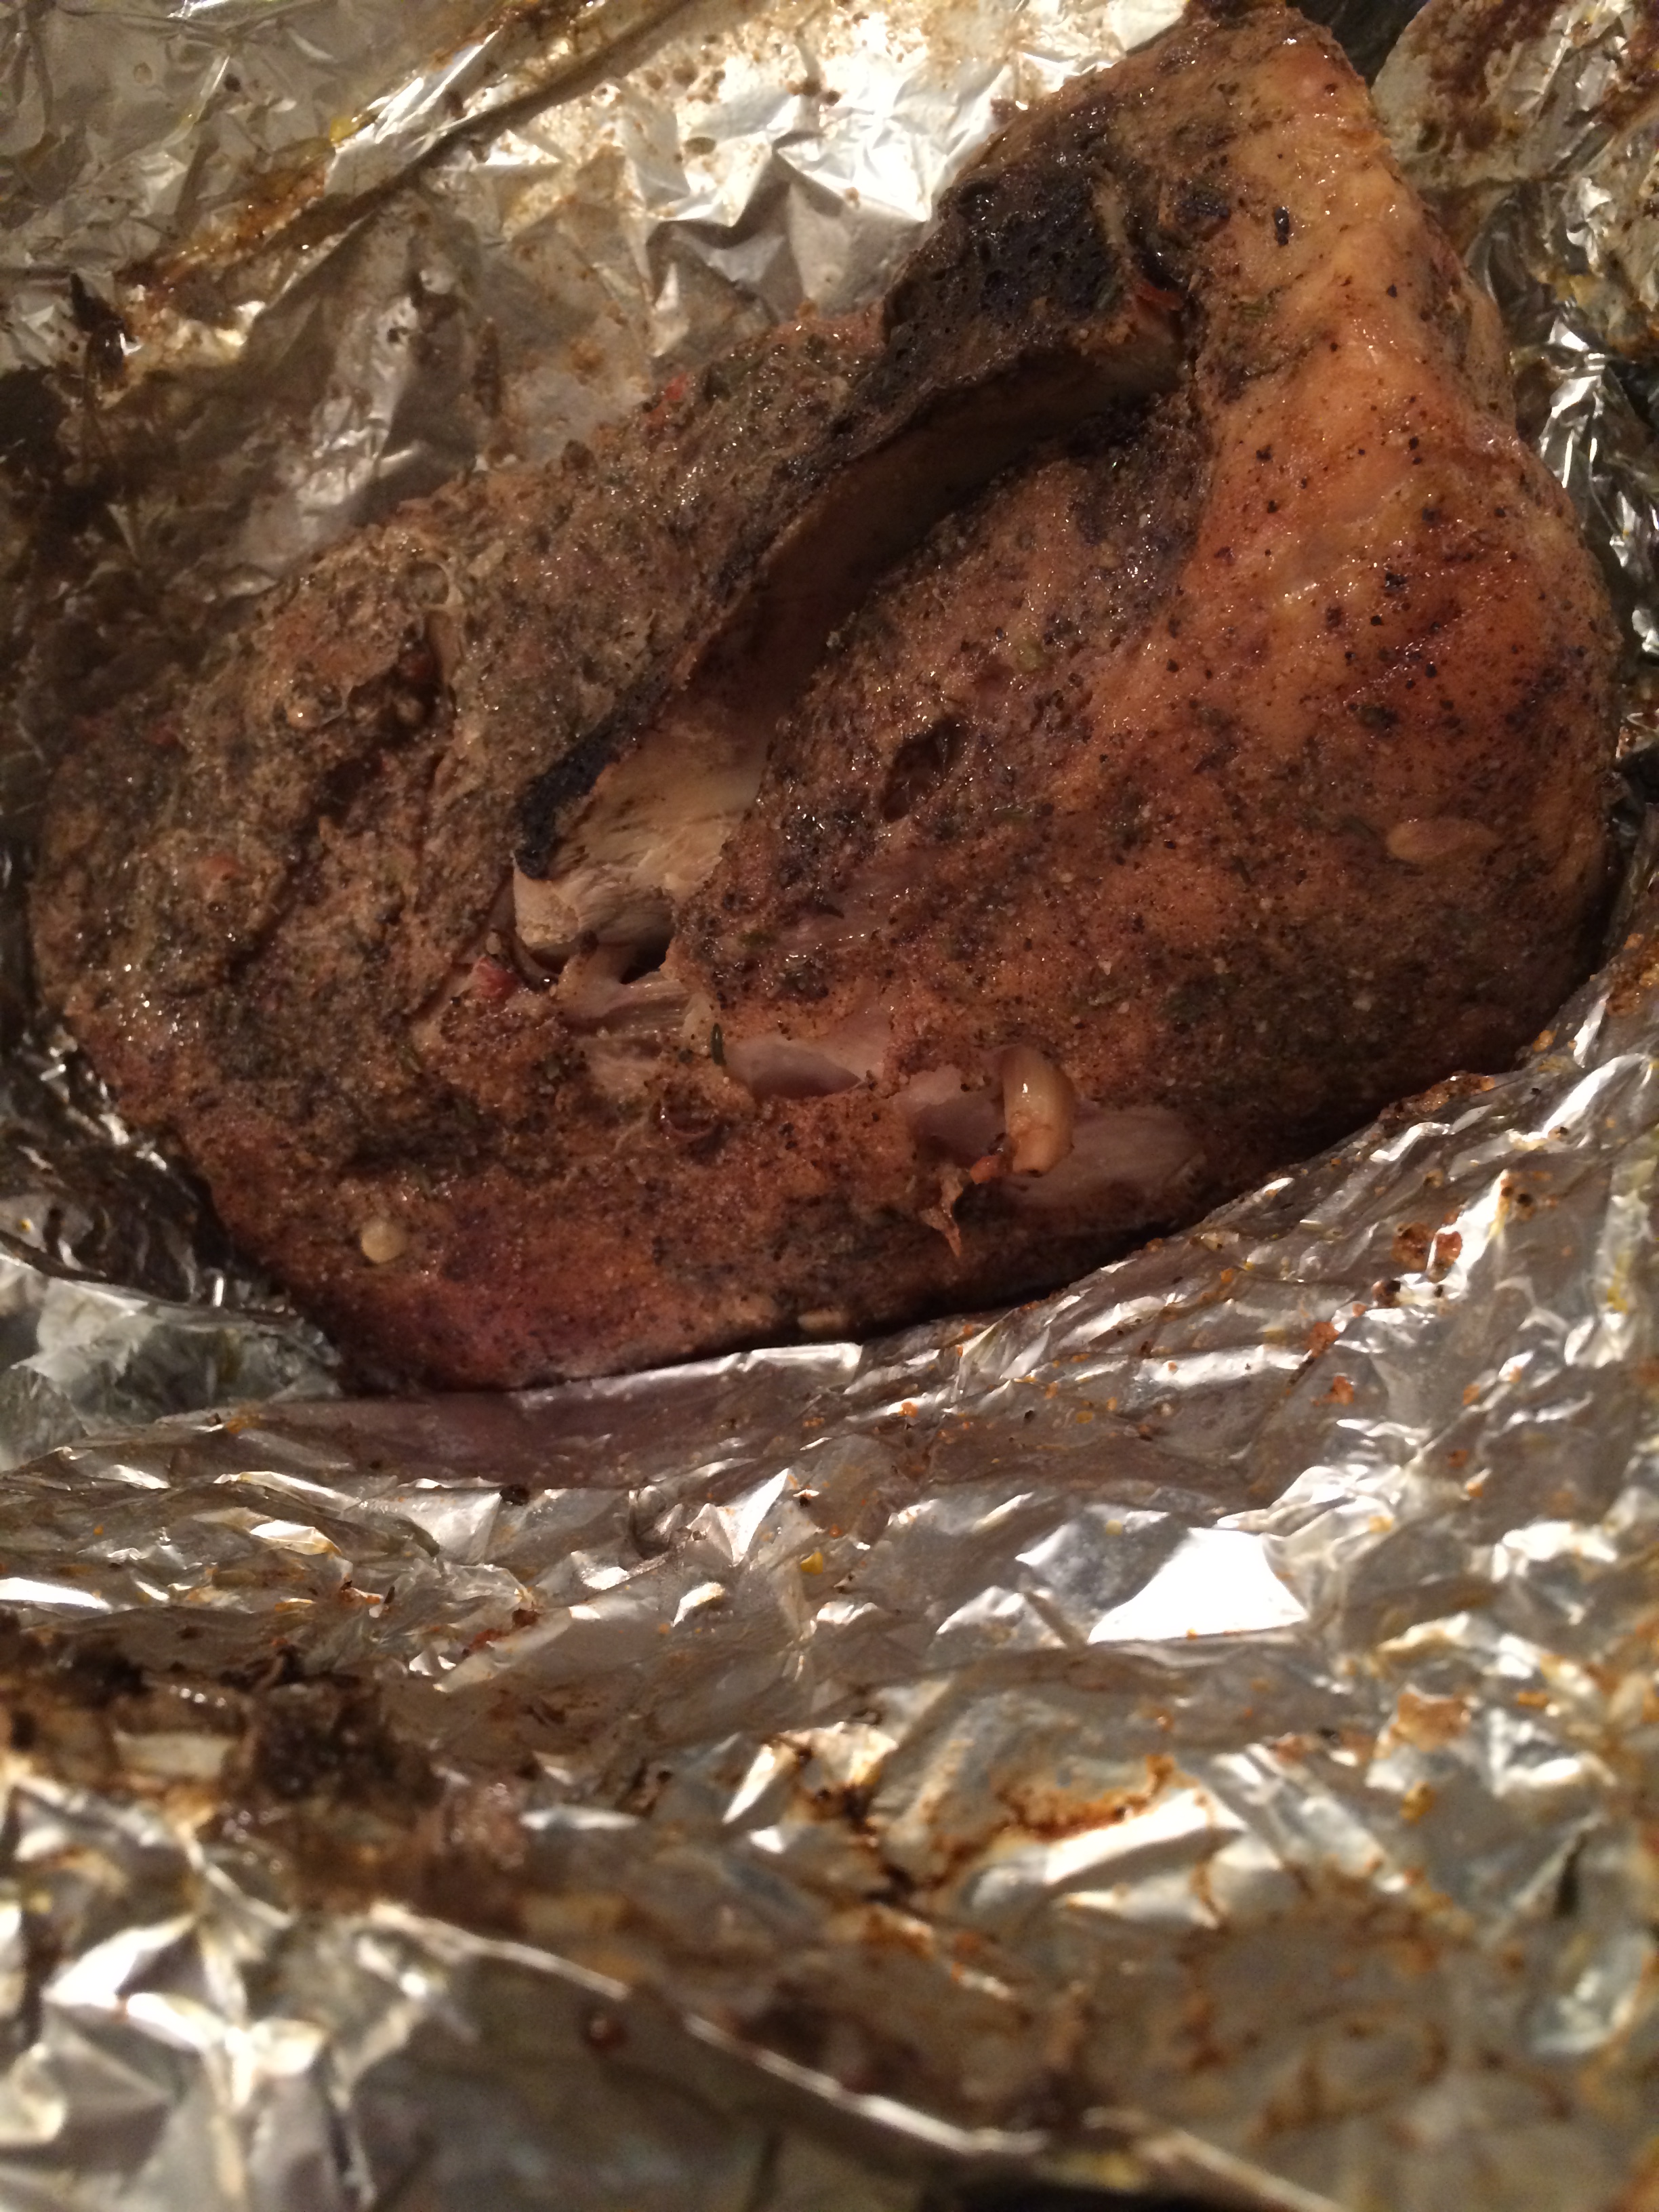
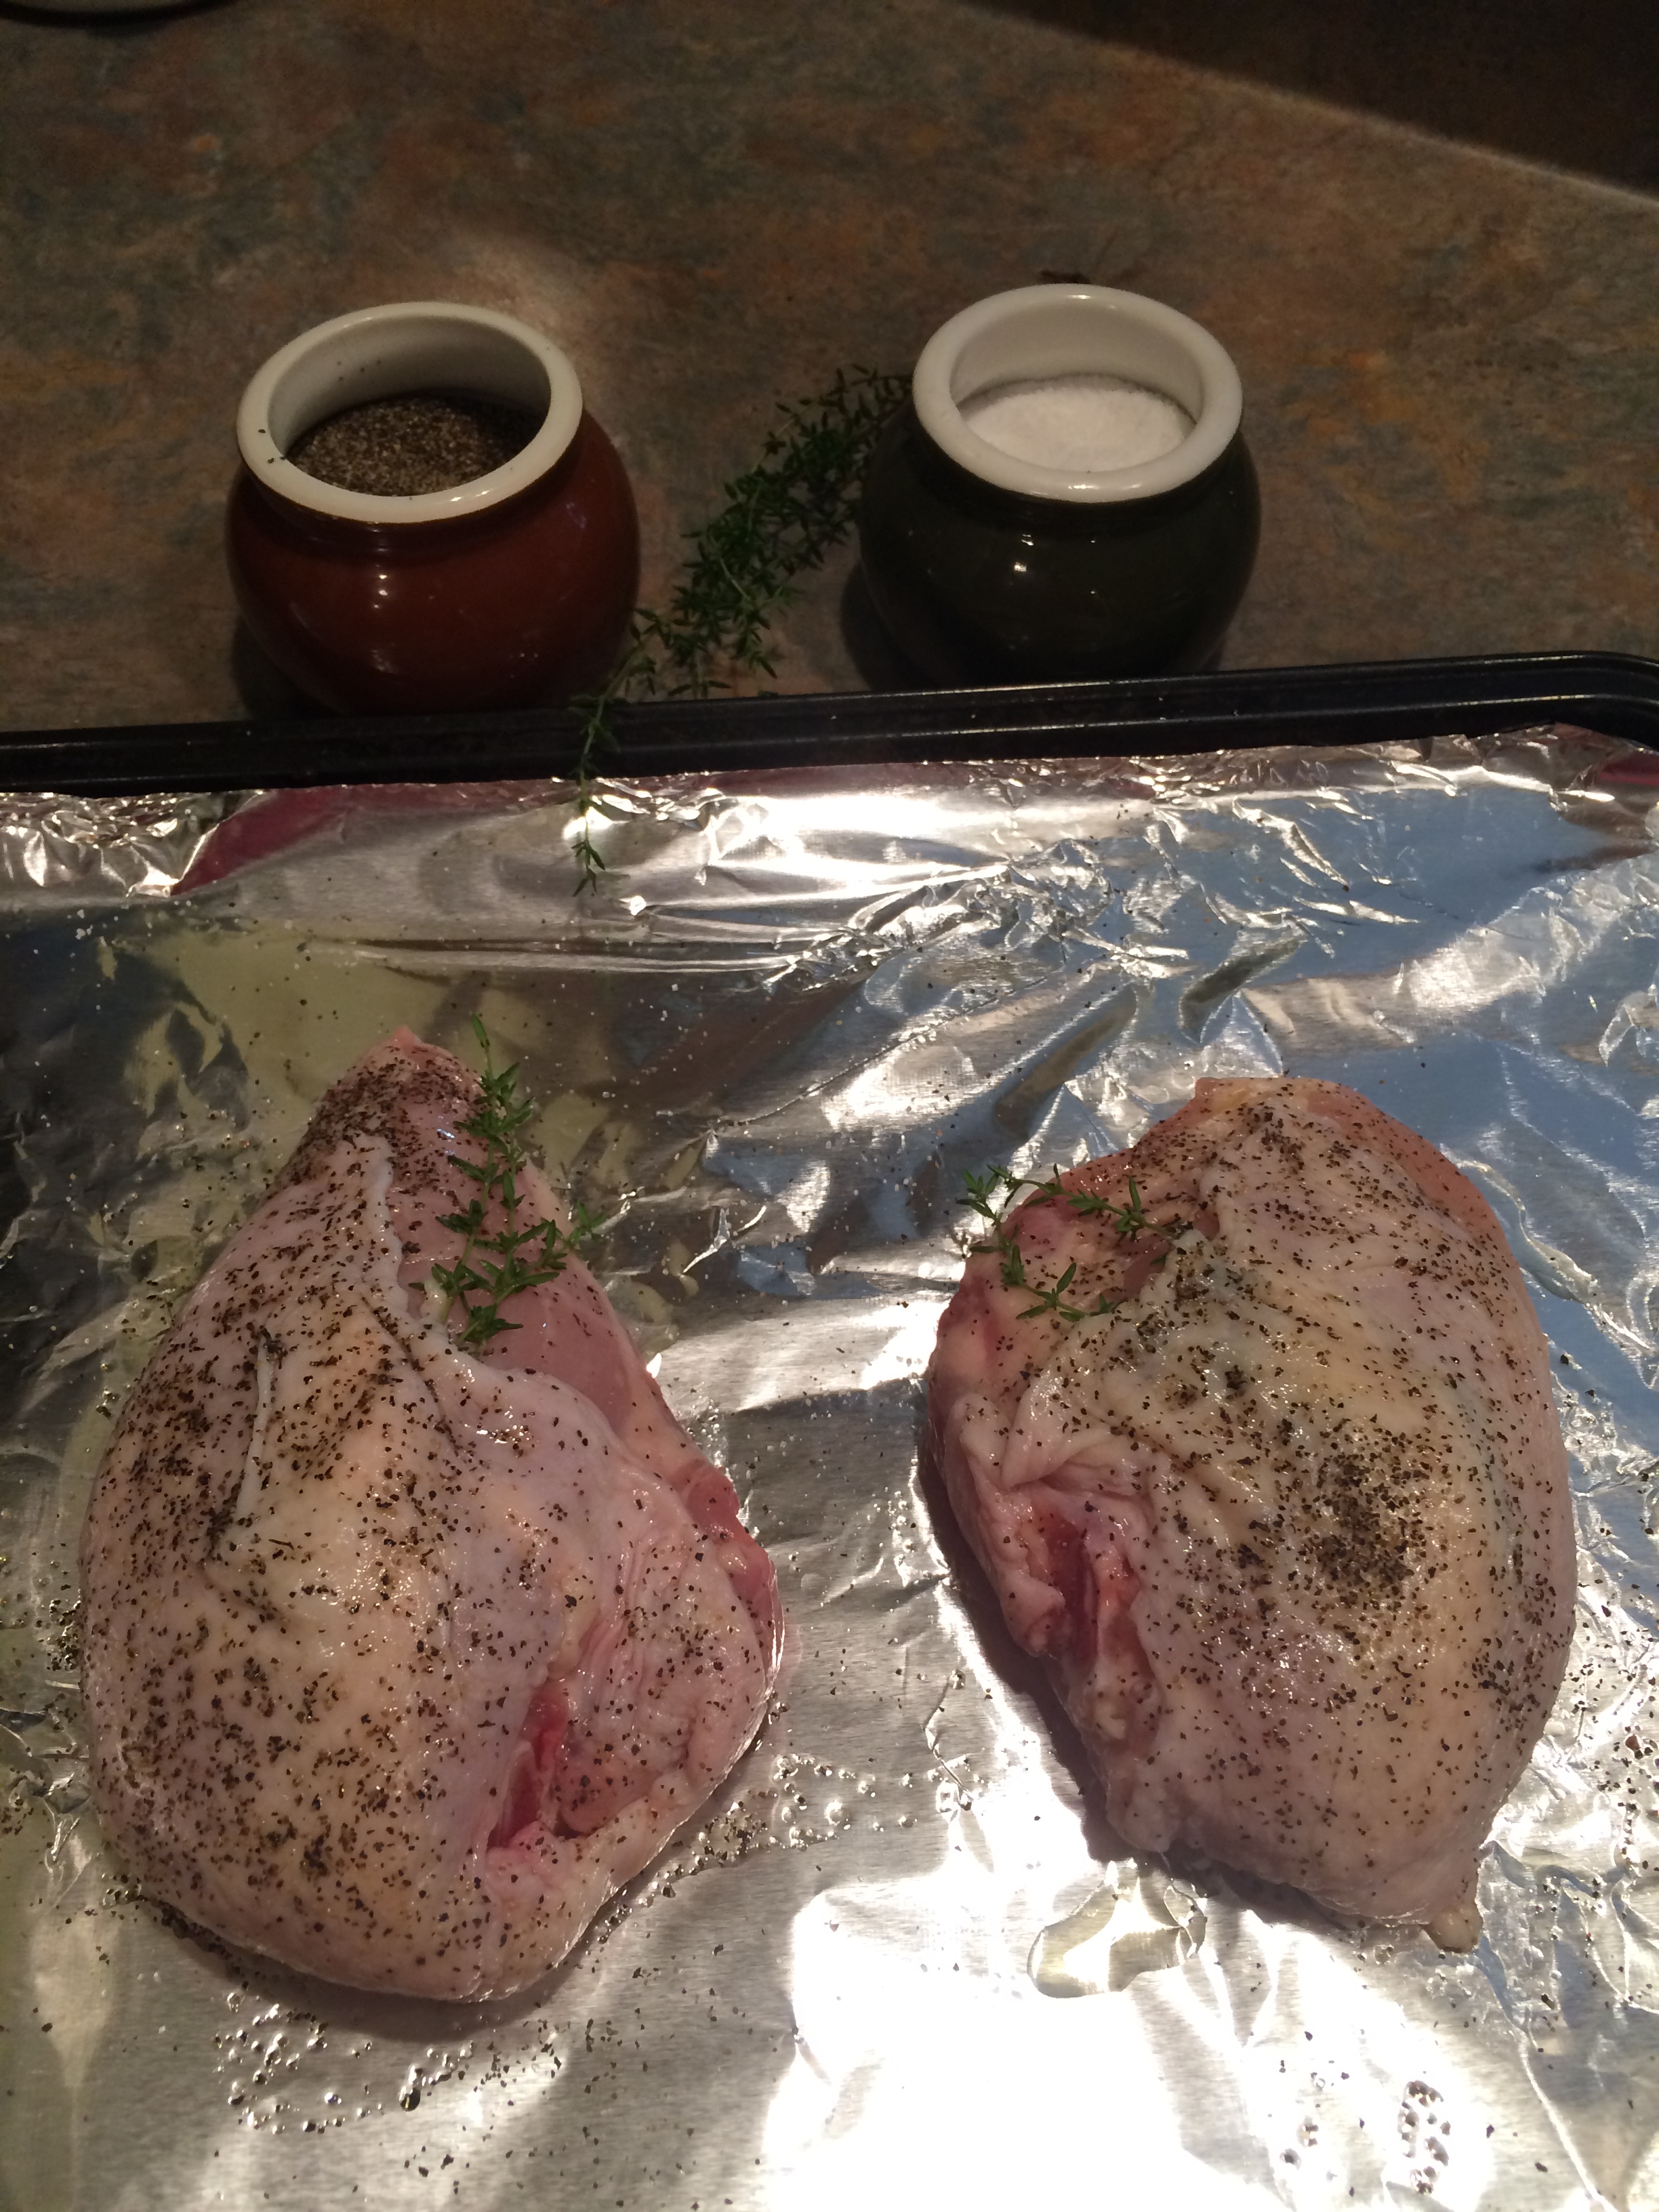
basically you are lining a baking sheet with either foil, parchment, or silpat – rubbing the chicken with a bit of olive oil, sprinkle generously with salt and pepper, and place it into a 350* oven for 45 mins. walk away! that’s IT! no fussing, no mussing. take it out, let it cool on the pan or a plate- and slice it up later to use in your recipe- or serve as is… with some garlic mashed potatoes and freshly steamed green beans! the possibilities are endless here folks. i added some fresh thyme to mine, just under the skin.
next up- get your Farro going. just like i told you up in the first paragraph. giddy up.
While the farro is cooking, chop up some vegetables. IDLE HANDS YO…. i used :
- one large carrot, diced
- one large onion, diced
- half of bell pepper, diced
- 2 cups or so of fresh spinach leaves (roughly chopped) 1 small bag is fine! use it all.
- 3 cloves of garlic, minced
Then you need:
a bag of tortellini- (cook according to package instructions and set aside to cool), olive oil, red pepper flakes (1/4 tsp), a small can of tomato paste, 28oz can diced tomatoes, 1 can chicken broth, 1/2 tsp oregano, 1 tsp salt, 1/2 tsp black pepper, 1/8 tsp nutmeg
HERE’S WHAT YOU DO:
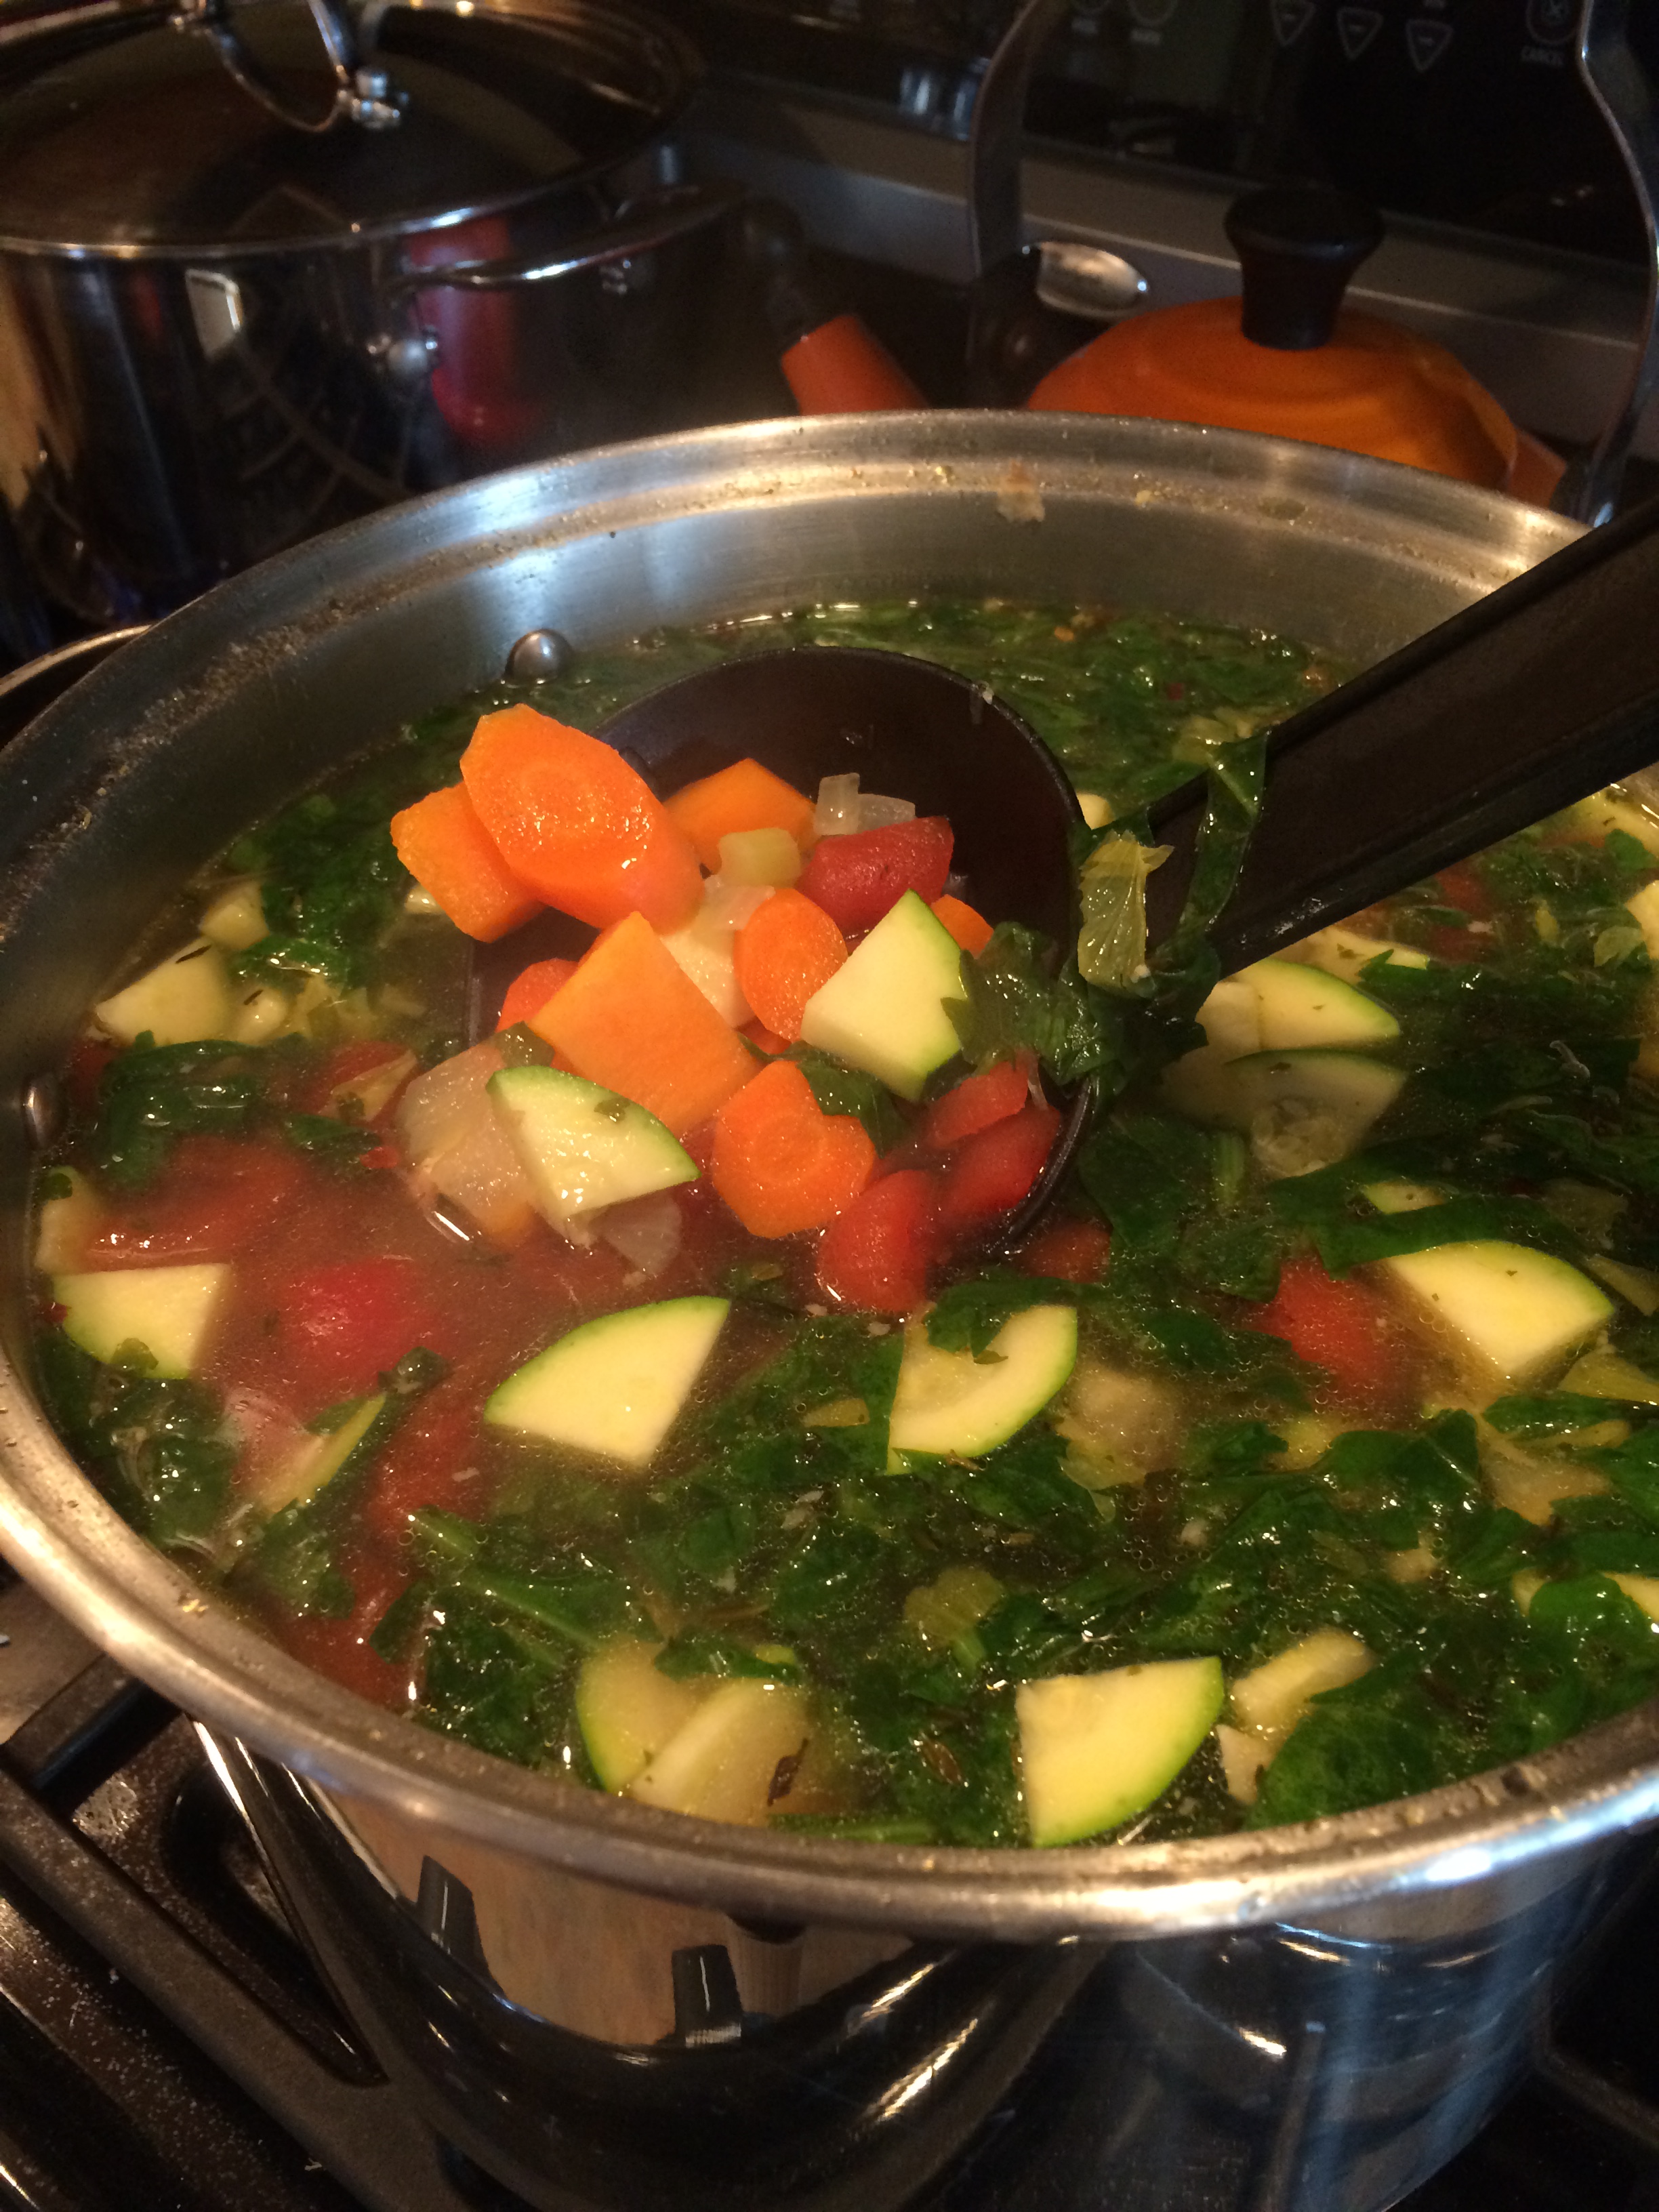
in your favorite cooking vessel… heat up a glug of olive oil… add to it your red pepper flakes. once they dance around, begin adding your chopped vegetables. (NOT the spinach) saute them over medium heat until they start to look tender and delicious. see below:

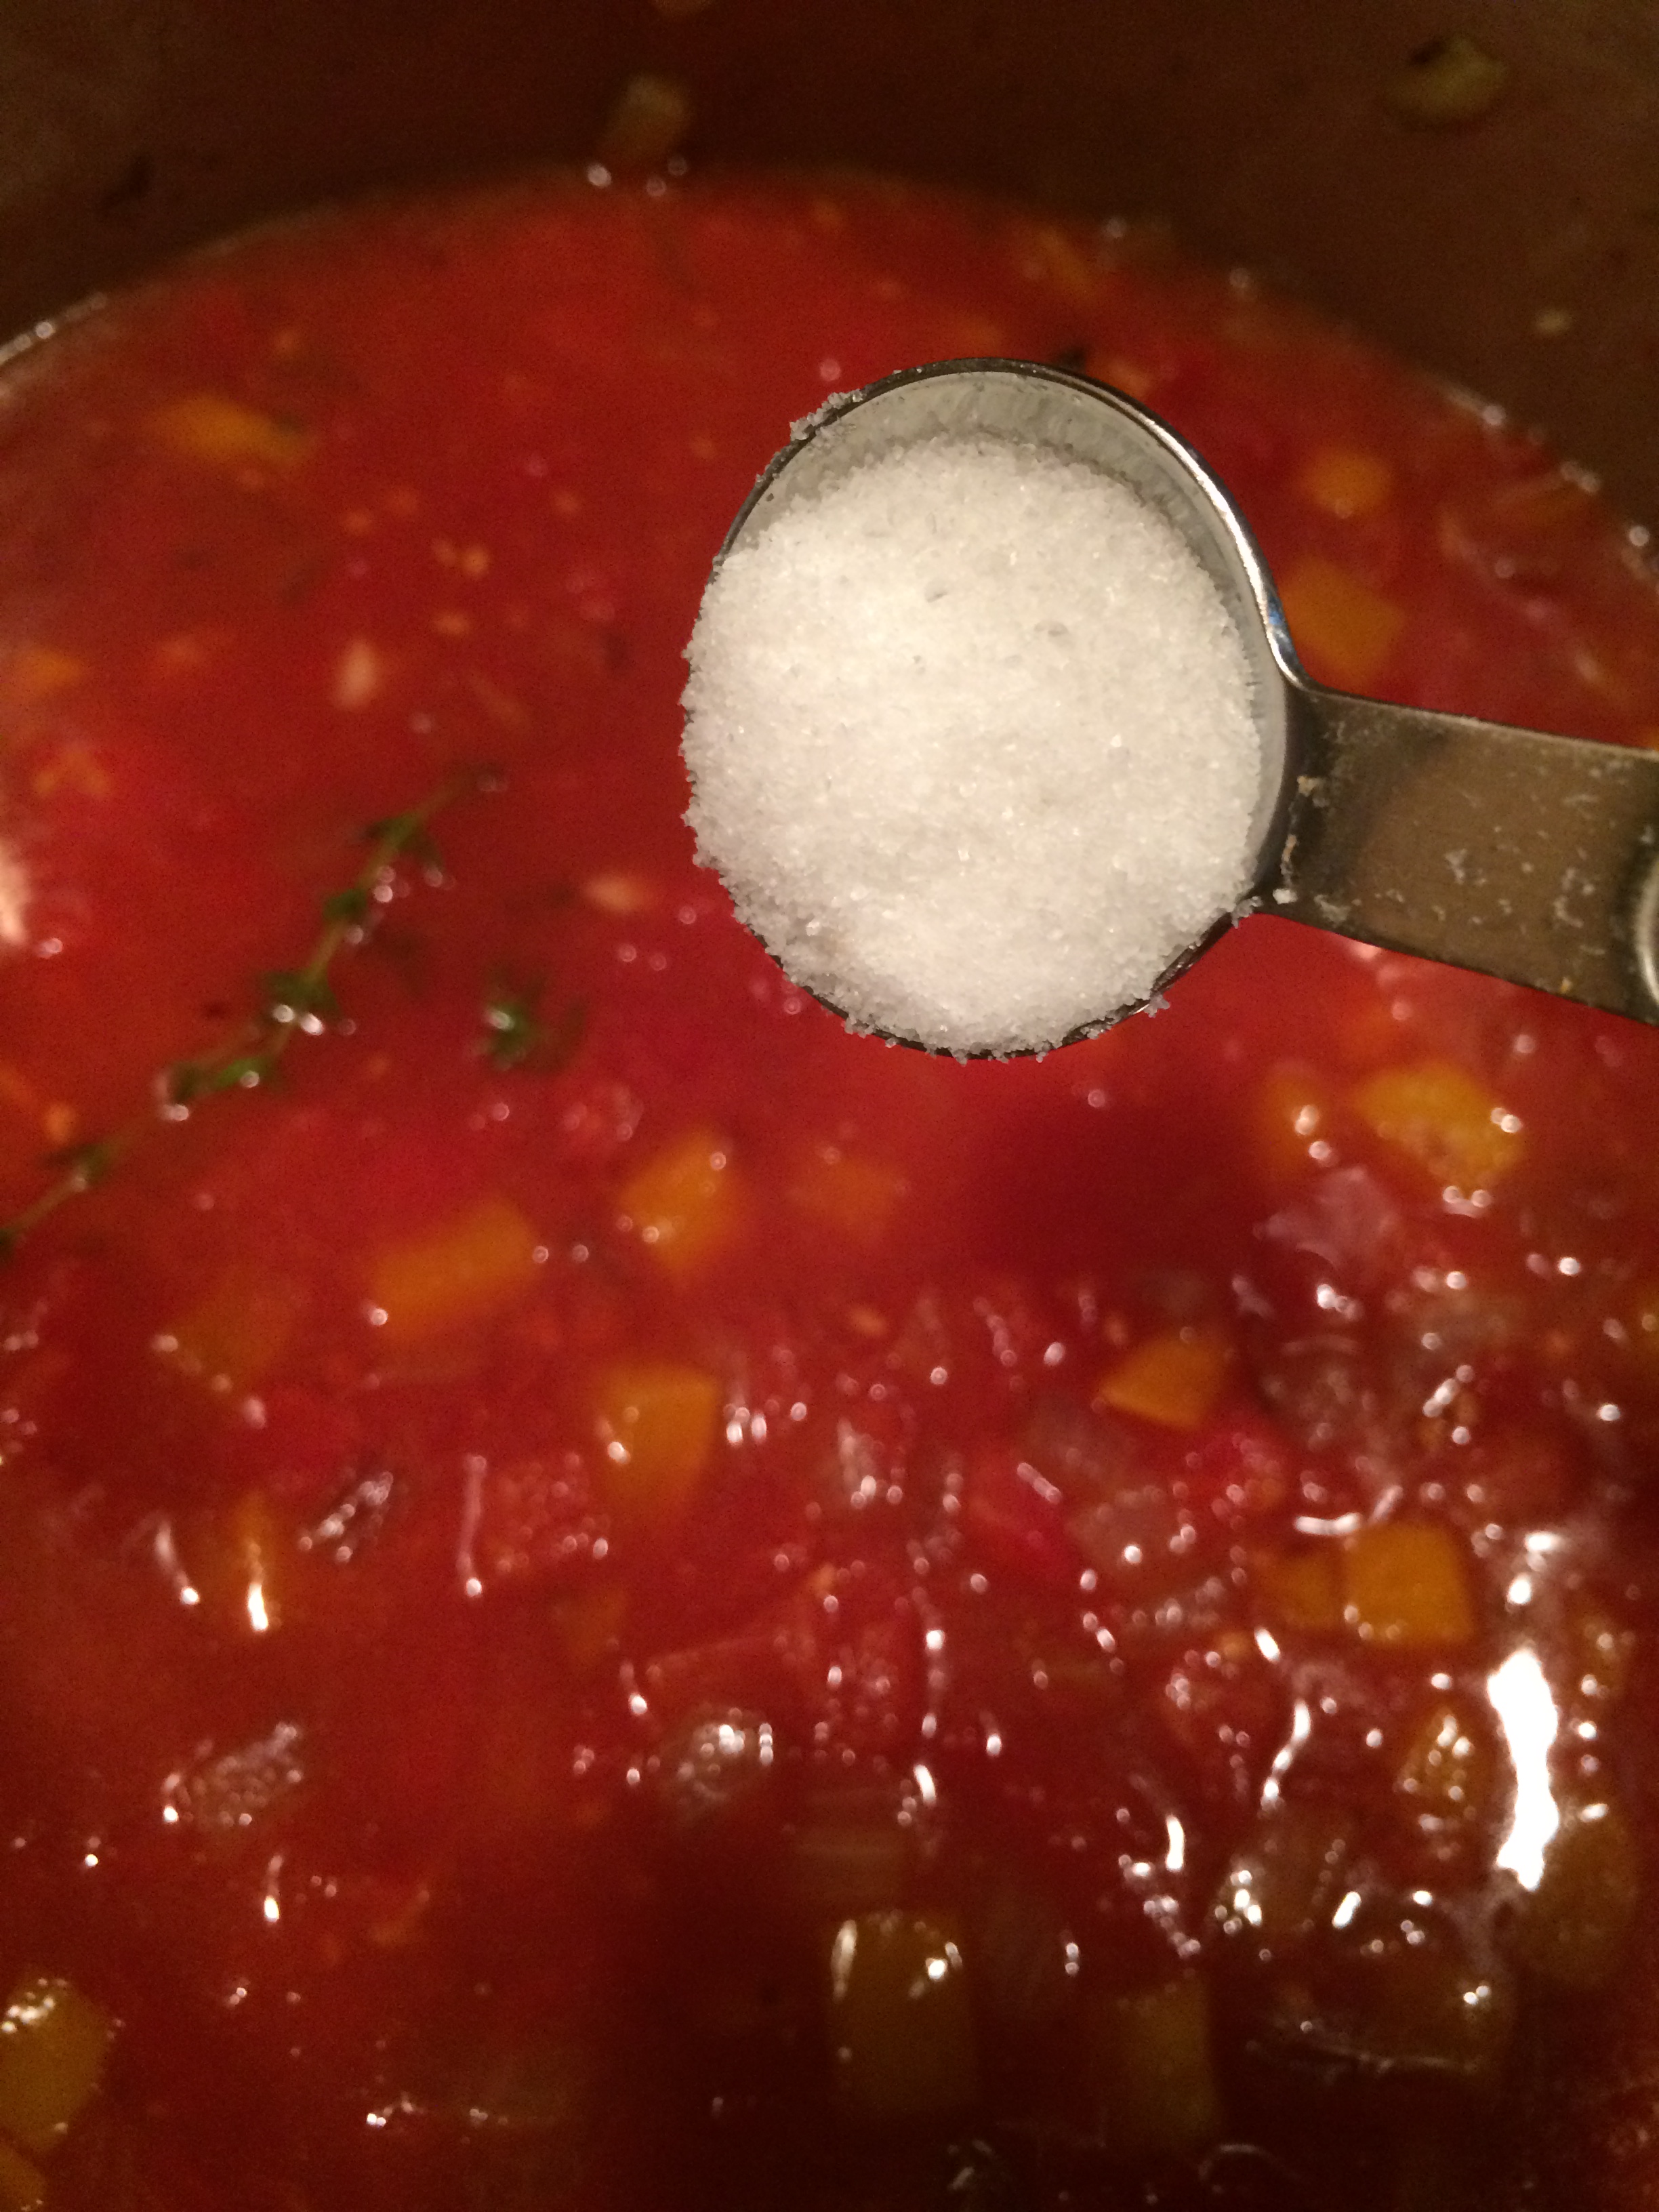
then take and add your can of chicken broth, your can of tomatoes, your tomato paste and all of the spices. bring up to boil, and then immediately reduce heat to simmer and cover. cook like this for 15 mins.
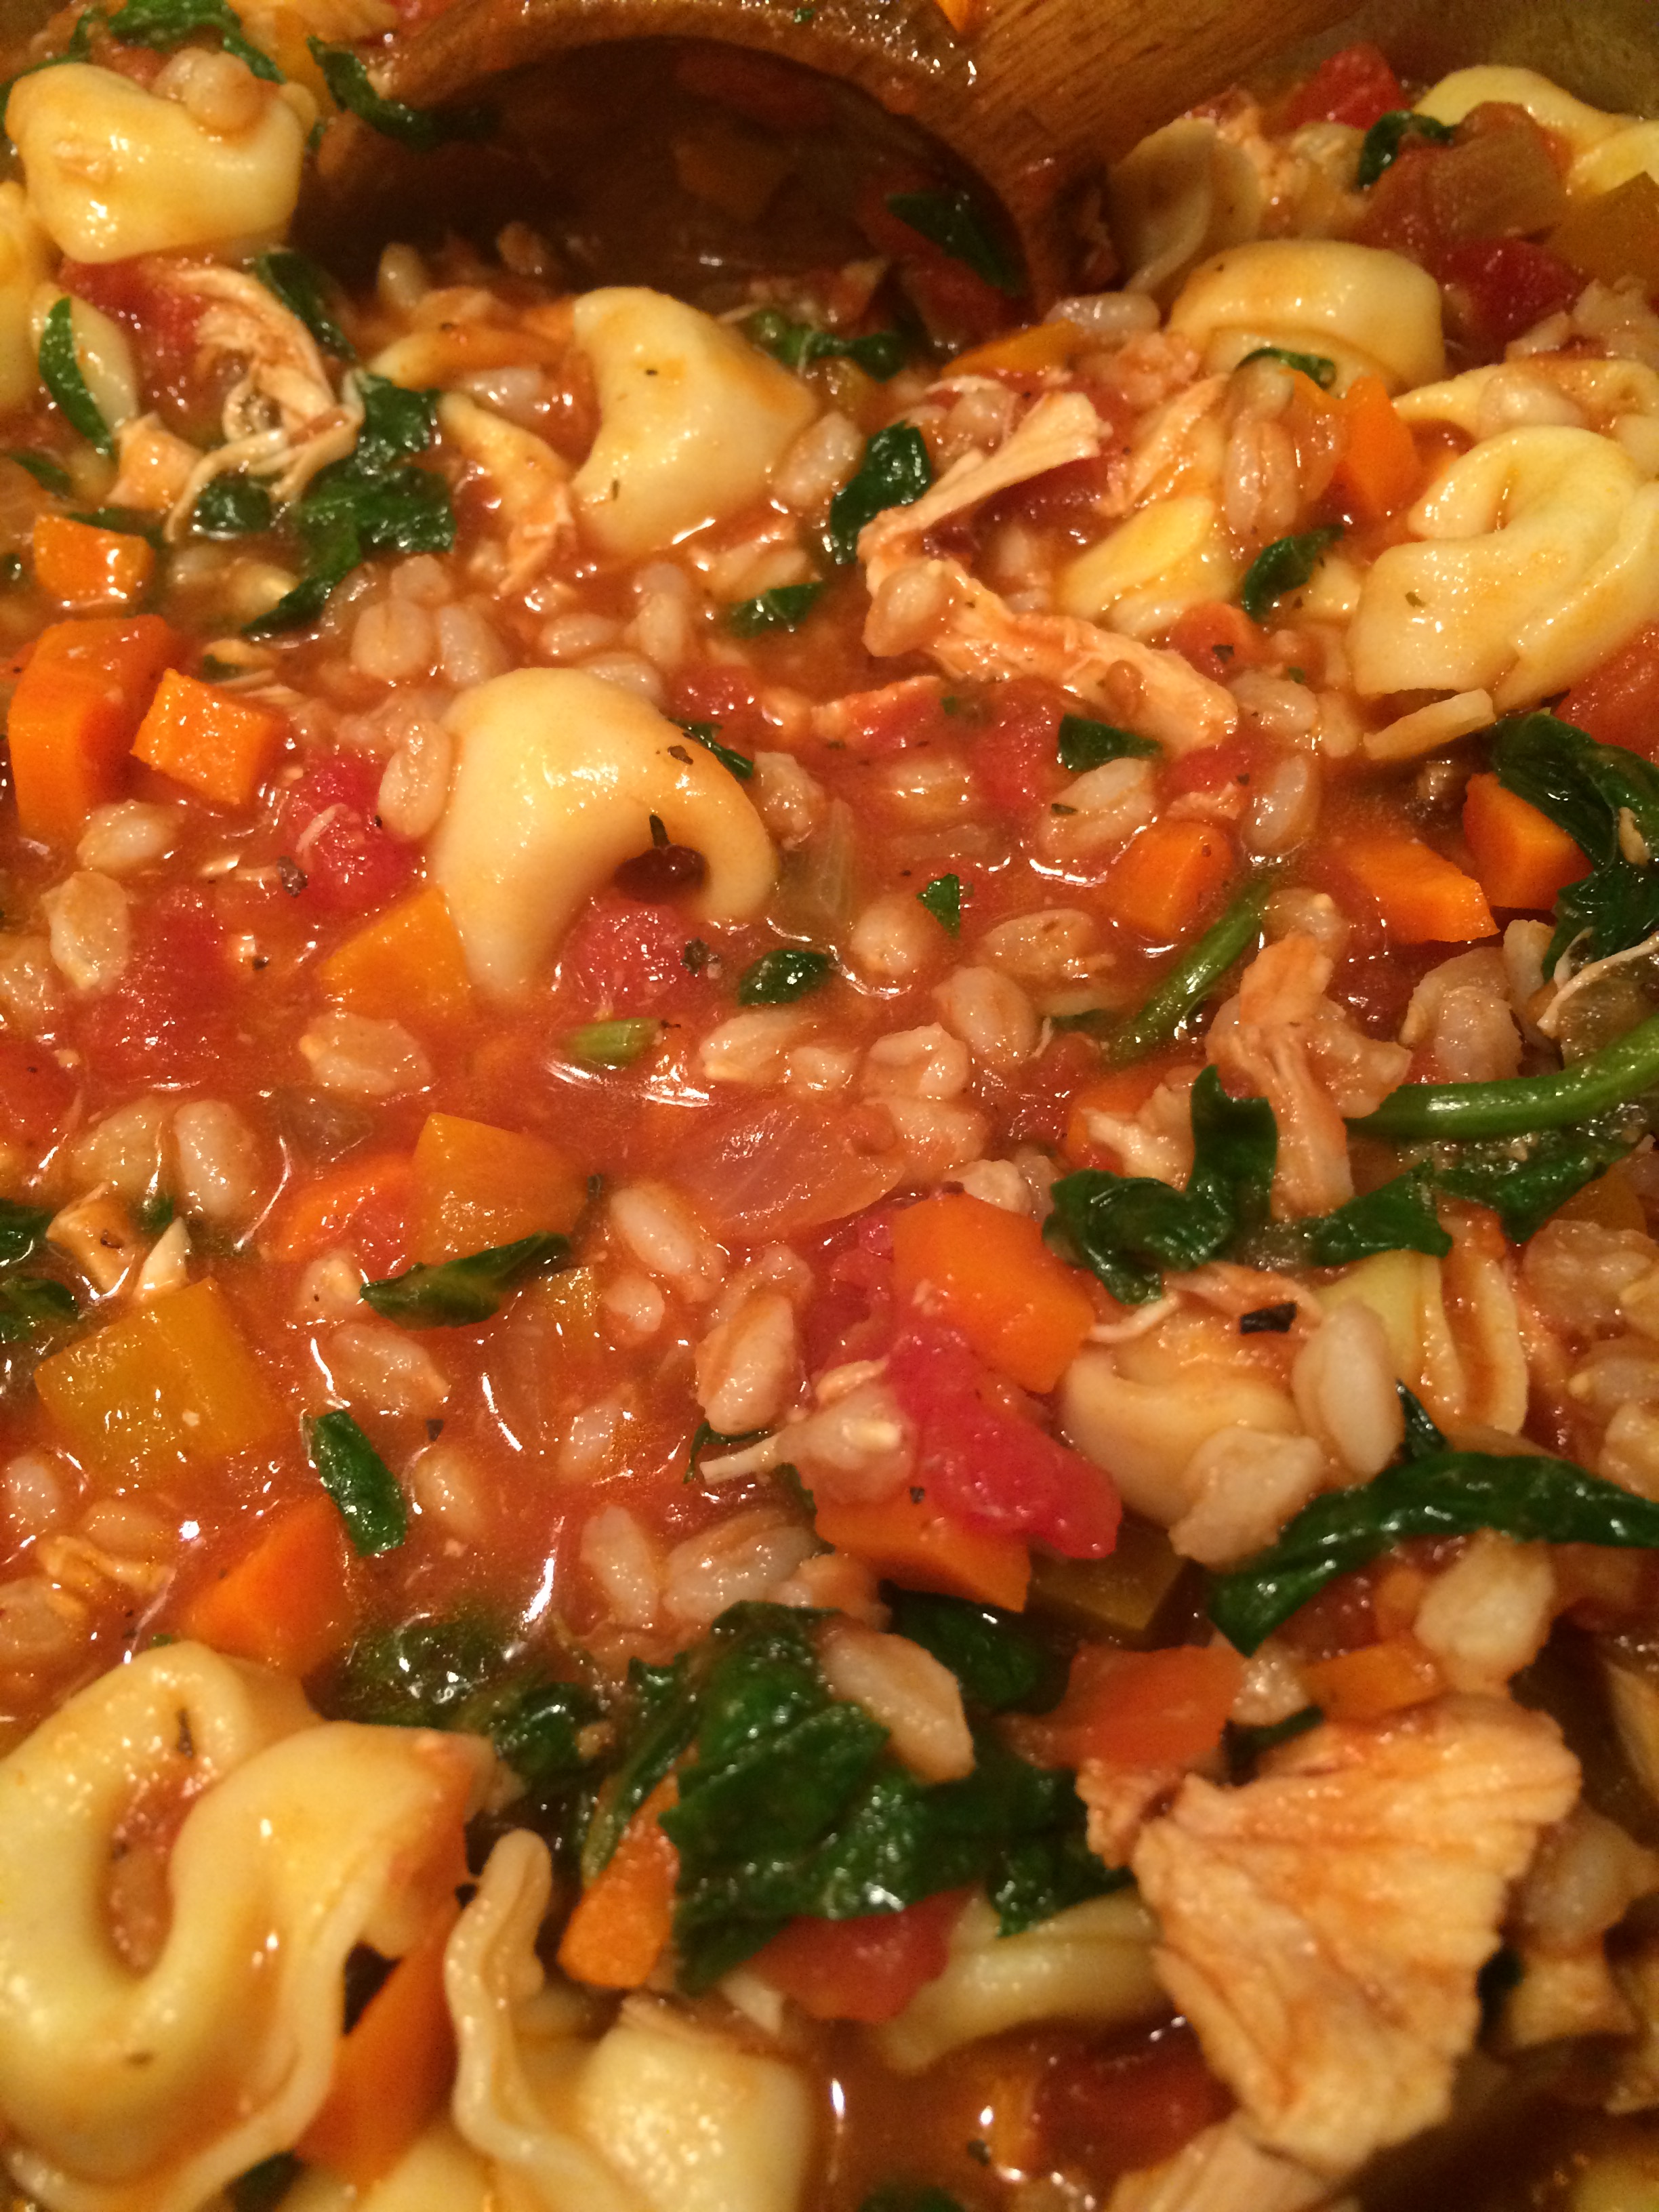
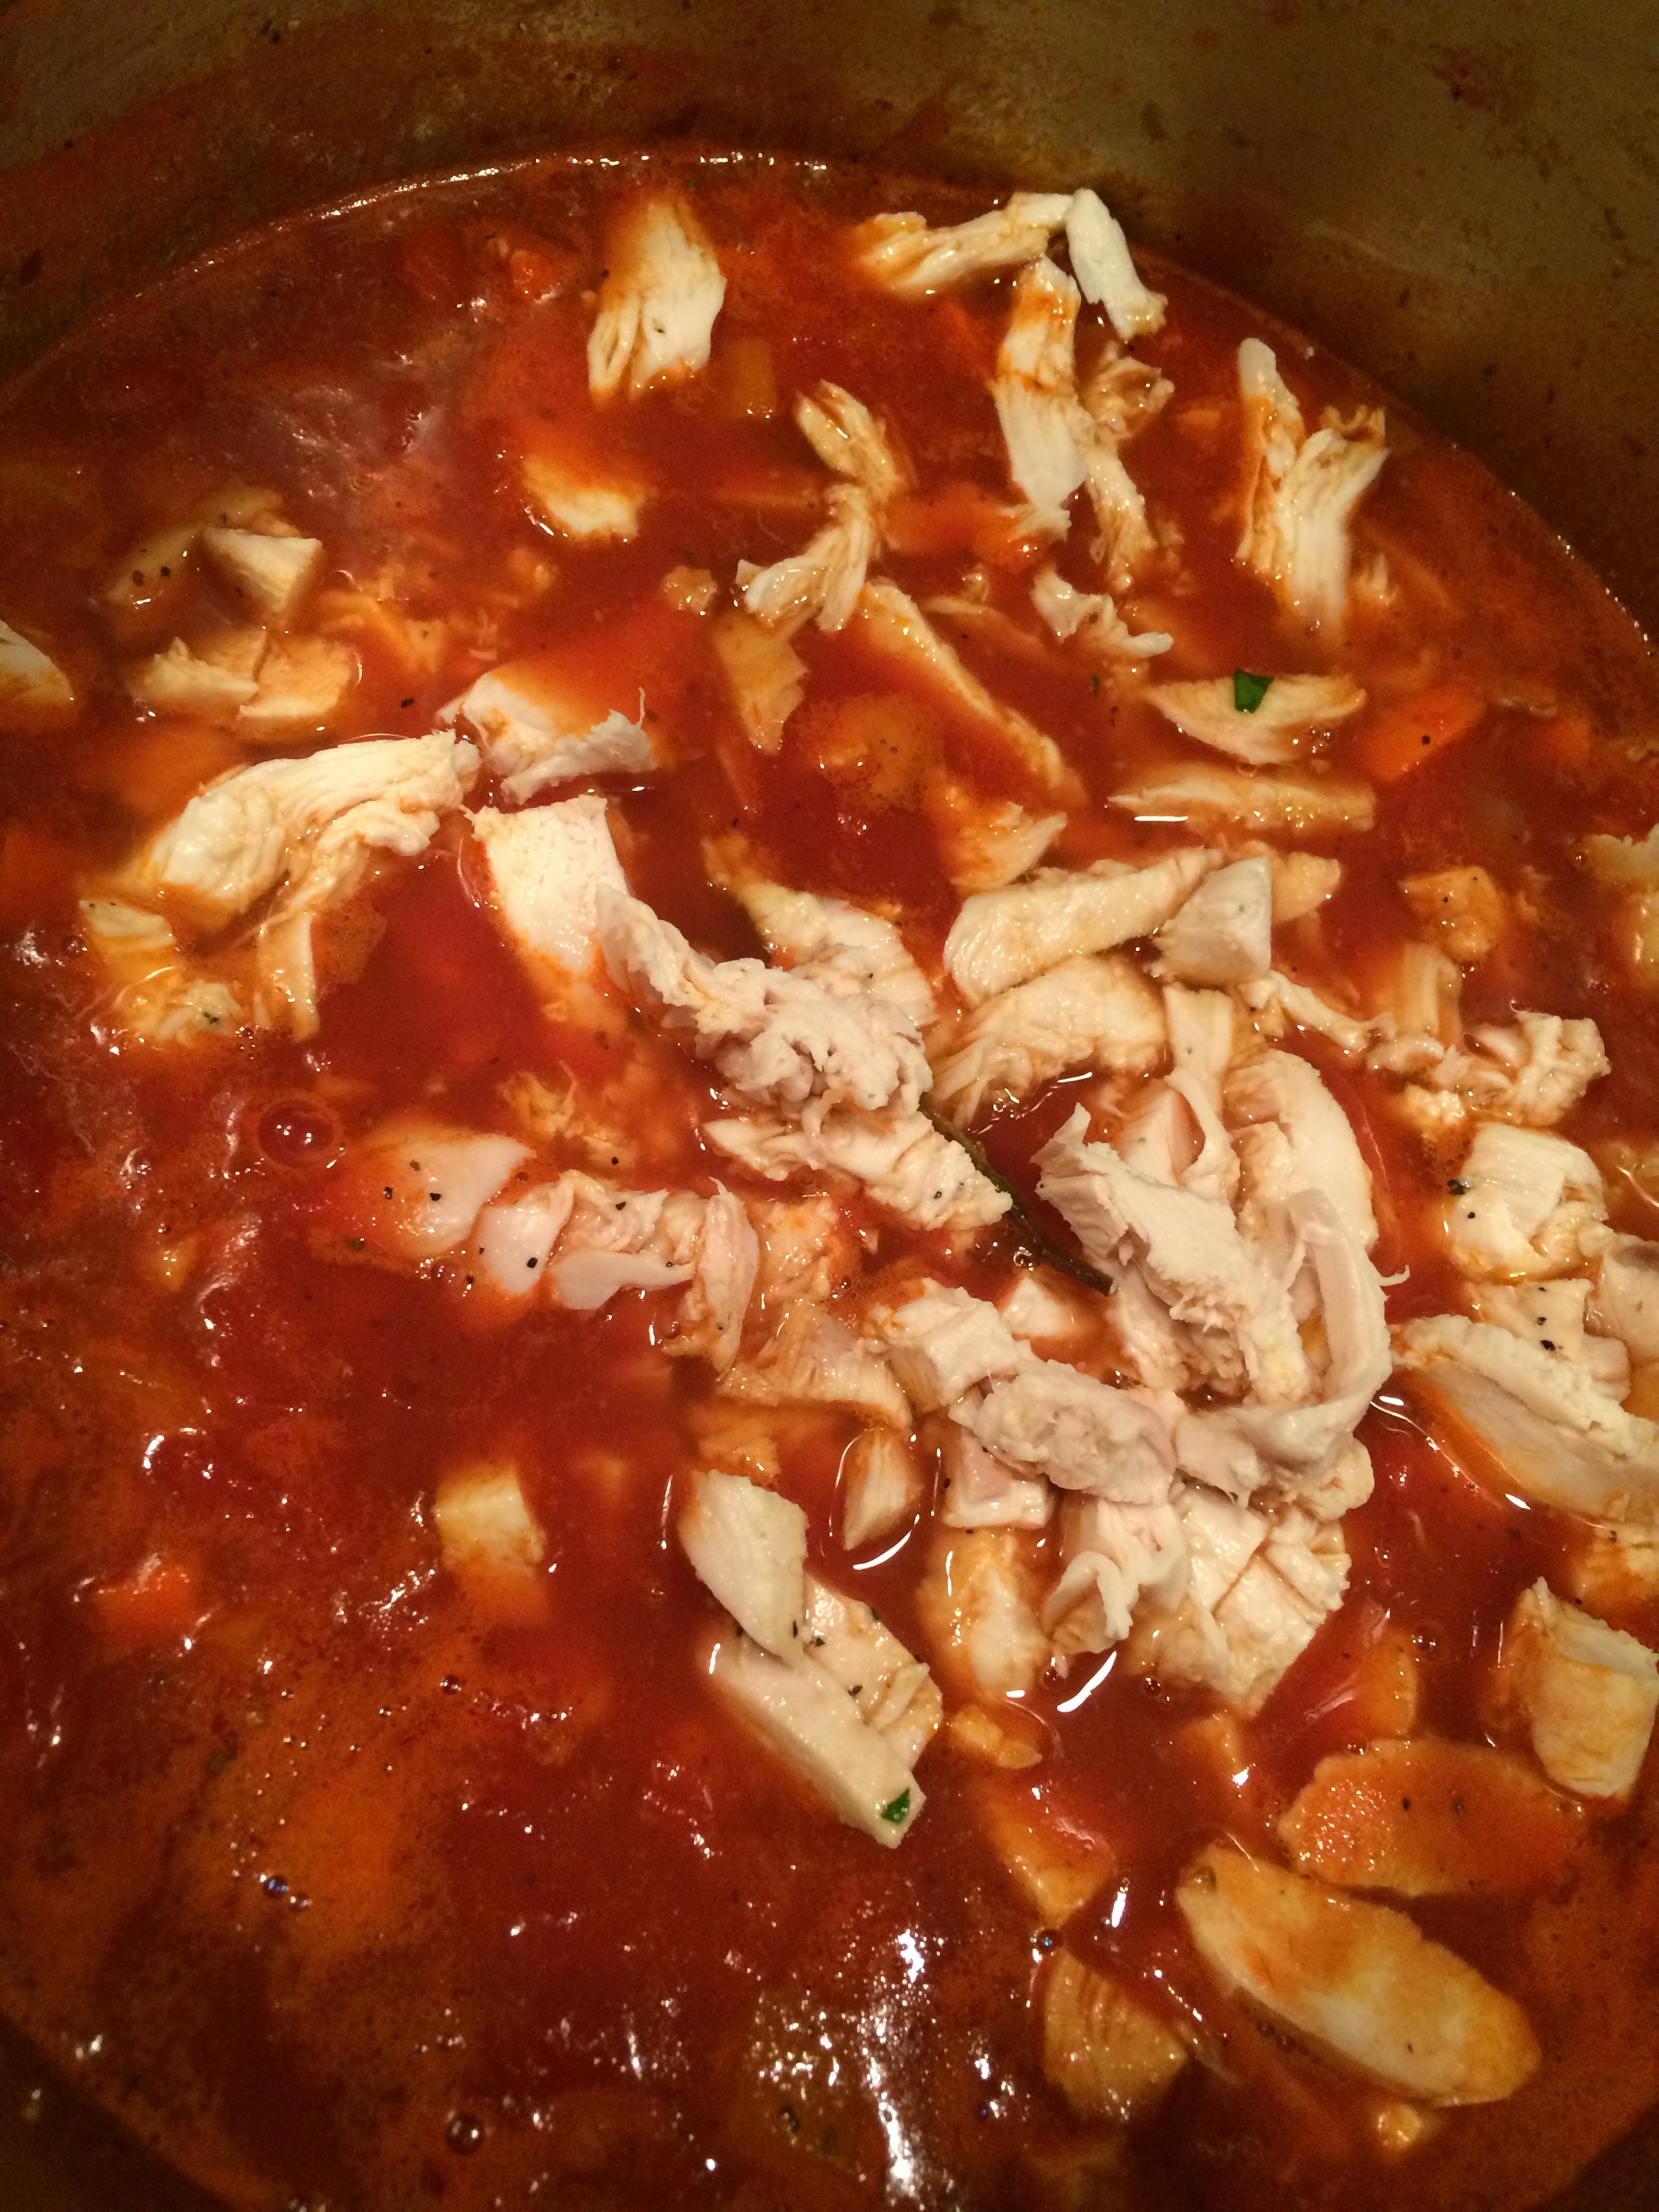
Then give it a stir, and add in your chopped chicken, if you are using chicken. see below.
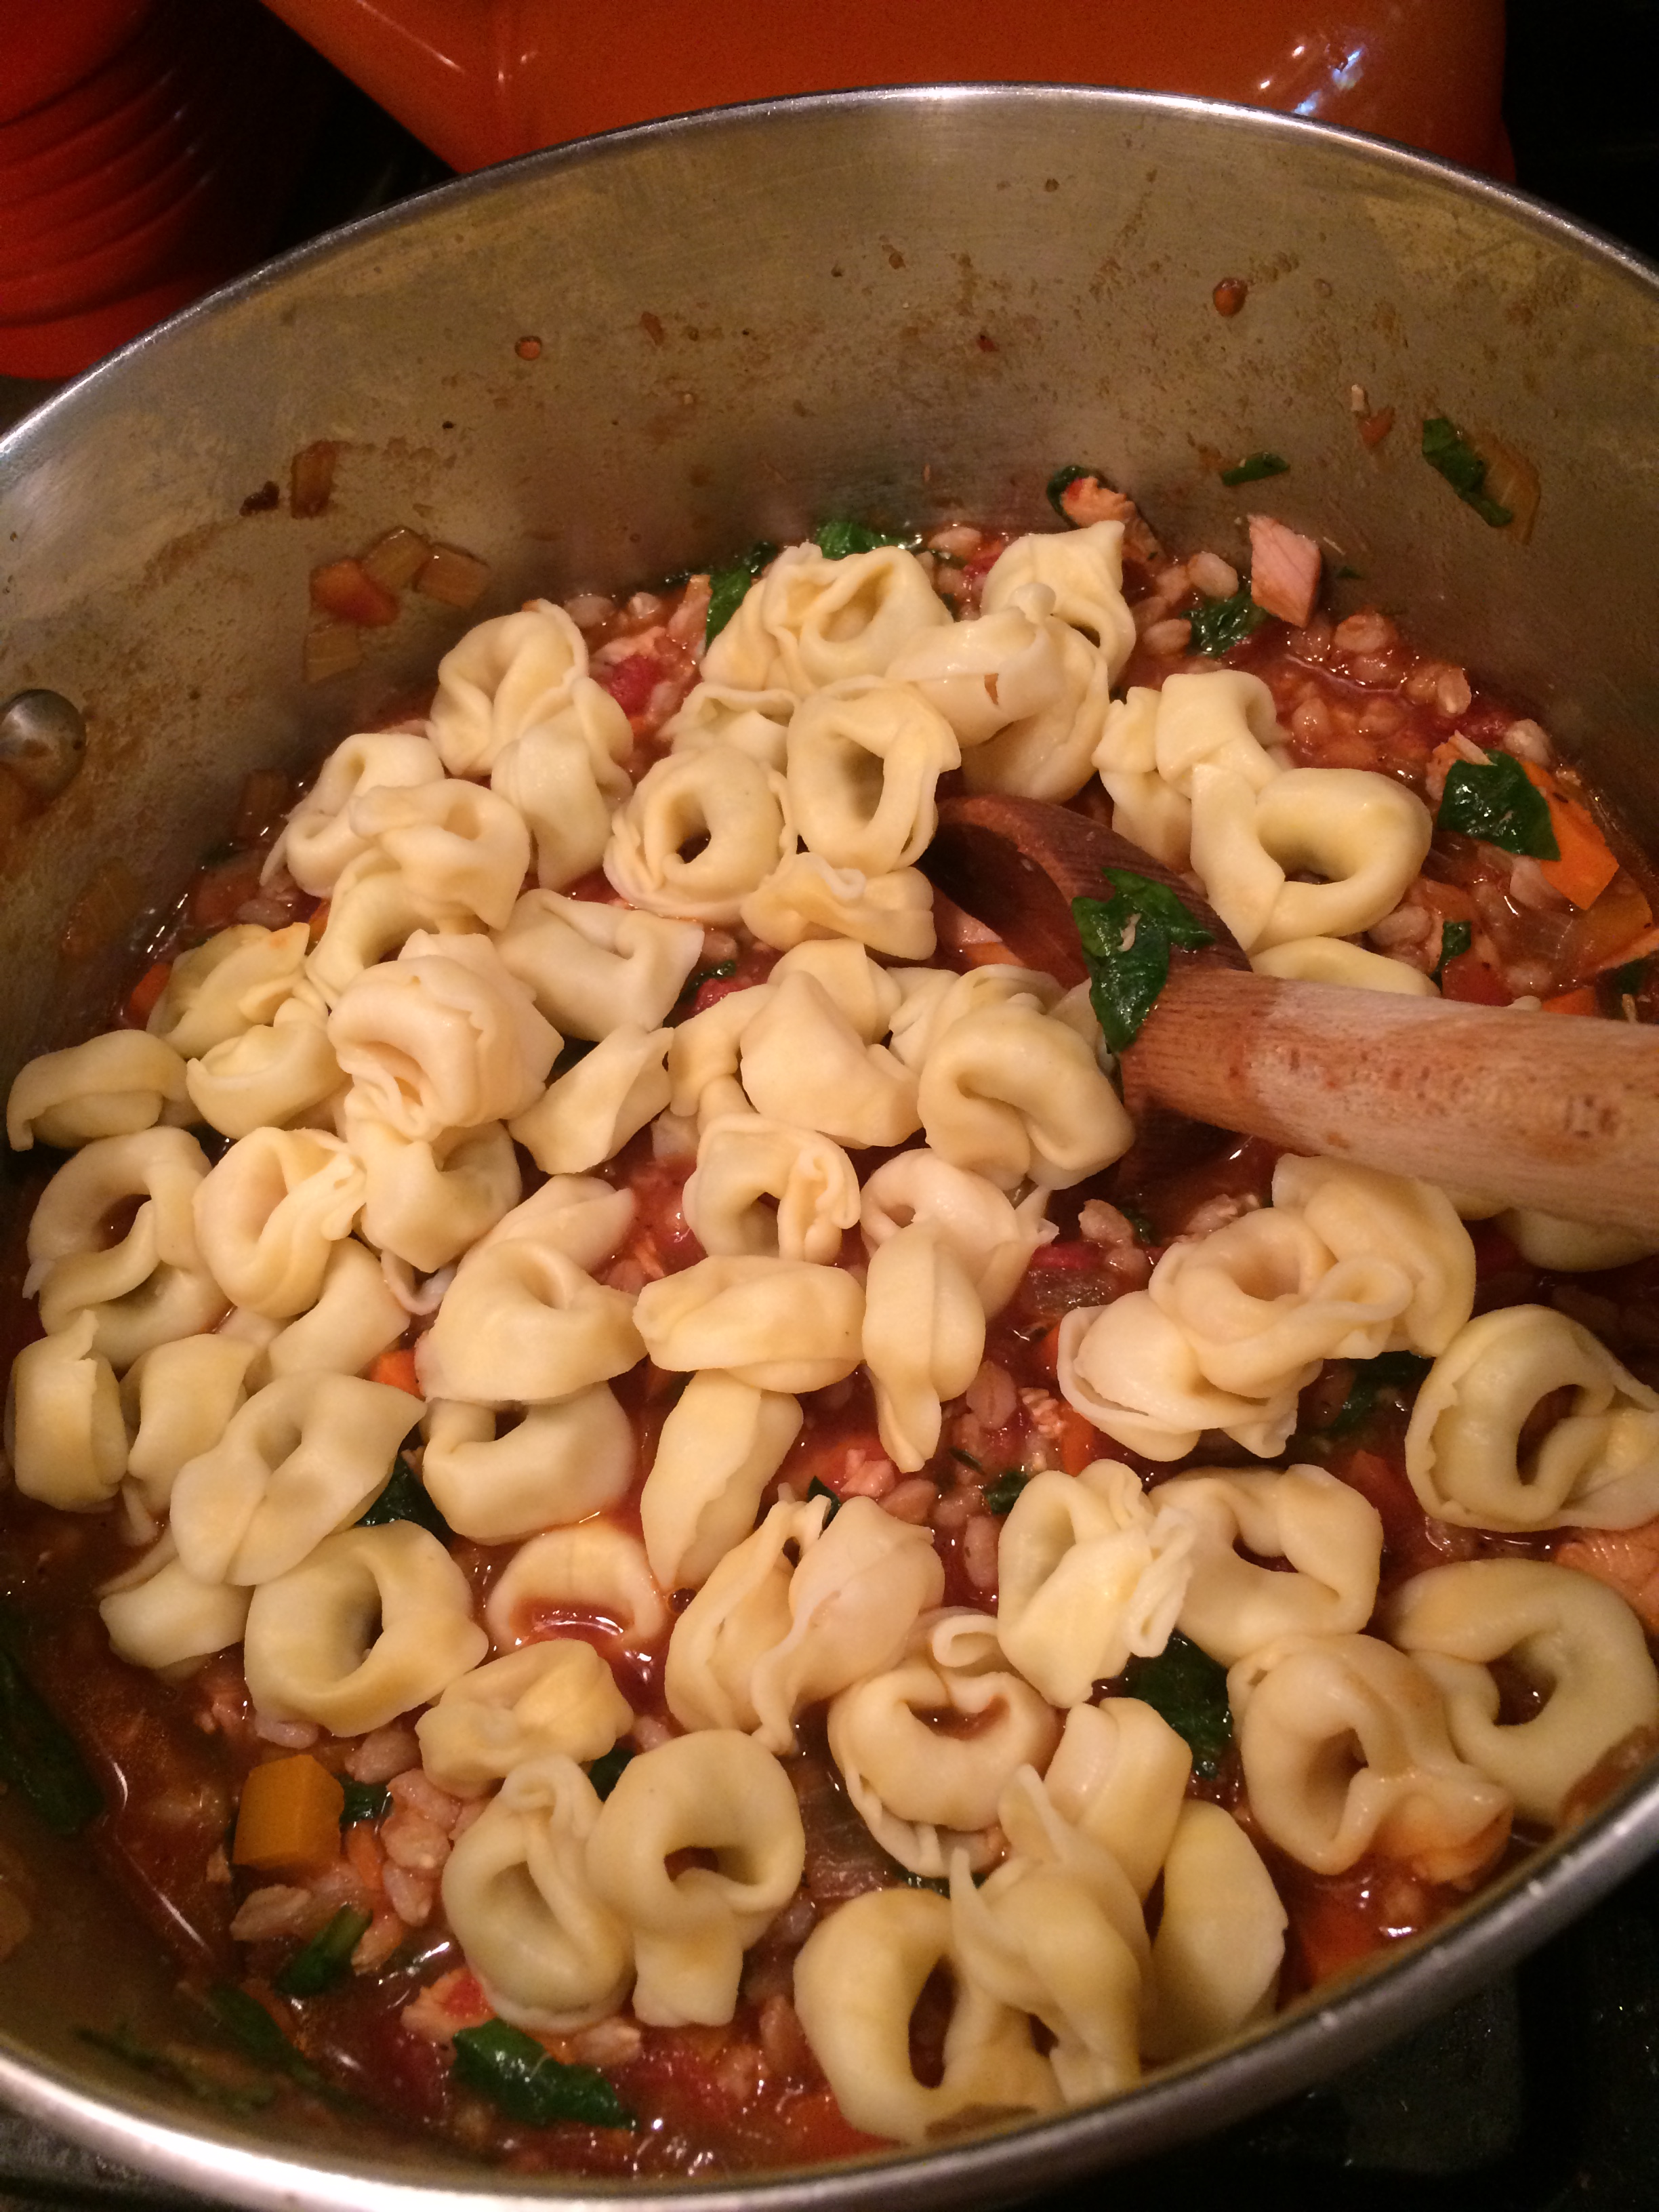
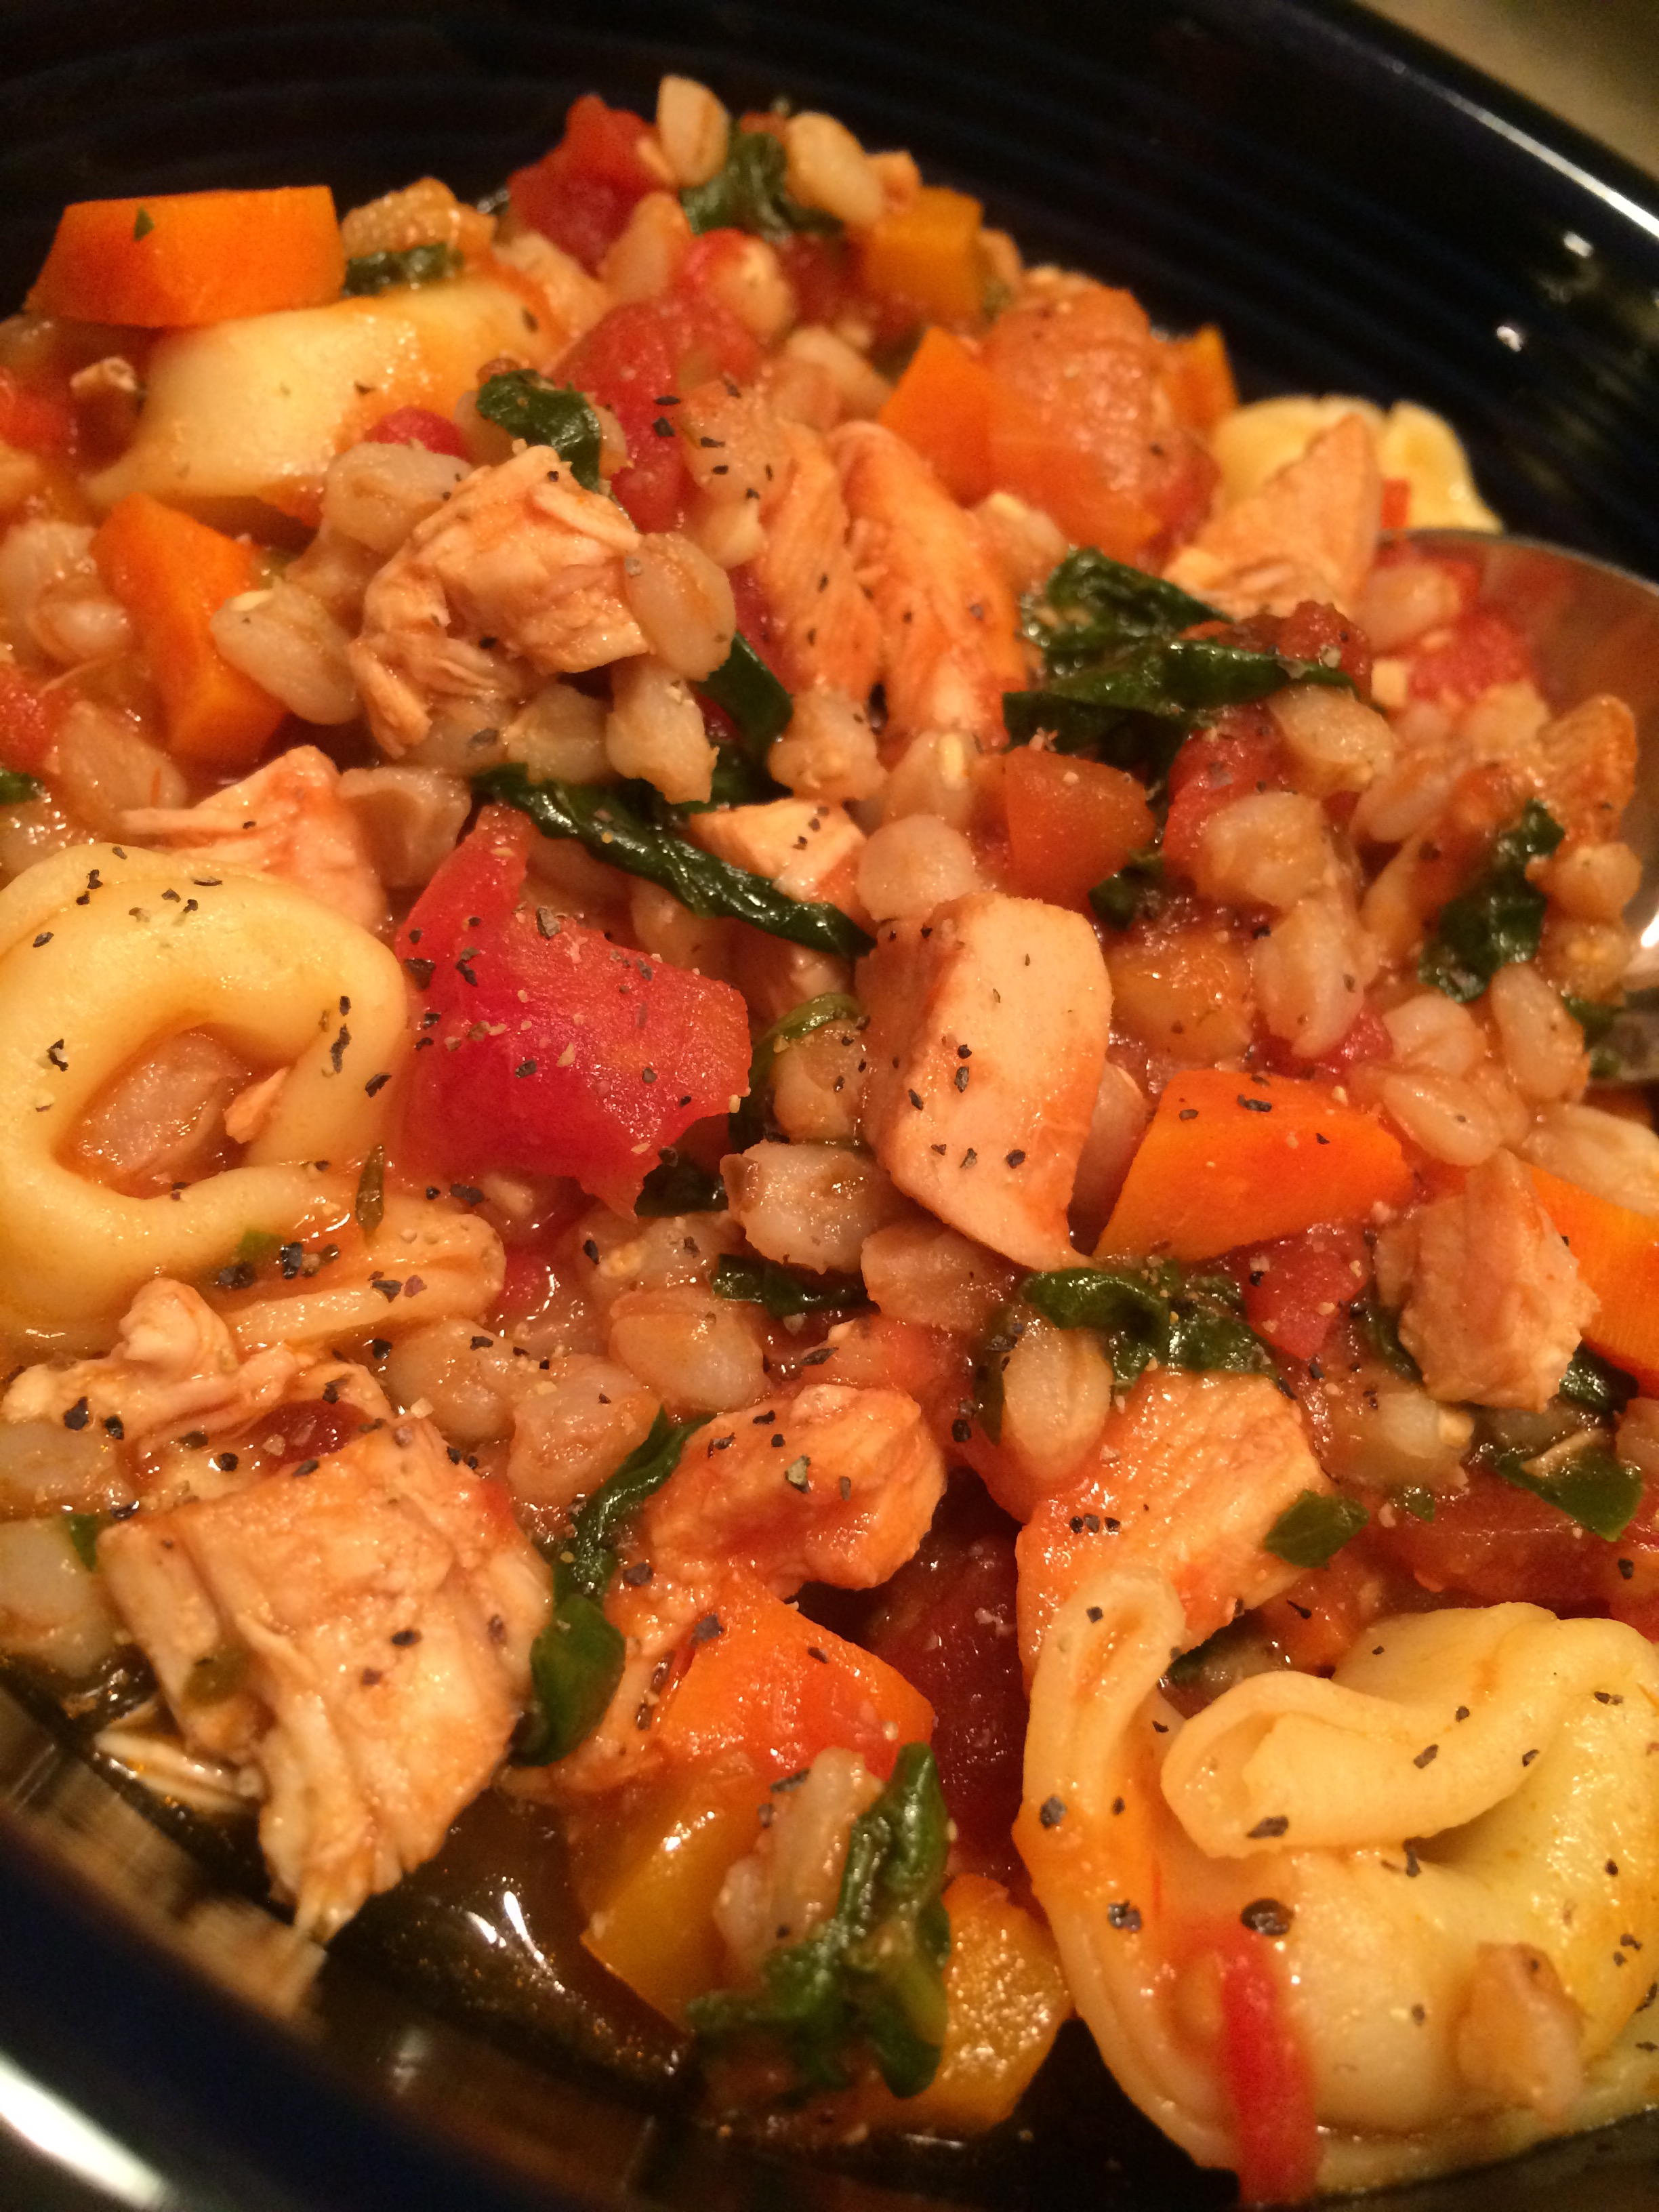
Then go ahead and add the spinach and the farro and stir well to combine! Lastly, add in the tortellini, and stir gently to combine. Replace the lid and simmer for ten more minutes and then it is ready to serve!!