“How you can sit there, calmly eating muffins when we are in this horrible trouble, I can’t make out. You seem to me to be perfectly heartless.” “Well, I can’t eat muffins in an agitated manner. The butter would probably get on my cuffs. One should always eat muffins quite calmly. It is the only way to eat them.” ~Oscar Wilde… the trouble with being earnest.
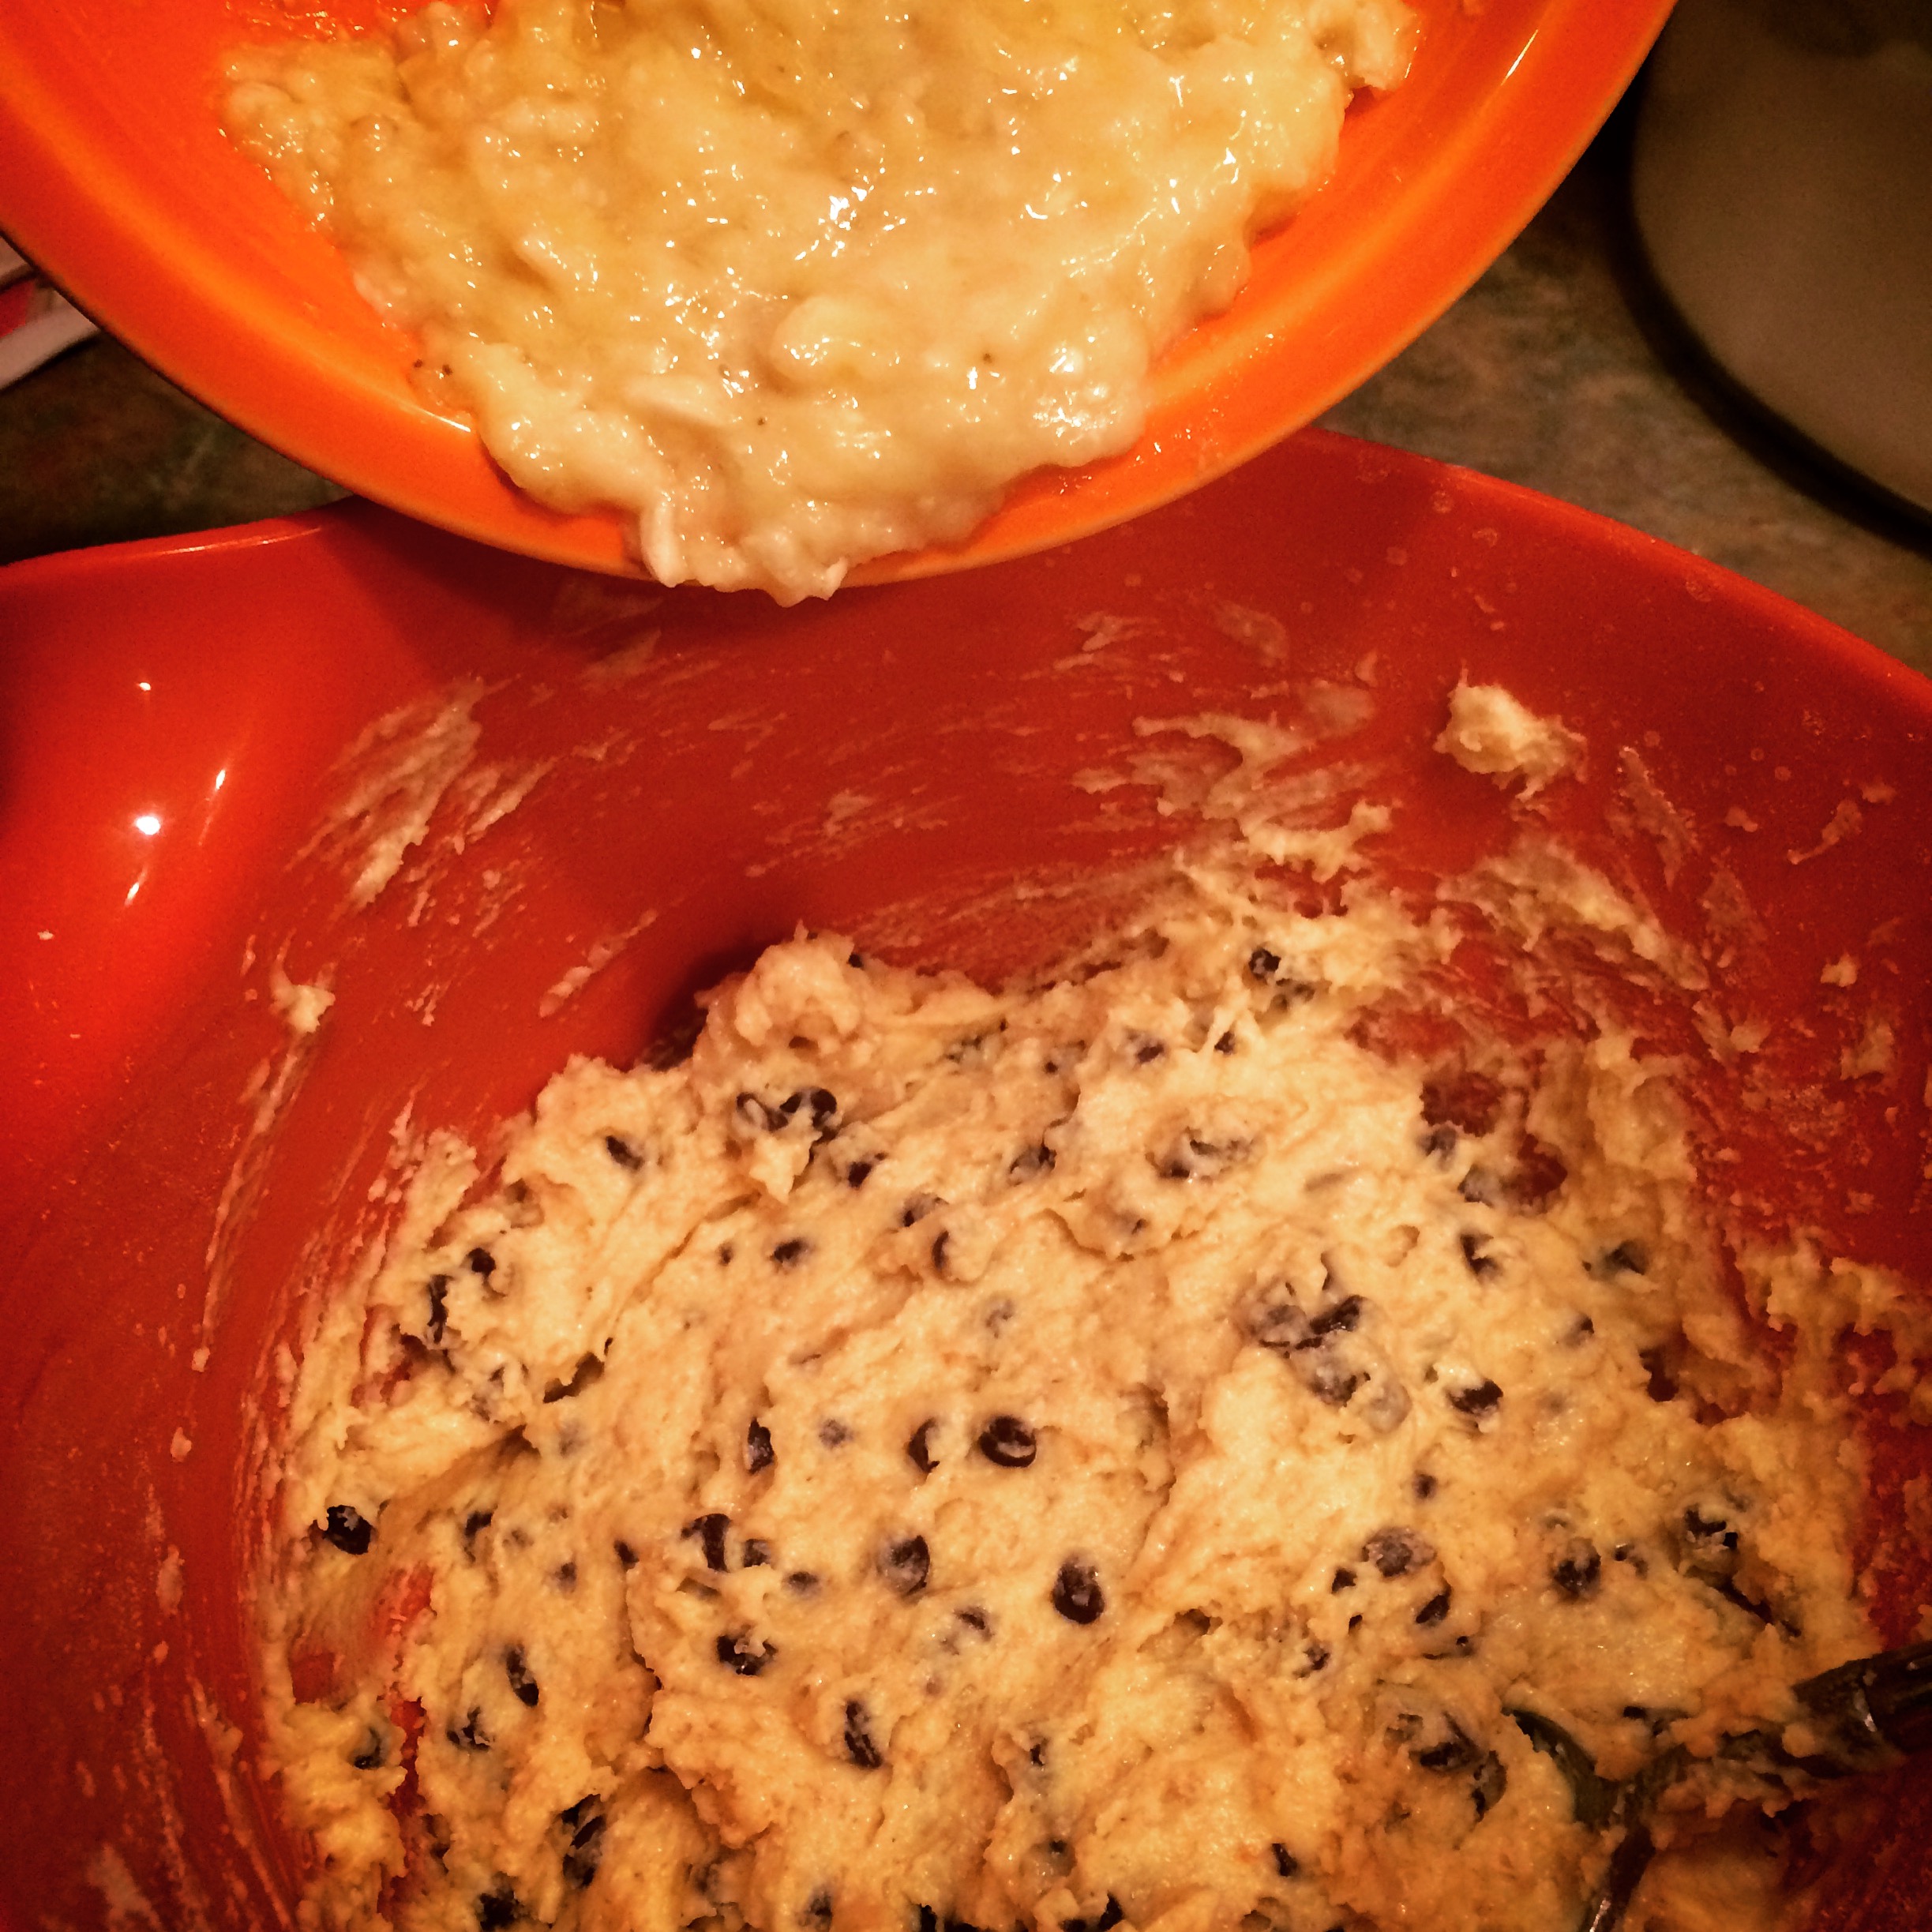
This is a very basic muffin recipe that I have spun to my liking by using unrefined coconut oil. I have made this recipe as is, bare bones with mini chocolate chips only. I have added two mashed nanners and dark chips, which I show here with pics. I have added fresh raspberries and white chips. I have added lots of cinnamon and dried cherries. take this wherever you like, as it is a solid, sturdy muffin mix that is wickedly adaptable. (which is a very admirable quality in my humble opinion)
Don’t ask me about nutritional value, because I can’t get wrapped up in that shit. I know I can pronounce and see all of my ingredients, and they are fresh. That is what I deem important. Feel good about knowing what you are feeding your wee ones and yourself. I usually let the tots have two… and then we eat a healthy lunch. you do you.
WHAT YOU NEED:
2 cups flour
1/2 cup sugar
1 Tablespoon baking powder
1/2 tsp of salt
1 egg
3/4 cup milk
1/3 cup coconut oil (warm it for 25 secs in microwave to liquefy)
Add ins: (3/4 c choc chips; two mashed nanners; 3/4 cup blueberries; 1/2 c shredded coconut; almonds; whatever you think would be yummy. if berries, gently stir in at last min, or better yet poke them into the muffins once poured into cups)
I usually add a dash of nutmeg over my flour as well, just for a little flavor punch.
WHAT YOU DO:
mix it all together in a bowl in order listed…. easy peasy. lightly grease muffin cups and evenly distribute.
ready for the oven!
400* for 18 mins. remove from tins carefully loosening sides with butter knife- place into a lovely towel lined basket and let cool a few minutes. Enjoy!!
soooo… i just have to be honest here. i have never met a pig i didn’t like. i mean let’s be honest. they are adorable to look at when they are little, they are fun to watch when they are MASSIVE… and when my hubby worked part time on a local farm to help pay the bills last winter, the stories of the big pigs were always my faves! at one point he had to fight one of them off with a broom handle to avoid getting knocked over and trampled in the mud! they can be brutal and mean! but they are so funny and somehow still cute even at 600 pounds! it was hard to keep a straight face when he told me that story. when there are farm animals around, the first thing my kiddos run to are the pigs. they love feeding them with baby bottles, and listening to their oinky cute sounds.
however……. (and i know i’m gonna get flack for this next statement) i have never met a more tasty animal. i mean come ON…. bacon?? enough said. a big succulent slice of ham at Christmas time??? shut the front door. crispy sausage links dripping in maple syrup alongside your cinnamon french toast?? hold the phone Ma. sweet italian sausages slow cooked in red sauce all day long and sliced over a bowl of pasta?? That’s Amore. shall i go on?? crispy yet melt in your mouth pork belly tacos with mole sauce and cilantro?? just yes. carnivores… you’re feelin’ me? but the one piggy dish i love preparing most is a slow roasted pork butt with a nice spice rub… dotted with garlic cloves… and served atop a nice sturdy bun with a drizzle of BBQ sauce, a heap of coleslaw and some spicy bread and butter pickle chips. smack my ass and call me Sally. this meal is sure to please, and with ease.
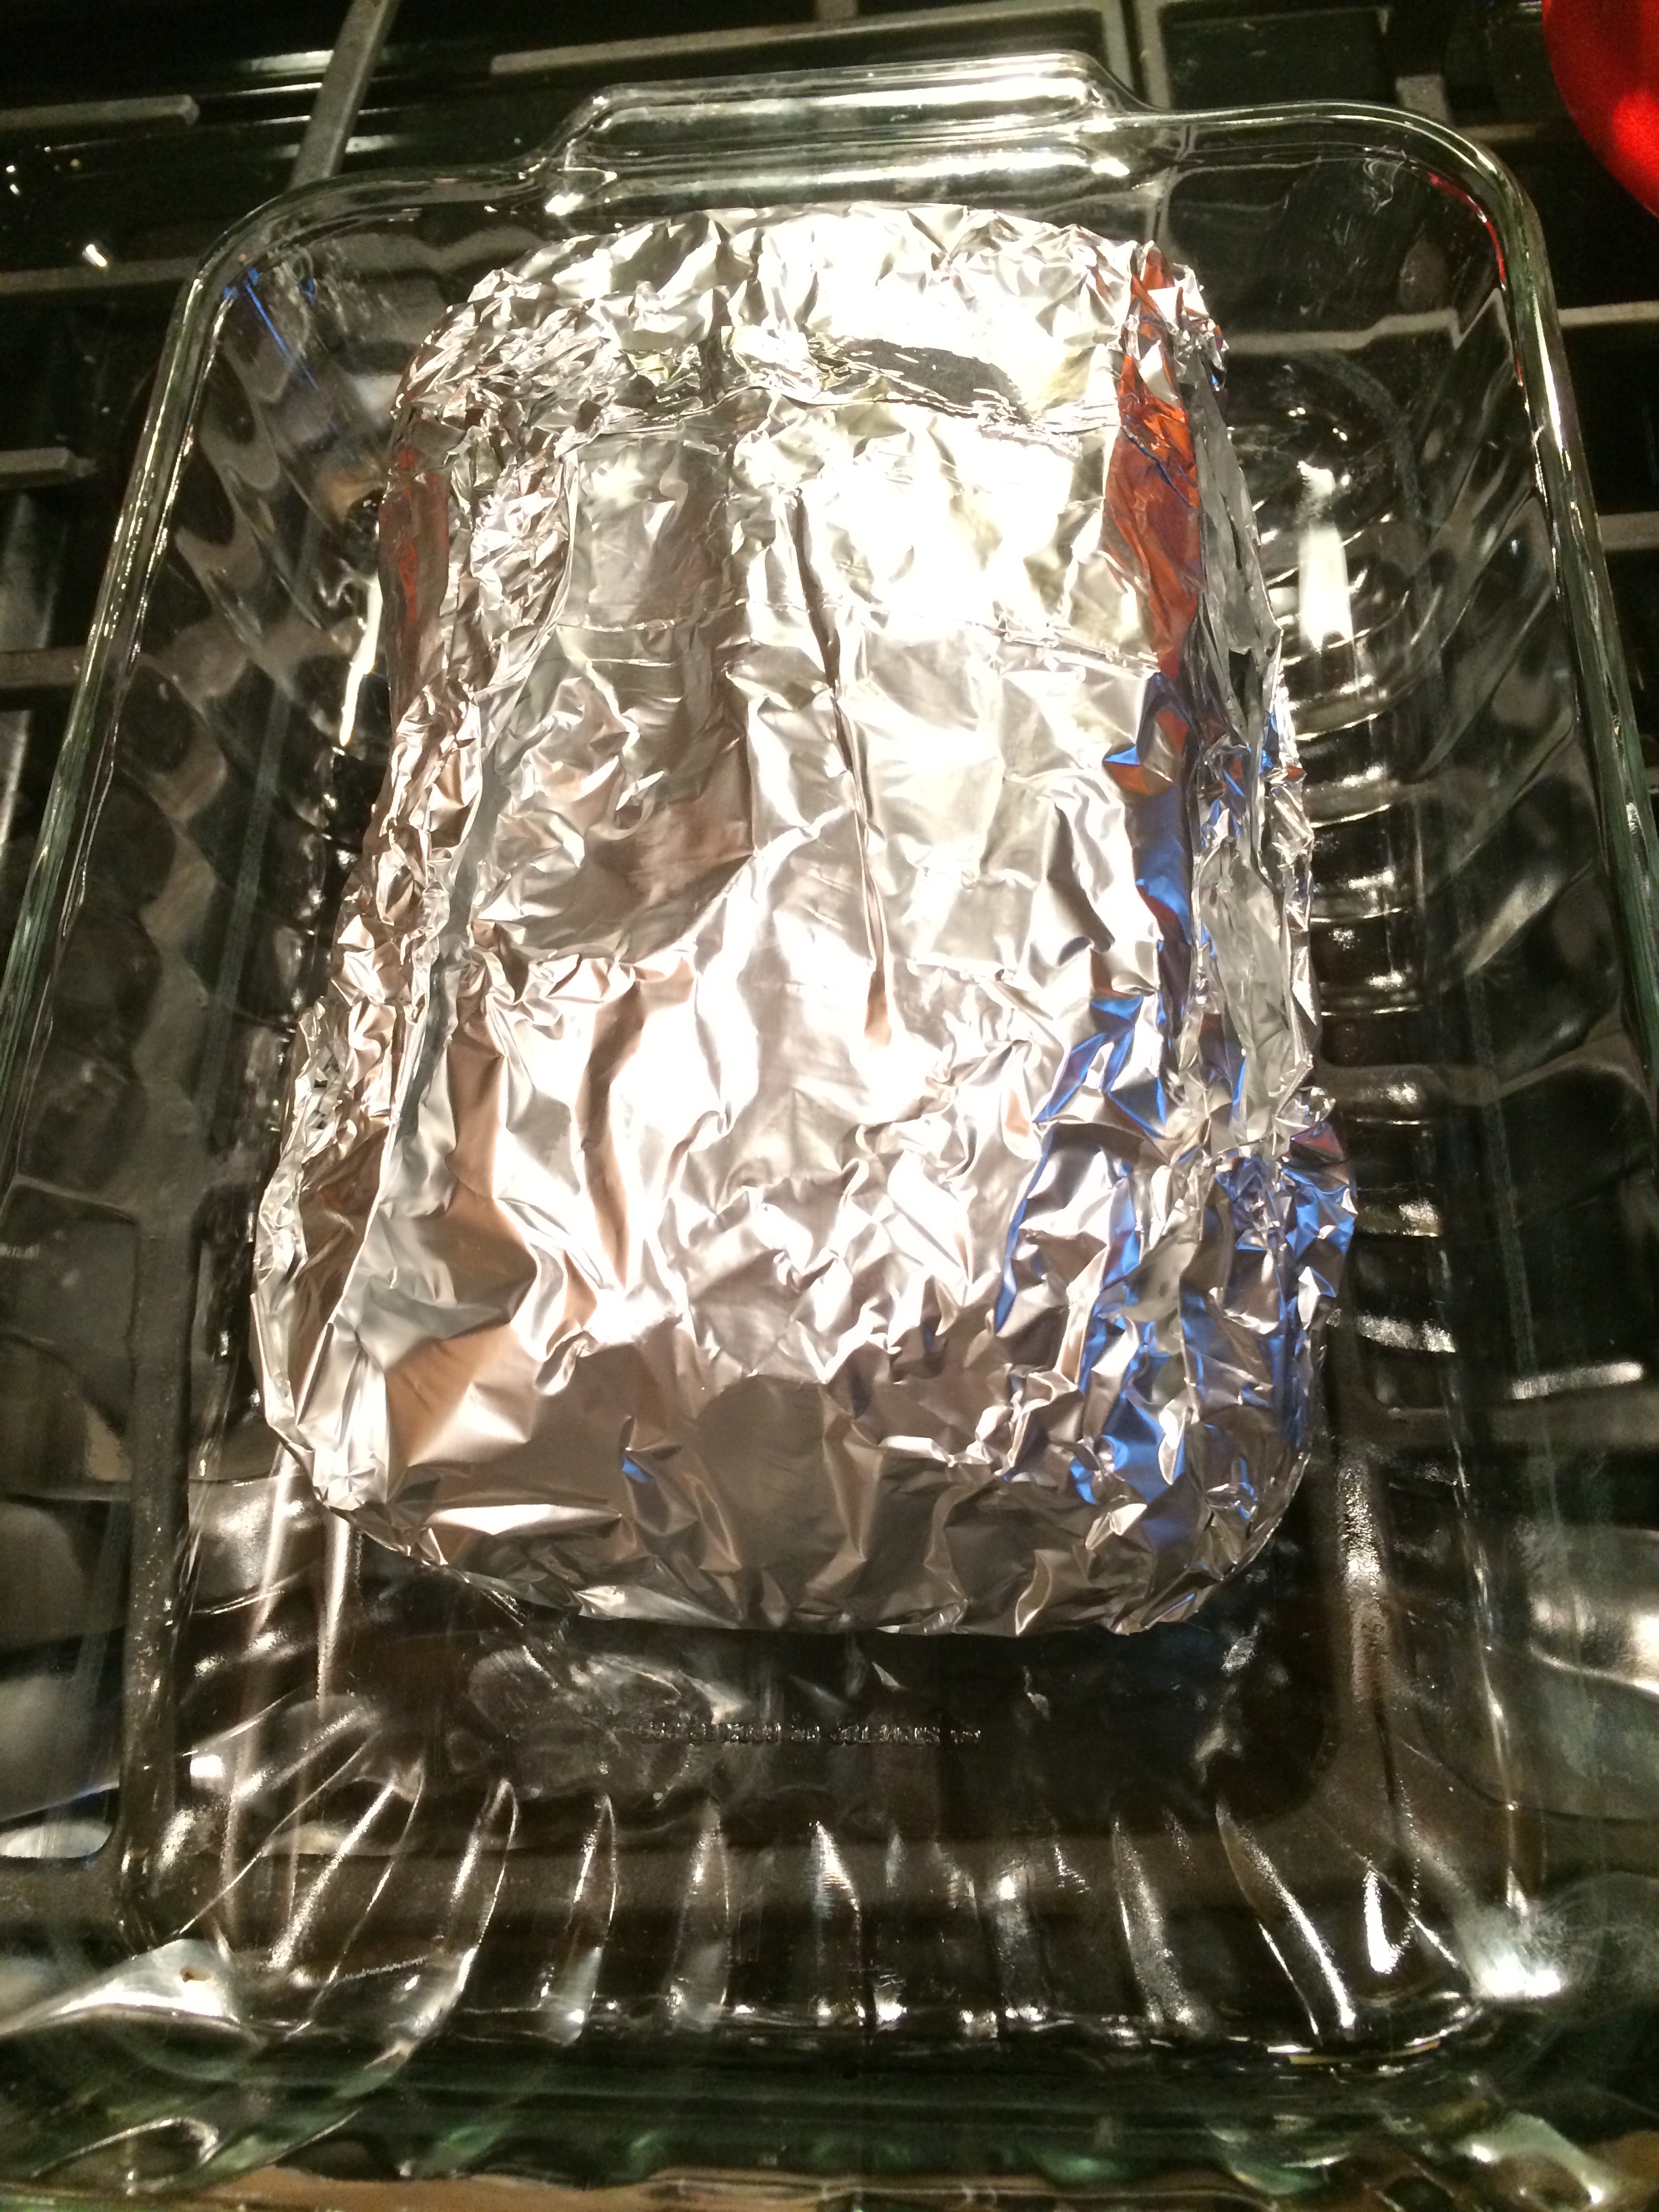
so here’s what it looks like before going into the oven. (get about a 3.5-4 lb pork butt roast- boneless or bone in- either way) whatever looks good to you. try to pick one that has a nice layer of thick fat on the top.
rub it down yo
this rub, i just make it up in a small bowl with all flavors i envision imparting good flavor. it goes something like this. take your 1/4 tsp spoon, and pull out some garlic powder, some chili powder, some cumin, some dried parsley, some dried mustard, paprika, onion powder (if you have it, i never do), dried thyme and black pepper- you’re lookin to add even amounts of all of these. a pinch of cayenne, add a whole tsp of salt, and add a whole Tablespoon of brown sugar. mix it all up in the bowl, and rub that sucker down good on all sides. i always do this inside my foil- so that it catches all the ‘crumbs’ in the vessel i’m gonna bake it in. stab it a few times to create little slots for the garlic and jab some peeled cloves in those slots. hit it with a drizzle of olive oil all over the top. flip it to FAT layer side up. so yeah, the Foil… lay out a big sheet, then put another sheet going the other way, etc- unless you have that lovely Heavy duty, extra large foil… in which case you’re golden. the goal here is to wrap this up so well and tight, so that the juices are trapped in the foil. ya’ll are crafty. fold and pinch this foil like it is your job. place this foil in a pyrex dish, just to catch any juices that will inevitably escape. see visual below:
ready for oven
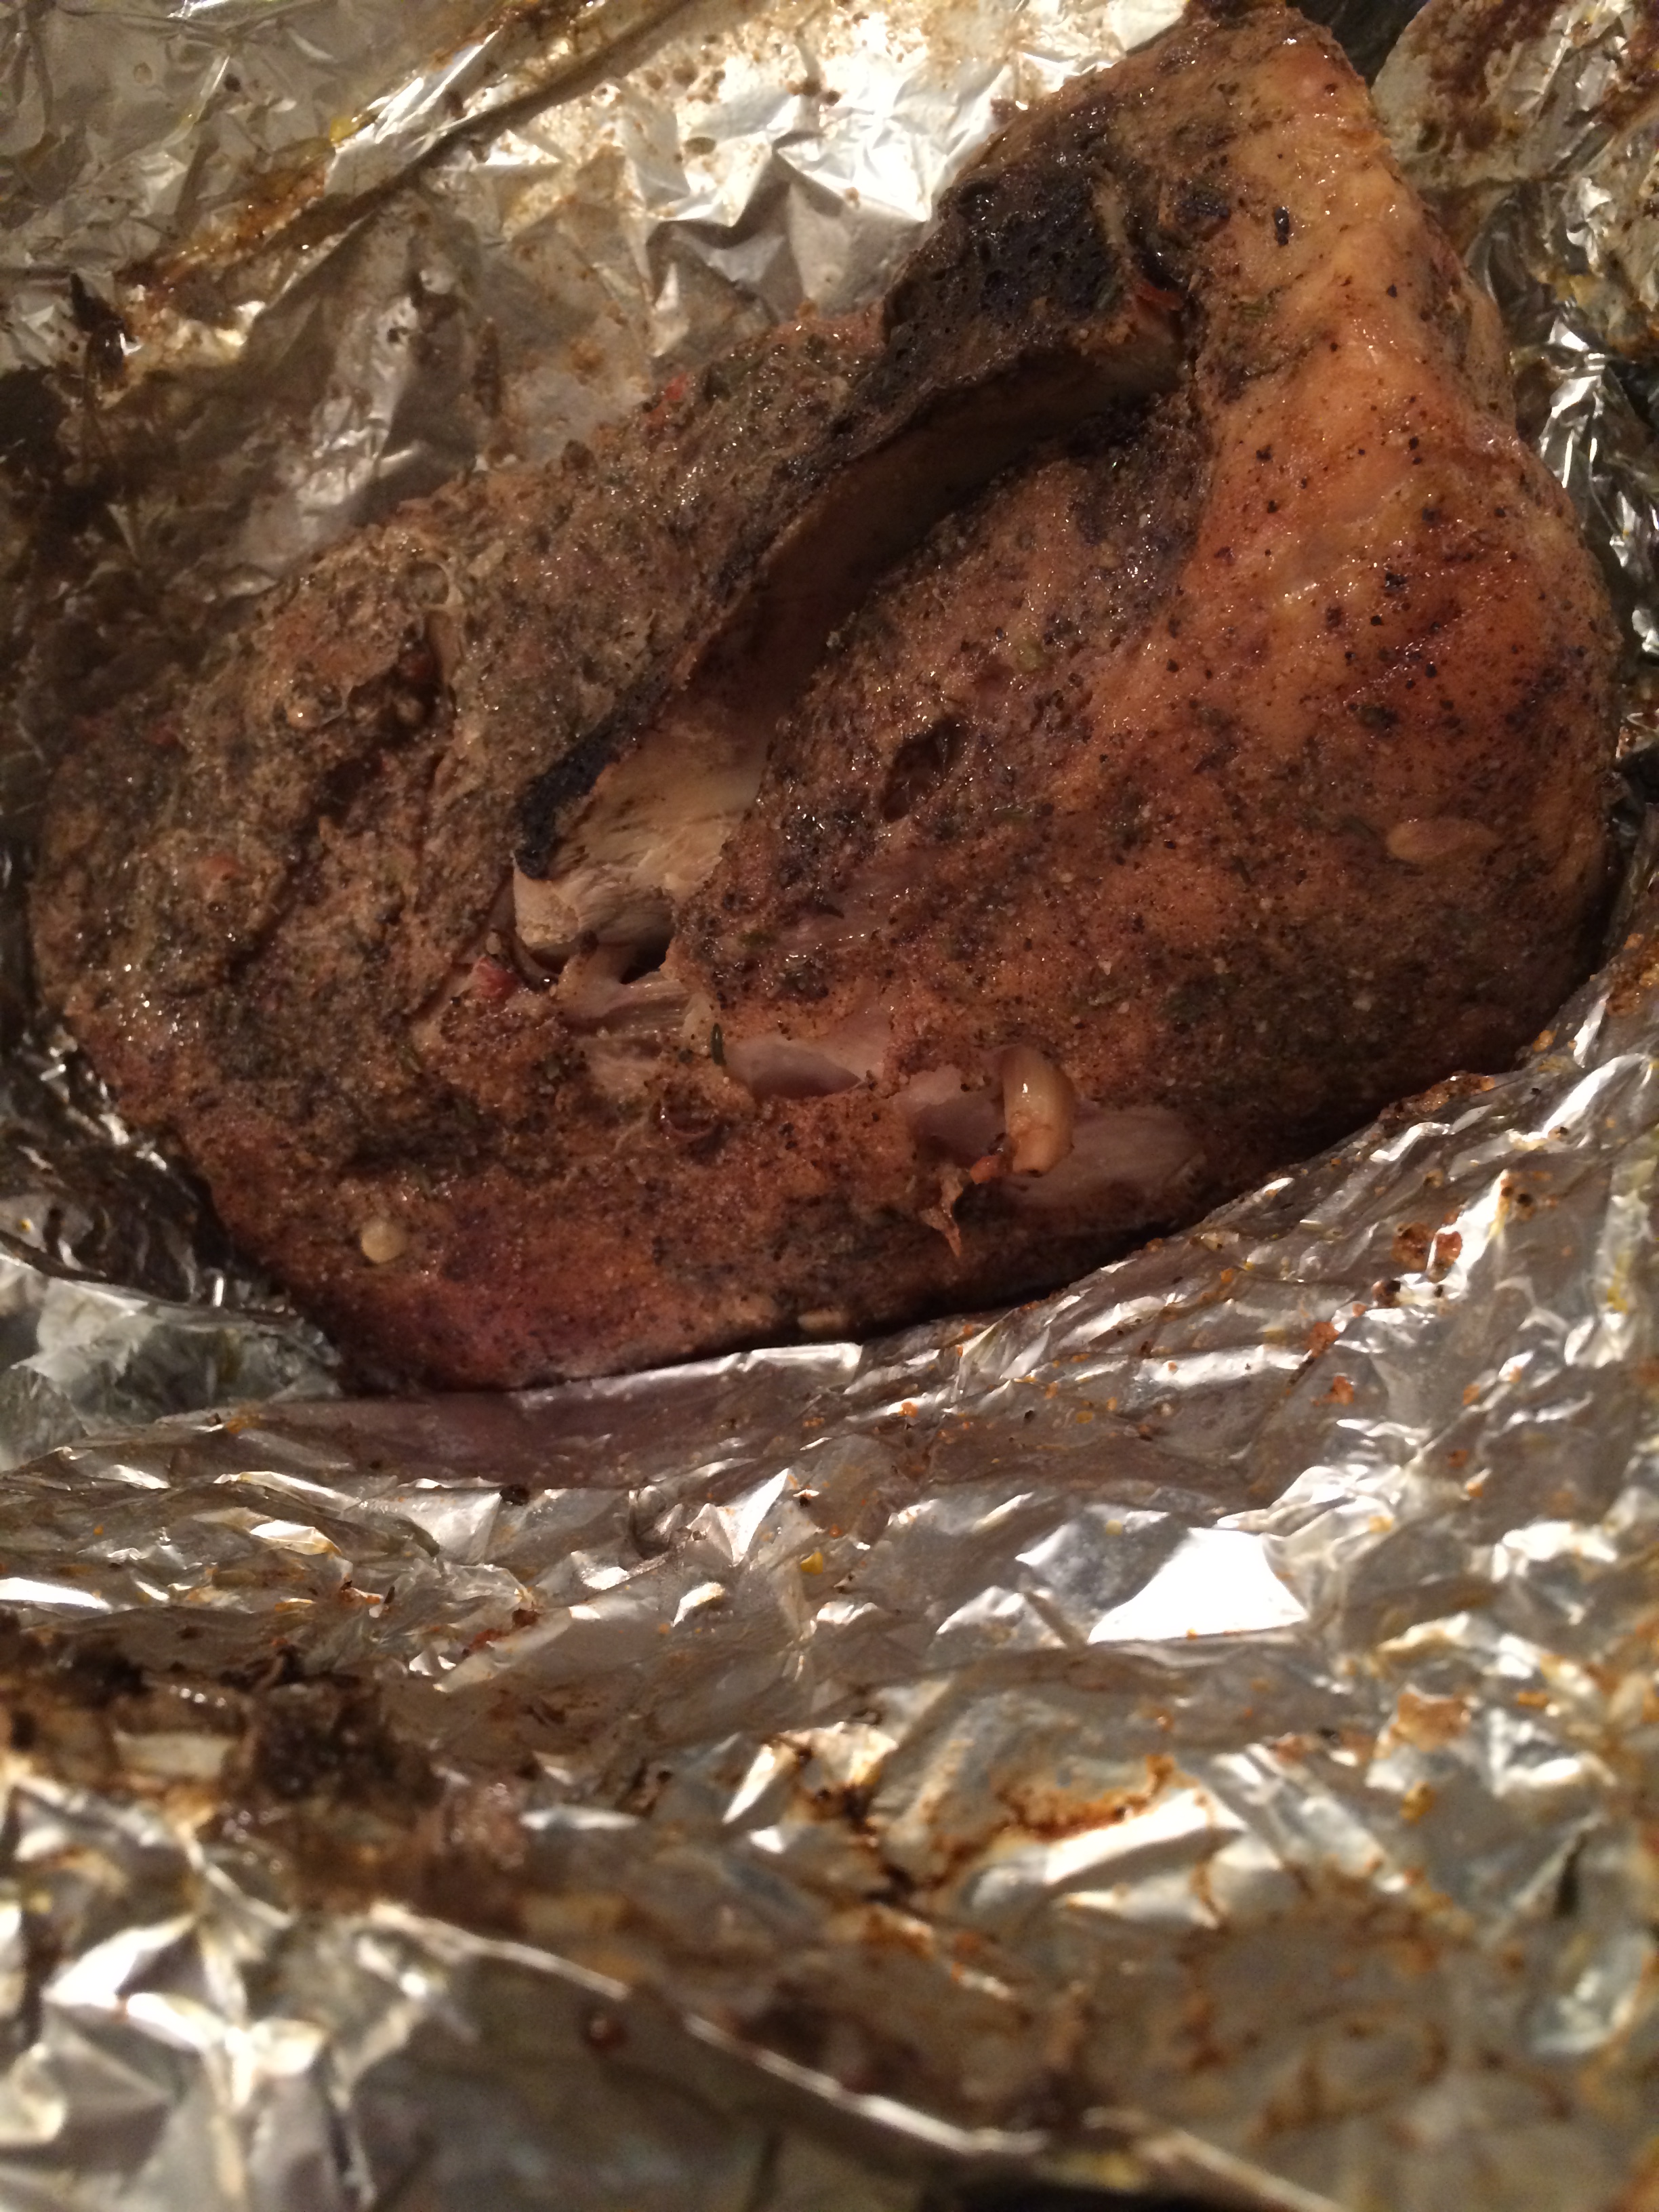
i always start this out at 425* for like 25 minutes, and then i turn heat to 270* and let her go for five hours at least. i’ve done six before when i had to leave and didn’t get to do the pre-game 425* part. still perfect. never, under any circumstances unwrap this during the cooking. when it is done, remove from oven and let it sit for ten mins or so. unwrap, drool, and then let it sit for ten mins more. perfect time to pluck off the corners and stand around taking pictures and sipping a cold beer if you’re anything like me. See below for the big reveal:
drooling on my camera
SHRED THE PORK now in the baking dish you cooked it in… allowing all the juices created to run into the pan as you gingerly remove the foil from around the meat. use two forks, or however you like to do this. i like some big chunks coupled with small shreds- i feel that makes a good sandwich. Add BBQ sauce if you have a favorite, honestly it is tasty enough to stand alone on the bun or plate. i like mine as i described above- with a healthy serving of tater tots or crispy crowns- and an ice cold craft beer. Life doesn’t get much better than that folks. Enjoy!!
This January in Pittsburgh as temps are ping ponging between 28*F and -10*F on a weekly basis, i find myself more than ever longing for comfort foods. Stews that simmer for hours on end… filling the house with delightful aromas, homemade breads rising in front of the fire… ready to mop up red sauces later that evening, and ultra thick, creamy flavorful sauces like the one above… ready to cling to whatever pasta you pair it with. Our activities are limited in weather like this. Where we would normally linger outside in the yard with the dog, maybe tossing a tennis ball or two, we find ourselves hovering inside the door wishing he/she would hurry up and do their business already. Where we would normally be bundling up the children and sending them out for sledding and snowball fights, we find ourselves considering the risk of frostbite and keeping them inside instead. I myself love to run, and try to get out at least a couple of times per week to log some miles… but this weather… it’s abrasive to say the least. Our kitchens are the comfort hubs in the winter months. The oven is warm, the hot cocoa supply is endless, our pantries are stocked and families everywhere are baking batches of warm cookies on a whim… just for “something to do.” The recipe i’m about to arm you with comes together in less than a half hour- and warms in the oven a bit afterward while you get everyone ready for dinner … turn off the TV… turn on some relaxing music… enjoy a nice glass of wine and sit down and ‘be together’ with your family. “become present” and enjoy the food. Here we go.
what you need:
1 can cream of chicken soup
1 can cream of celery soup
1 8oz container of sour cream
1 bag of frozen ‘cook in the bag’ broccoli florets
1 stalk of celery (and some of the leaves if you have them)
half an onion (if large) -whole if smaller
skim milk
box of pasta (penne or farfalle or cavatappi- whatever you like)
cooked rotisserie chicken from your local store (just for ease)
salt/pepper
what you do:
start a pot of water boiling – and cook pasta according to package directions. drain, rinse and set aside once it’s done. cook your broccoli in the microwave per package instructions. set aside once it’s done. in the mean time, if you are using a rotisserie chicken, slice up the breast meat- and cut into small pieces. set aside. dice your onion and celery (and leaves if you have some) and set aside. in a large non stick pan (i like to use a wok for this to be honest)- add a bit of olive oil or butter- and saute your onion/celery until tender- maybe five minutes or so. Add your 2 cans of soup and a half a can of milk. stir well to combine. see visual below.
the base… bring it up to temp
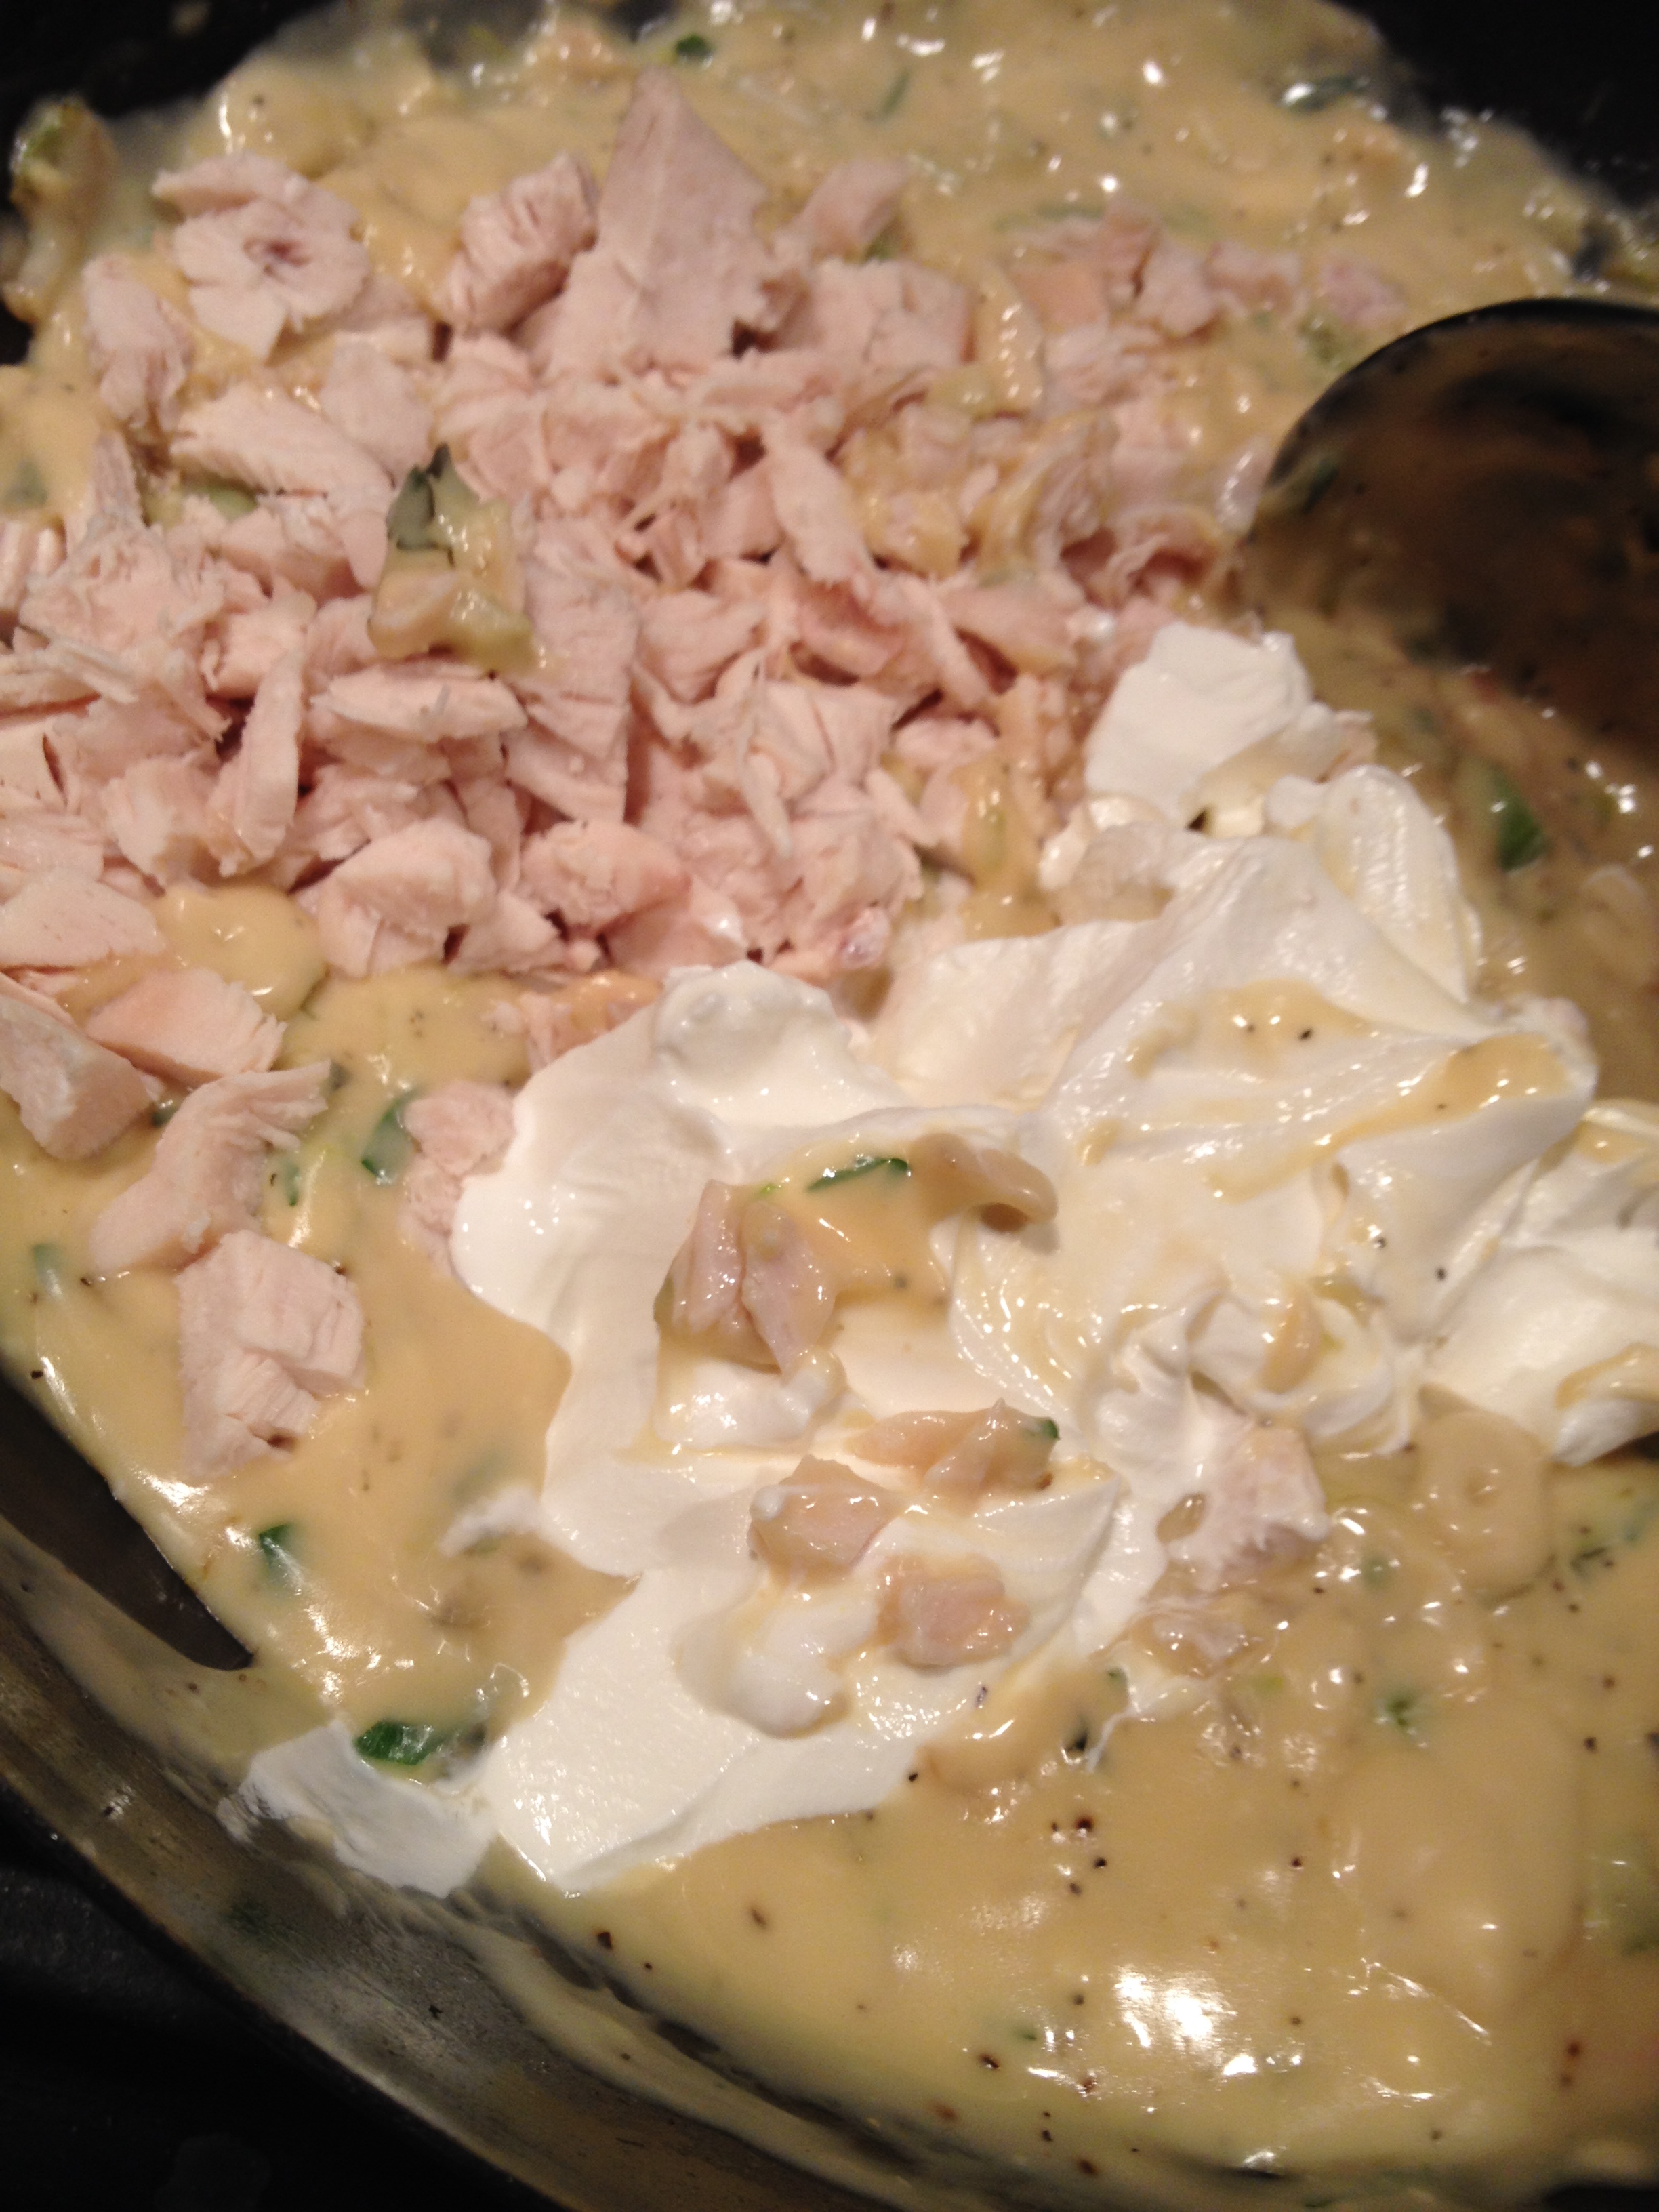
bring this up to bubbling over medium heat, stirring occasionally. Add pepper (maybe a half a tsp) and stir. pinch of salt- the soups are already salty though. Stir and then add your sour cream, your cooked broccoli and your chicken. stir to combine. see visual below.
bringing it all together
bring back up to bubbling over a medium heat. turn off heat and add your cooked pasta right in… stirring to coat nicely. Take and grease a large lasagna pan with olive oil (or any oil)- and preheat your oven to 350*. Add this pasta right into your dish (careful- the pan will be heavy) and top with a bit of shredded cheese of your choosing. i chose a shredded cheddar jack- you don’t need much- maybe a cup- but if your family loves cheese… then go at it with two cups. 🙂 Bake at 350 for 25-30 minutes uncovered. i neglected to take a finished plated pic of this last night… probably because i could not wait to get this into my mouth!! it was super duper delicious, creamy and satisfying in every way. Anyone can tackle this recipe. honest. Enjoy… and for goodness sakes, KEEP WARM!!
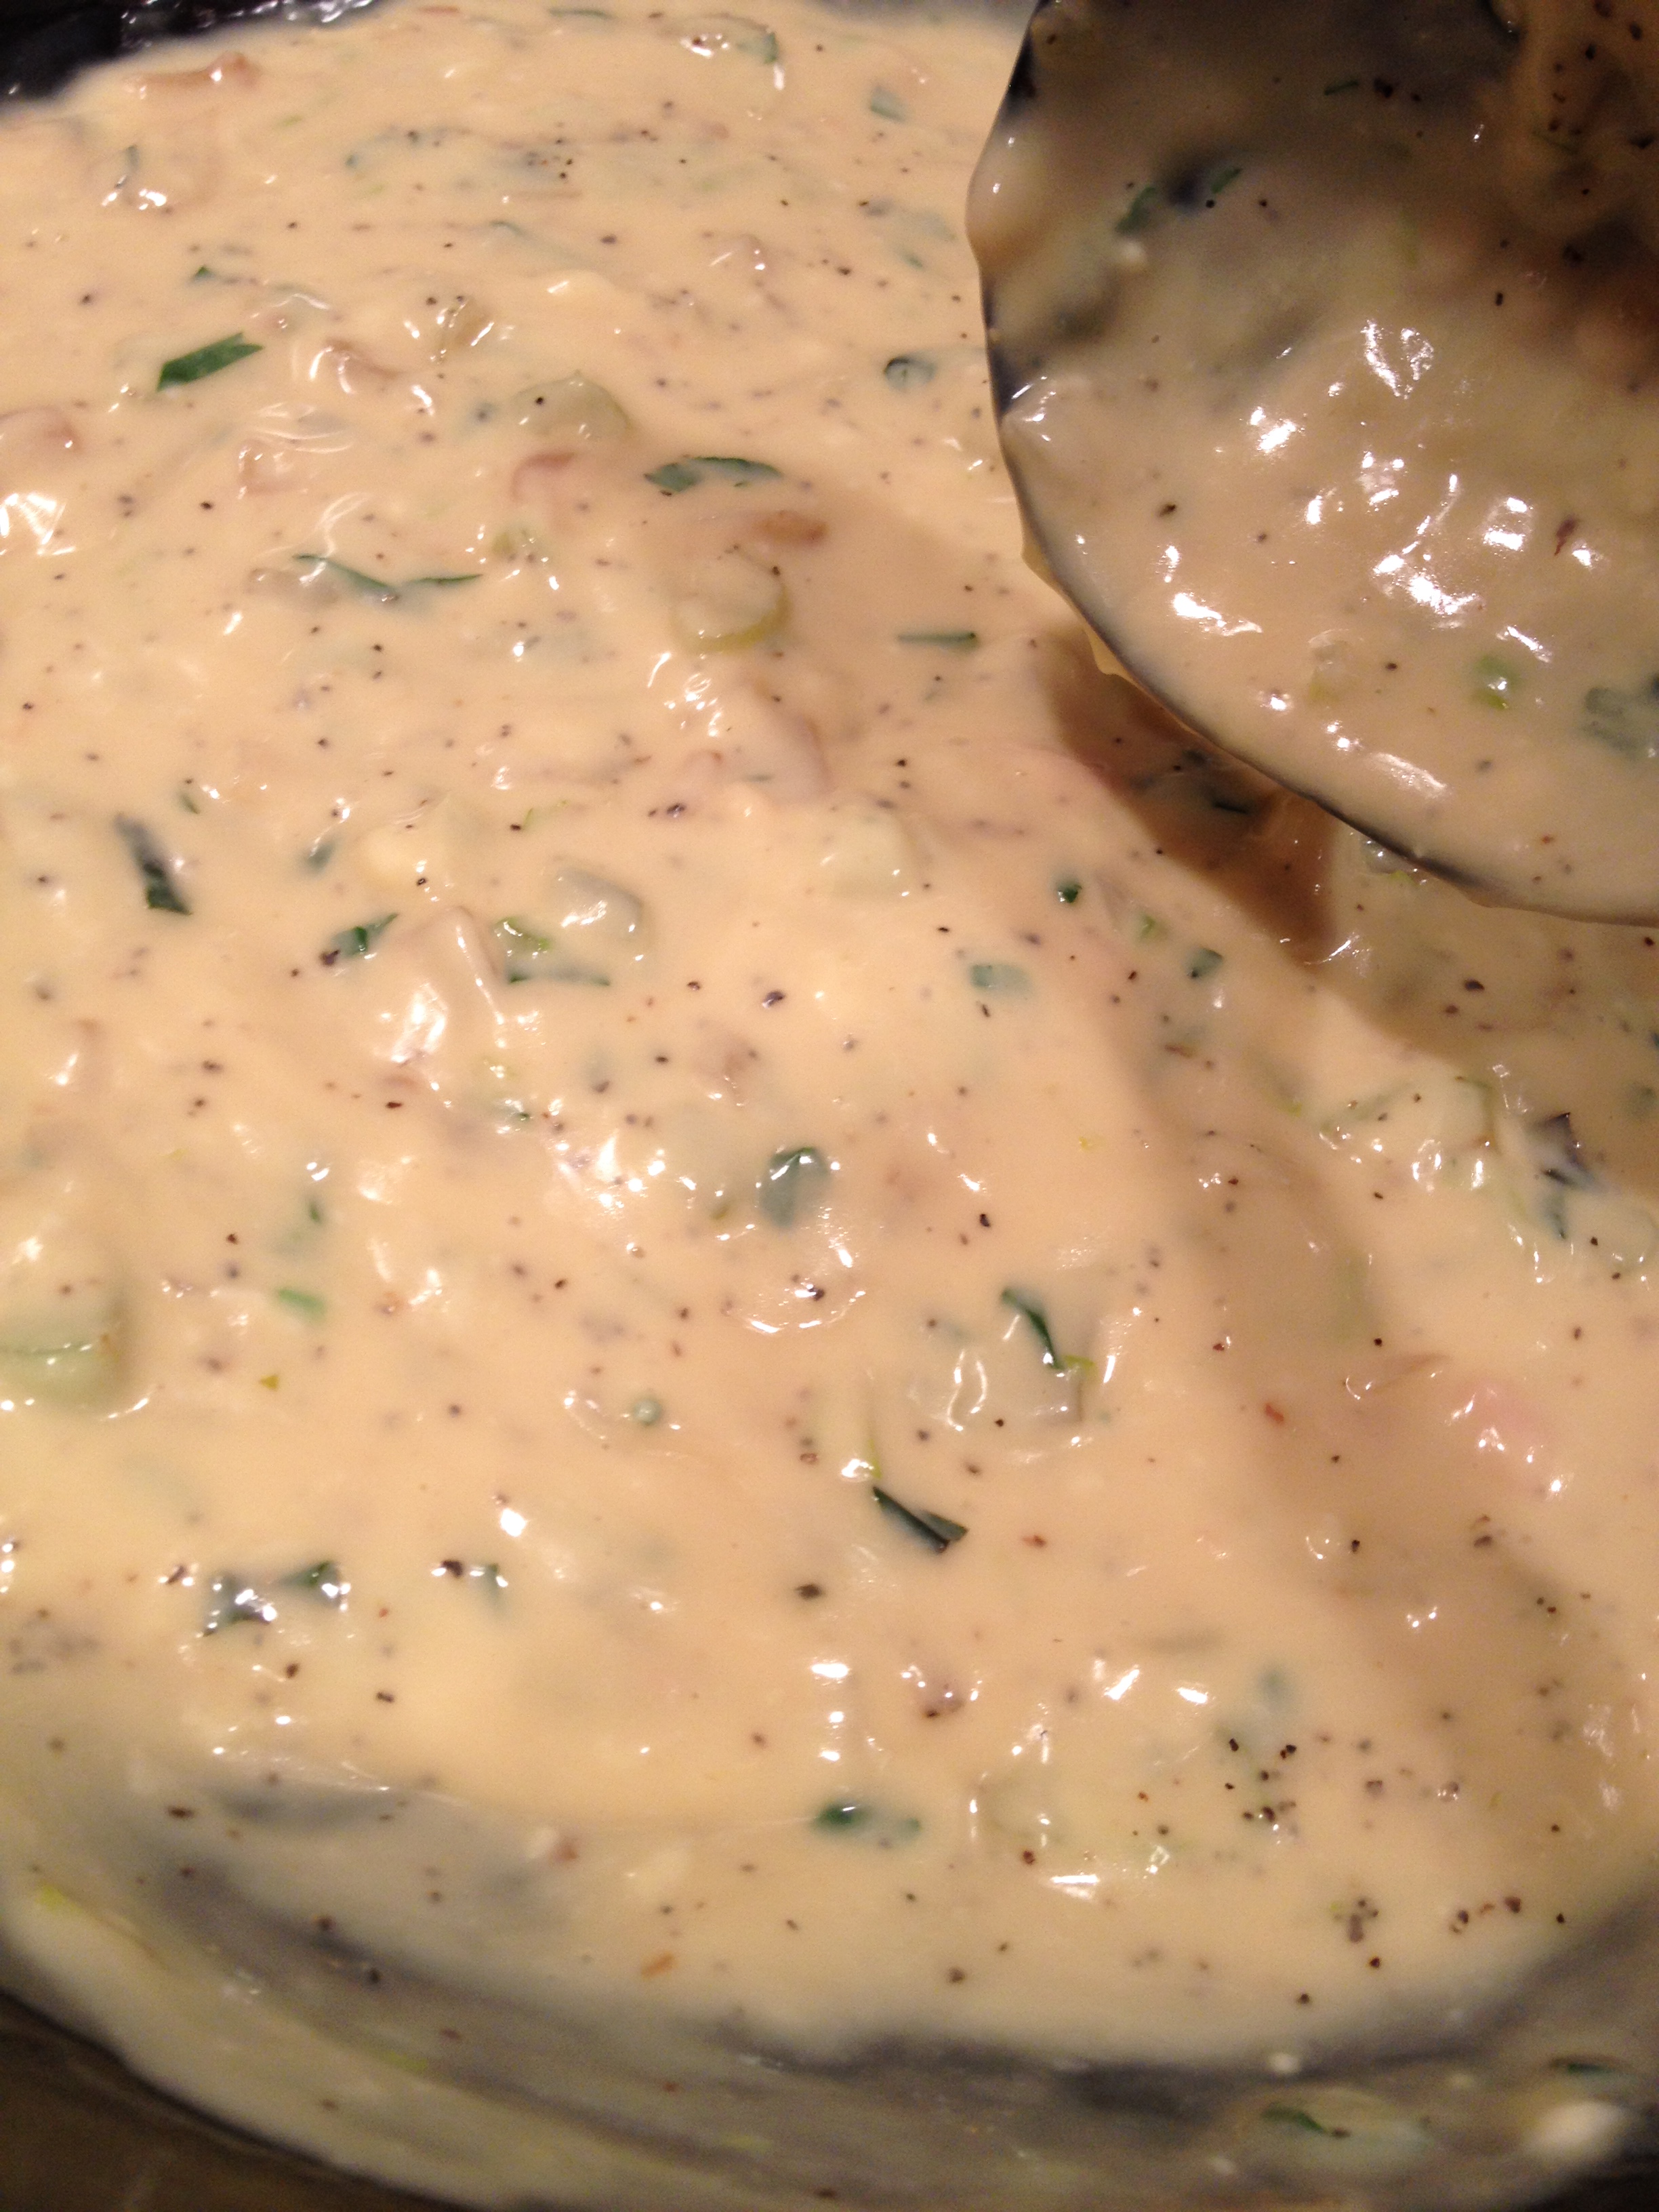
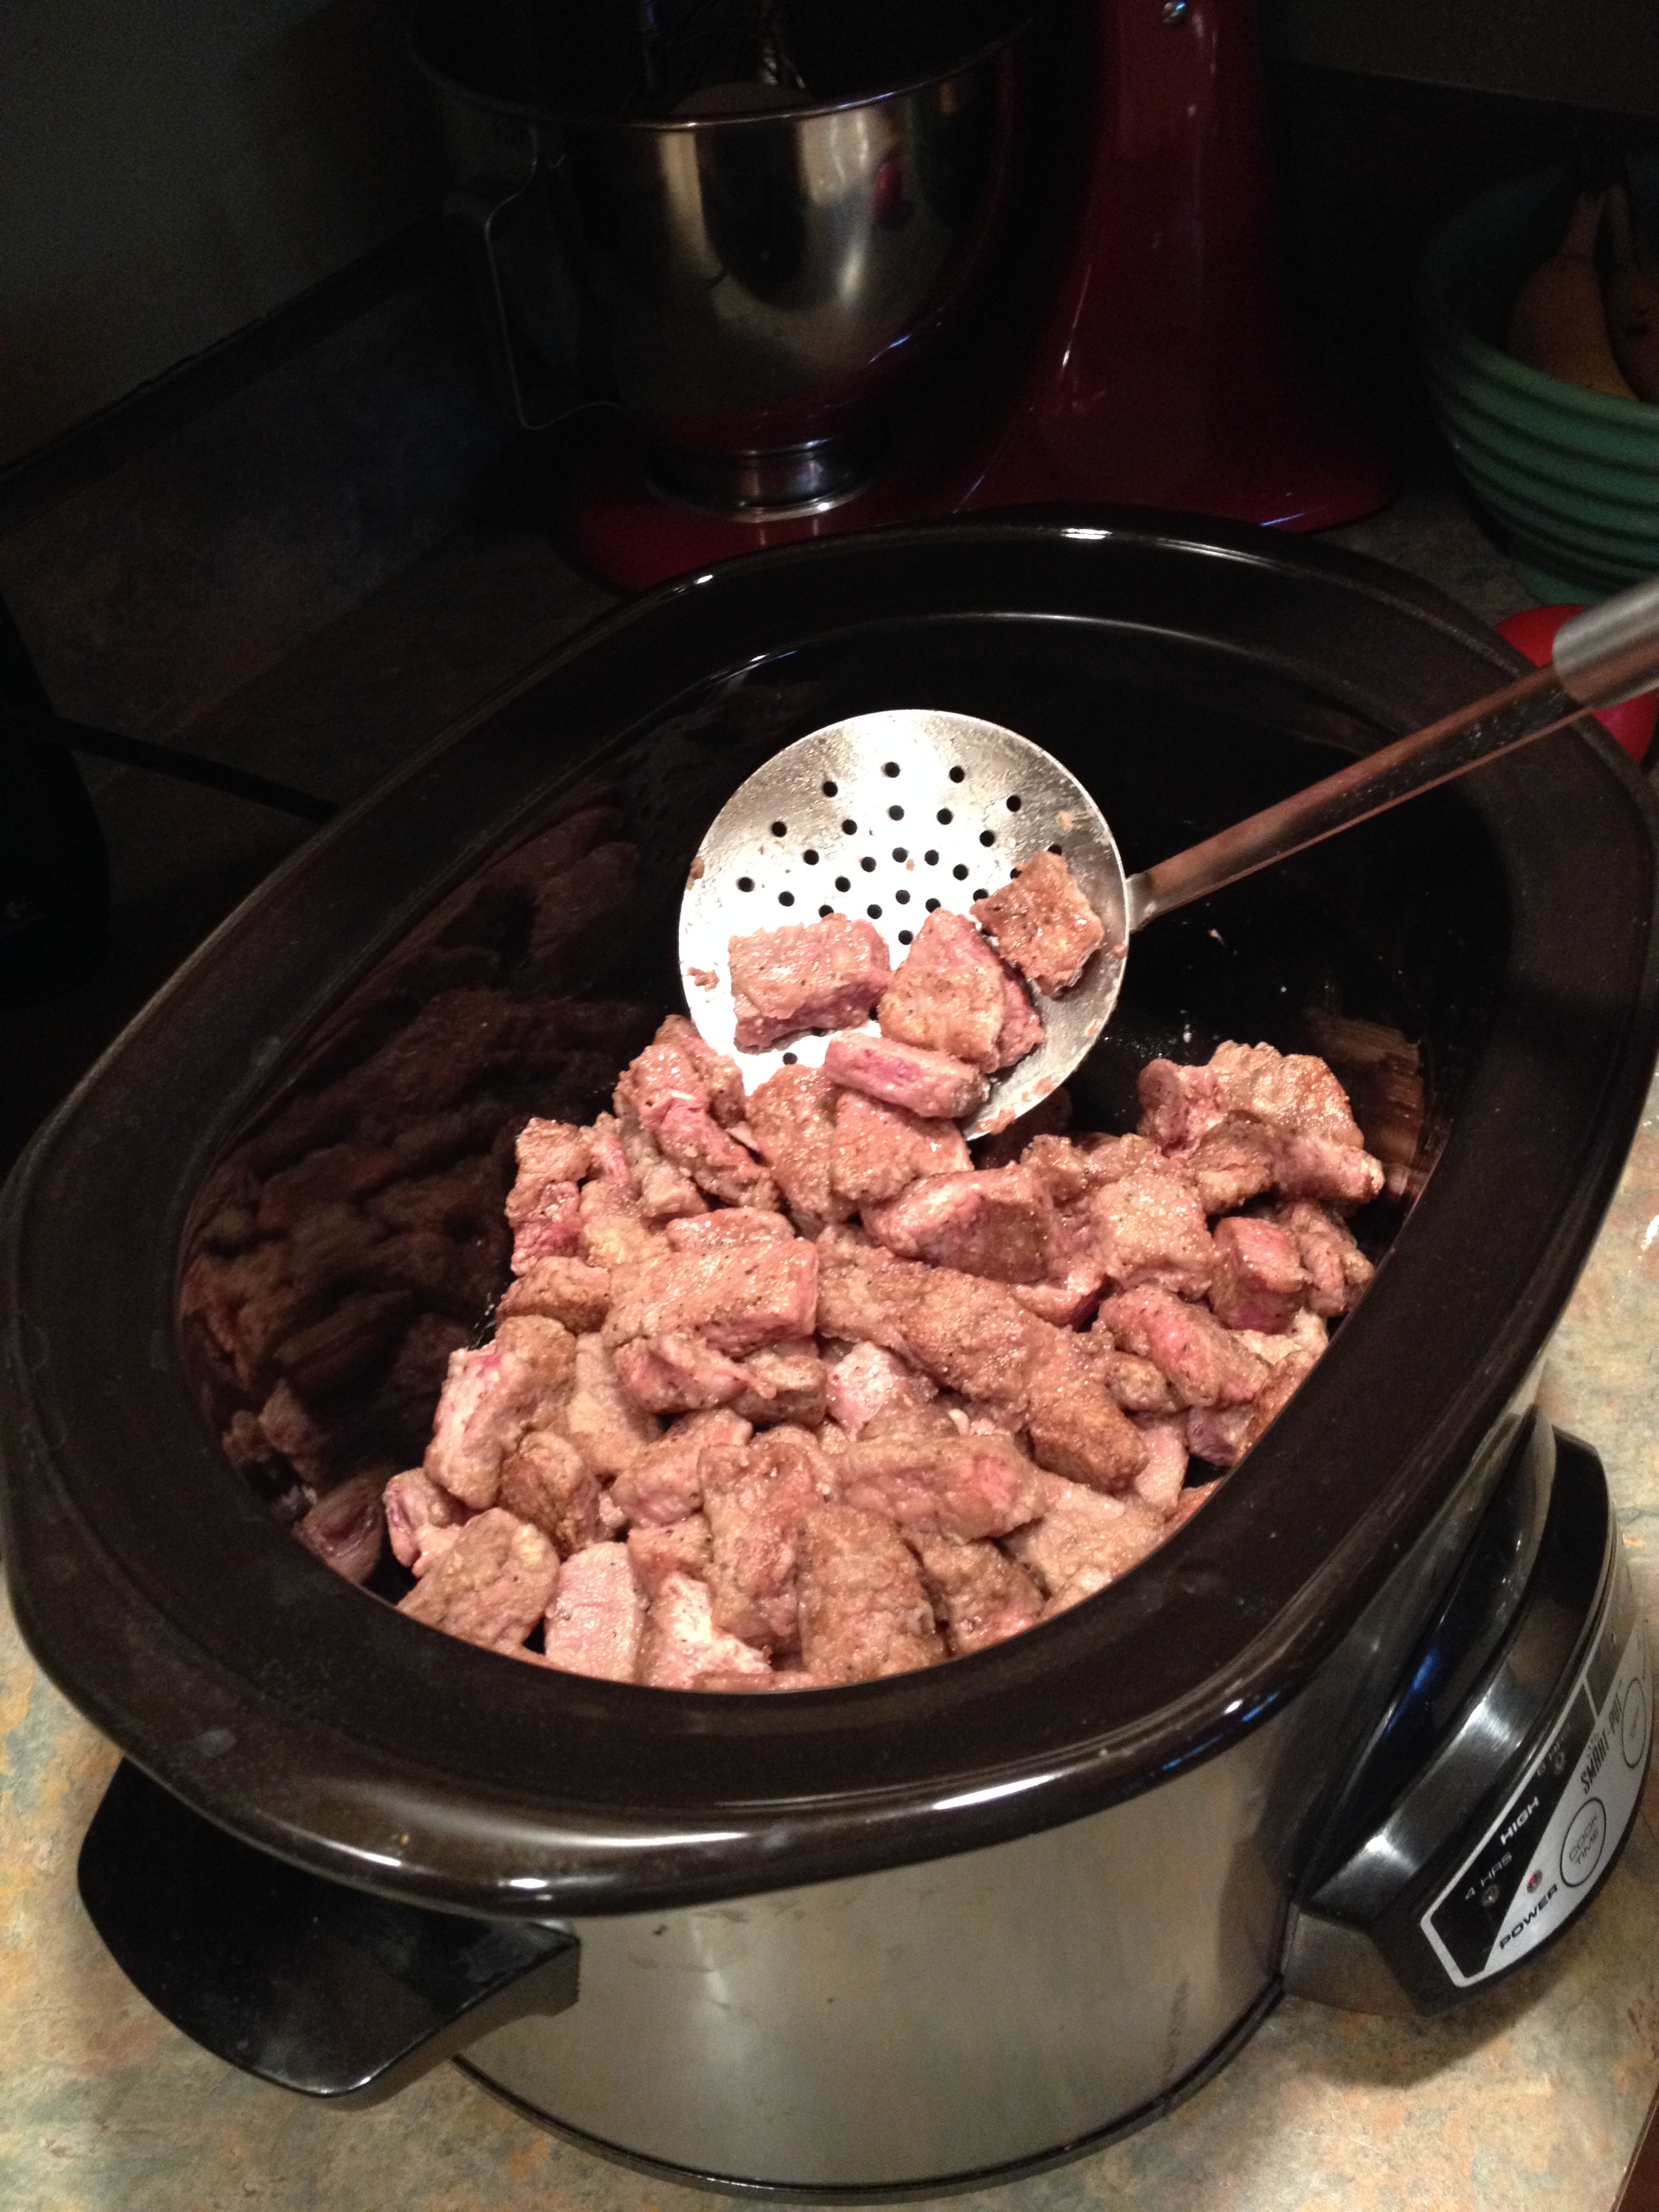
so on a random thursday morning last week, i developed a ‘hankerin’ for some Beef Stroganoff. likely fueled by our crazy Pittsburgh weather that has been up and down more than Richard Simmons in a step aerobics class. i longed for something rich, something creamy… and unmistakingly homemade. i had a 2.5 pound beef round sirloin tip roast to work with. they were BOGO at the grocer a couple weeks prior- and i knew would be perfect for a number of recipes. i did beef stew not long ago… although good- not rich enough to satisfy my craving. goulash is always good and spicy… but again, i was looking to be sated by this meal. i thought a bit more. suddenly visions of a rich, thick, oniony sour cream sauce with tender strips of beef over egg noodles seeped into my foodie mind. i punched my fist into the air in a most victorious motion…. shouting STROGANOFF!! but wait… i’d never made it before!! would it be difficult?? what is IN it that makes that sauce so creamy and divine? i planned on taking some help from a McCormick packet- but after reading the back of it- i realized it was really just dried herbs and dried milk and cornstarch and the like. i got this. i can do this. think Spags… think. i envisioned the whole process from how i would get the beef to be fall apart fork tender… to starting the thickening process for the sauce and lastly on to the flavors i wanted to incorporate. also taking into account having to bang out a three hour nursing shift i picked up at the University that afternoon from 12-3 (with forty minute commutes bookending it). OK, no worries… we can do this. i decided to get to work right away, cutting, flouring and browning my beef at 930 in the morning. i would take some help from the crock pot- adding the browned beef to it- and adding in a can of french onion soup, a cup and a half of water, one large vidalia onion (chopped) and six fresh sprigs of thyme right on top. lid on, cooked it for eight hours on low. that way, at five when i’m getting down and dirty with this dish and making the magic happen… my meat will be ready and waiting. fast forward eight hours- it’s showtime. i poured myself a cuba libre, set the Pandora to Neko Case, and pulled up my sleeves. get a pot of water boiling for your egg noodles. cook per package directions. take a sturdy bowl and place it in a clean sink. take a big colander and place atop said bowl. CAREFULLY pour your crock pot contents into the strainer. let it sit and strain into the bowl, helping the process by pushing down here and there with the back of a spatula. set these aside for five minutes in a safe place. in a large non stick skillet or shallow sauce pan, melt a pat of butter and saute some sliced crimini or white mushrooms (about seven or eight of them) until tender. remove them to a small bowl and set aside. in the same pan, melt a half stick of butter. to this add a quarter cup of flour and immediately stir (over medium heat) to make a rue. it should be thick- almost like playdough. add another T of flour if you need, to reach this consistency. quickly pour in a cup of milk. (i used 1% but any will do) and the juice from your crockpot straining procedure. whisk or stir with wooden spoon to combine. add a tsp of salt- and a half tsp of black pepper. stir. this is the point where you have to use your judgement. if this looks way too thick to you, add a half cup of water and stir some more. if needs to thin a smidge more, add a quarter cup of water. see pic below for a visual.
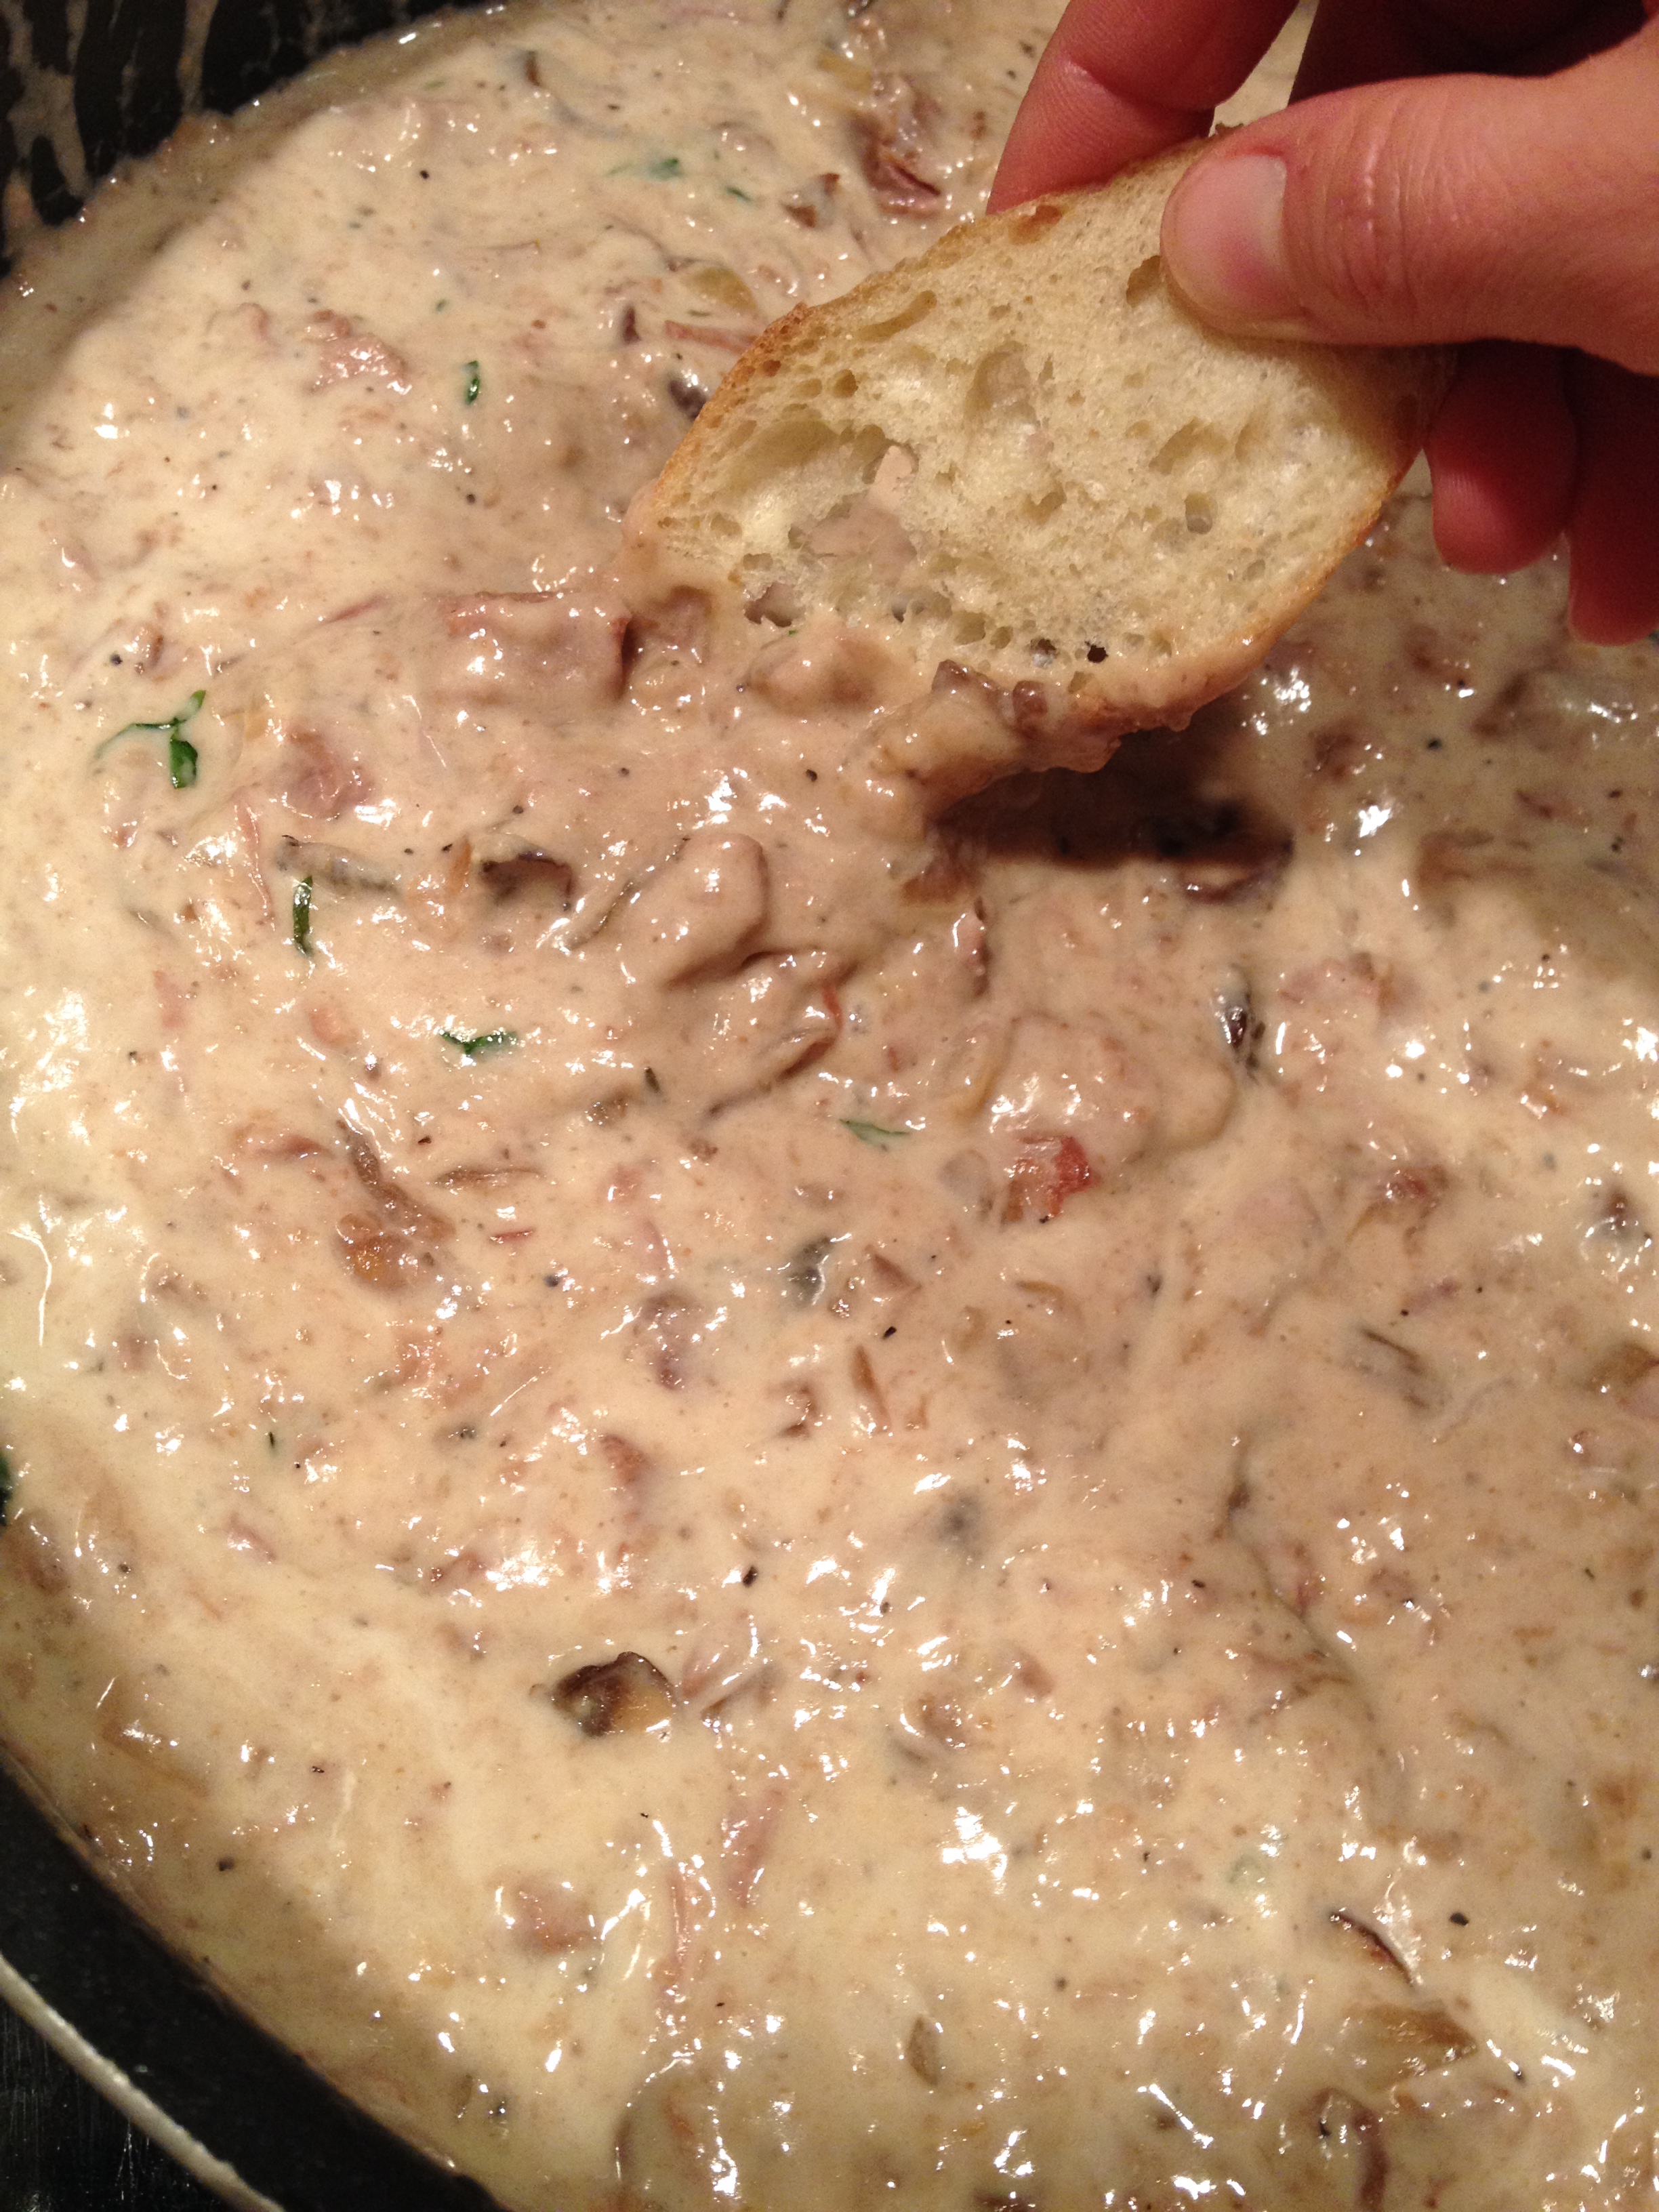
i think i maybe added one more quarter cup of water at this point- and then it was perfect. Add your sauteed mushrooms. Stir in a whole 8 oz. container of sour cream and stir in to combine. (still working over medium heat here) Then add all of your beef and onions and loveliness to the pan. stir again to coat all. i think i added a nice rip of fresh parsley (chopped) and stirred that in as well. taste, tweaking salt/pepper if needed. my noodles happened to finish up at the same time all of this was happening- so i simply strained them using the same colander i strained the beef with, and then added them straight into the pot. it was like angels were singing in Russian as this ethnic dish came together! stir to combine and enjoy with some warm bread. i chose an organic french baguette and sliced it ultra thinly… with plenty of butter on each piece. ((hey… don’t judge… i was ALL IN this night as far as richness and indulgence went!)) Enjoy… and you’re welcome yo!! PS- even better the second day!
pics of the process below.
adding the browned beef to the slow cooker in the morning.melting ze butter (no margarine puh-lease!)
creamy, tender, melts in your mouth with each bite…
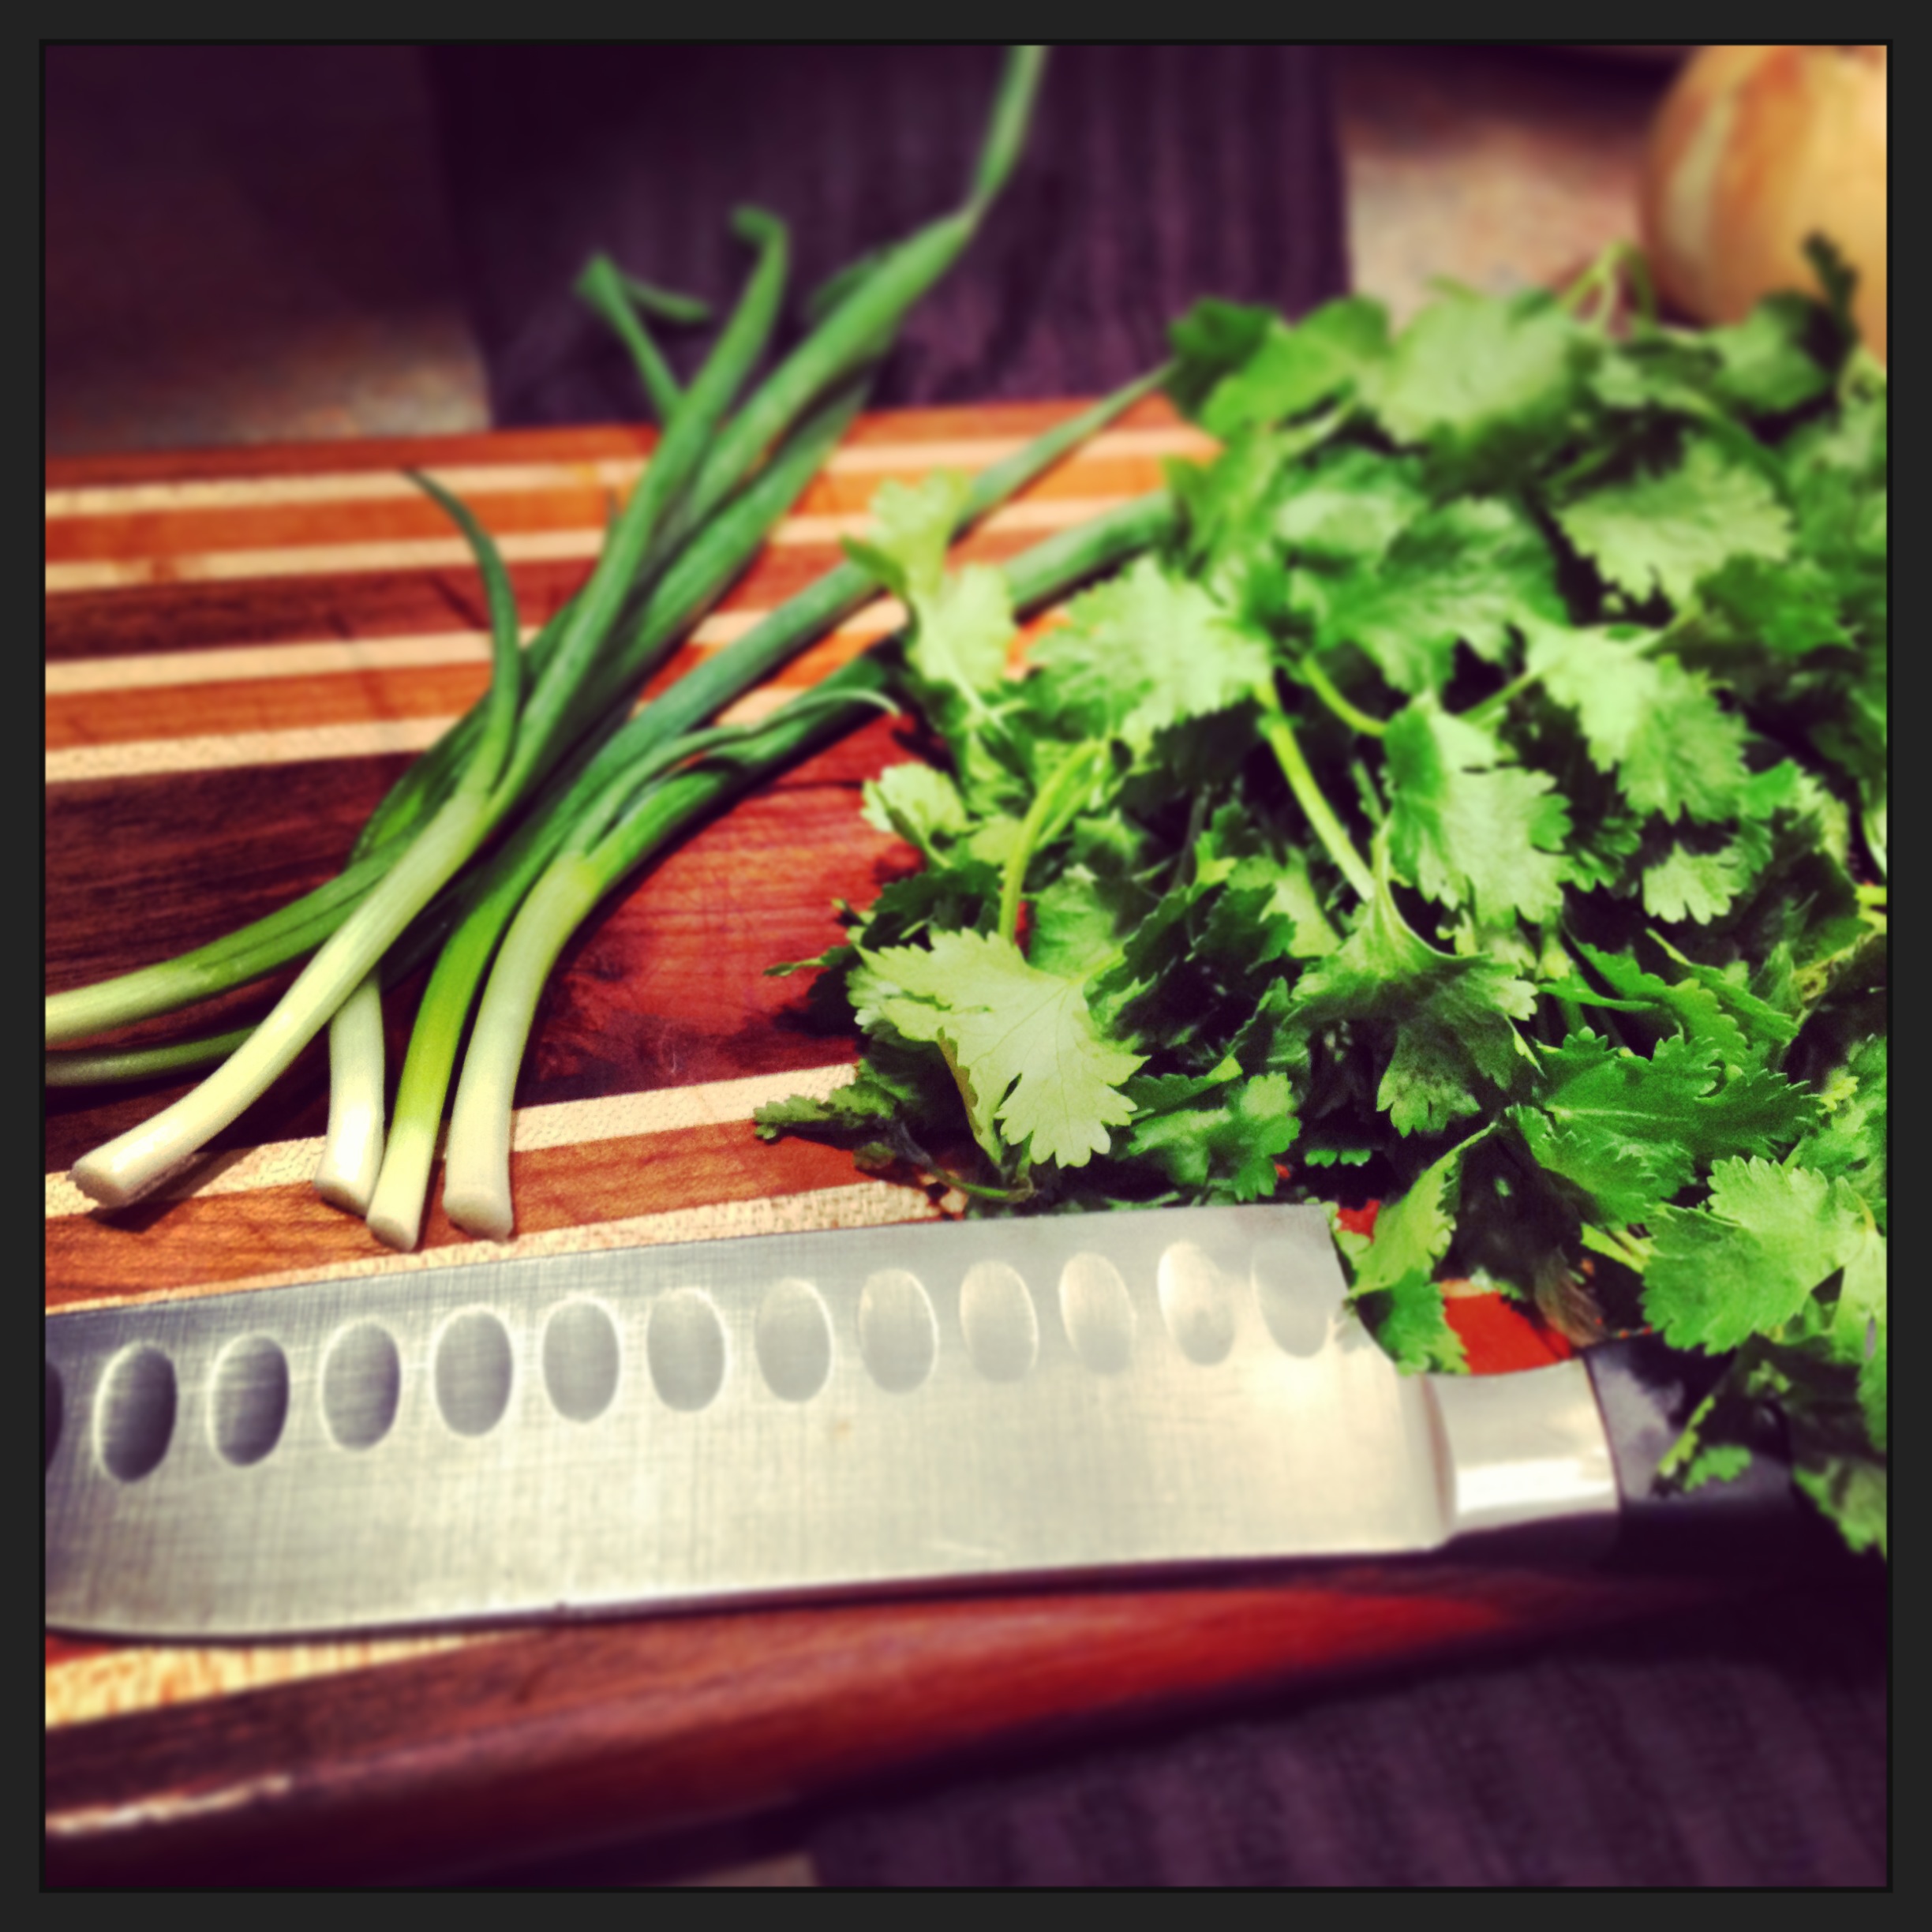
For some reason i have always felt i could not replicate the delicious tastes i encounter when eating out at a Mexican restaurant. i always felt that when i made it at home it was… good… but not WHOA good. it seemed to lack something each time. so being the food critic that i am, i decided to pay very close attention to the next dish served to me in some of our favorite Mexican joints in the Burgh. what i noticed was that each dish came out with plenty of fresh cilantro mixed on, and sometimes INTO the food. another thing that stood out were green onions. their flavor is so mild yet so fresh… one might miss their role in the dish unless you were really paying attention and looking for answers, as was i. i decided at that moment i would never again prepare Mexican food without those two ingredients.
the Mexican dish i like to make most at home is the beef enchilada. when you start with fresh, lean beef… and add in amazing spices and fresh ingredients- it is transformed into a filling worthy of eating on it’s own. THAT, my friends is how you know your dish is going to be absolutely amazing at the end- when you can’t stop sneaking tastes of the filling itself! (i do the same thing with my stuffed italian shells when i prepare them with cream cheese vs. Ricotta.) and to think that you are about to fill some lovely soft fresh tortillas and coat with delicious sauce and plenty of cheese??? yup… they’re gonna smile.
Here’s what you need:
fresh lean ground beef (93 lean is best)- a pound or slightly over
half of a large onion – small diced
4oz can of diced mild green chiles
shredded cheese (a bag will do – either cheddar or the mexican blend)
one small can of enchilada sauce (i use mild, bc i flavor my meat spicy and i don’t want sauce to overwhelm and ruin those flavors.)
one package of soft flour tortillas (a ten count will do fine)
fresh cilantro
green onions – one bunch
red pepper flakes
salt
cumin
chili powder
ground coriander (if you have it- it’s not going to make or break the dish- coriander is cilantro in seed/powder form- so if you have the fresh- you’ll still get that flavor punch- side note: you can use this in the rice as well- and i use it in a lot of things- so might be worth having)
Here’s what you do.
add a small swirl of oil to a large pan. (can be non stick or stainless- either way)
over medium high heat, add a few shakes of red pepper flakes.
add in your onions and saute them for a few minutes.
add the beef, and begin to break up and even it out in the pan.
once this begins to brown a bit, add your spices to it. (1/2 t salt;
1/2 t cumin; 1/2 t chili powder; 1/4 t black pepper; and a nice shake of coriander.
stir to combine.
keep working it around- once you don’t see any more pink- add you can of diced chiles. stir to combine.
then stir in a 1/2 cup of shredded cheese, and lastly- about a Tablespoon of chopped fresh cilantro.
combine and turn off the heat. let it set for awhile while you get your rice going. (recipe follows) or if you have someone cooking WITH you… let them man the rice, and you focus on the enchiladas. i do them both at the same time… but it is an orchestrated event as to not ruin any part of the dish! gage your comfort level and cook accordingly. 🙂
once your rice is going- fill your tortillas.
preheat oven to 350 degrees.
in a pyrex dish- coat bottom with a thin squiggle of olive oil (or wipe some on with a paper towel to coat) this helps the enchiladas to release nicely when you are serving.
fill each enchilada with a bit of meat- (do not overfill) – if i had to guess i would say it was 1/4 cup.
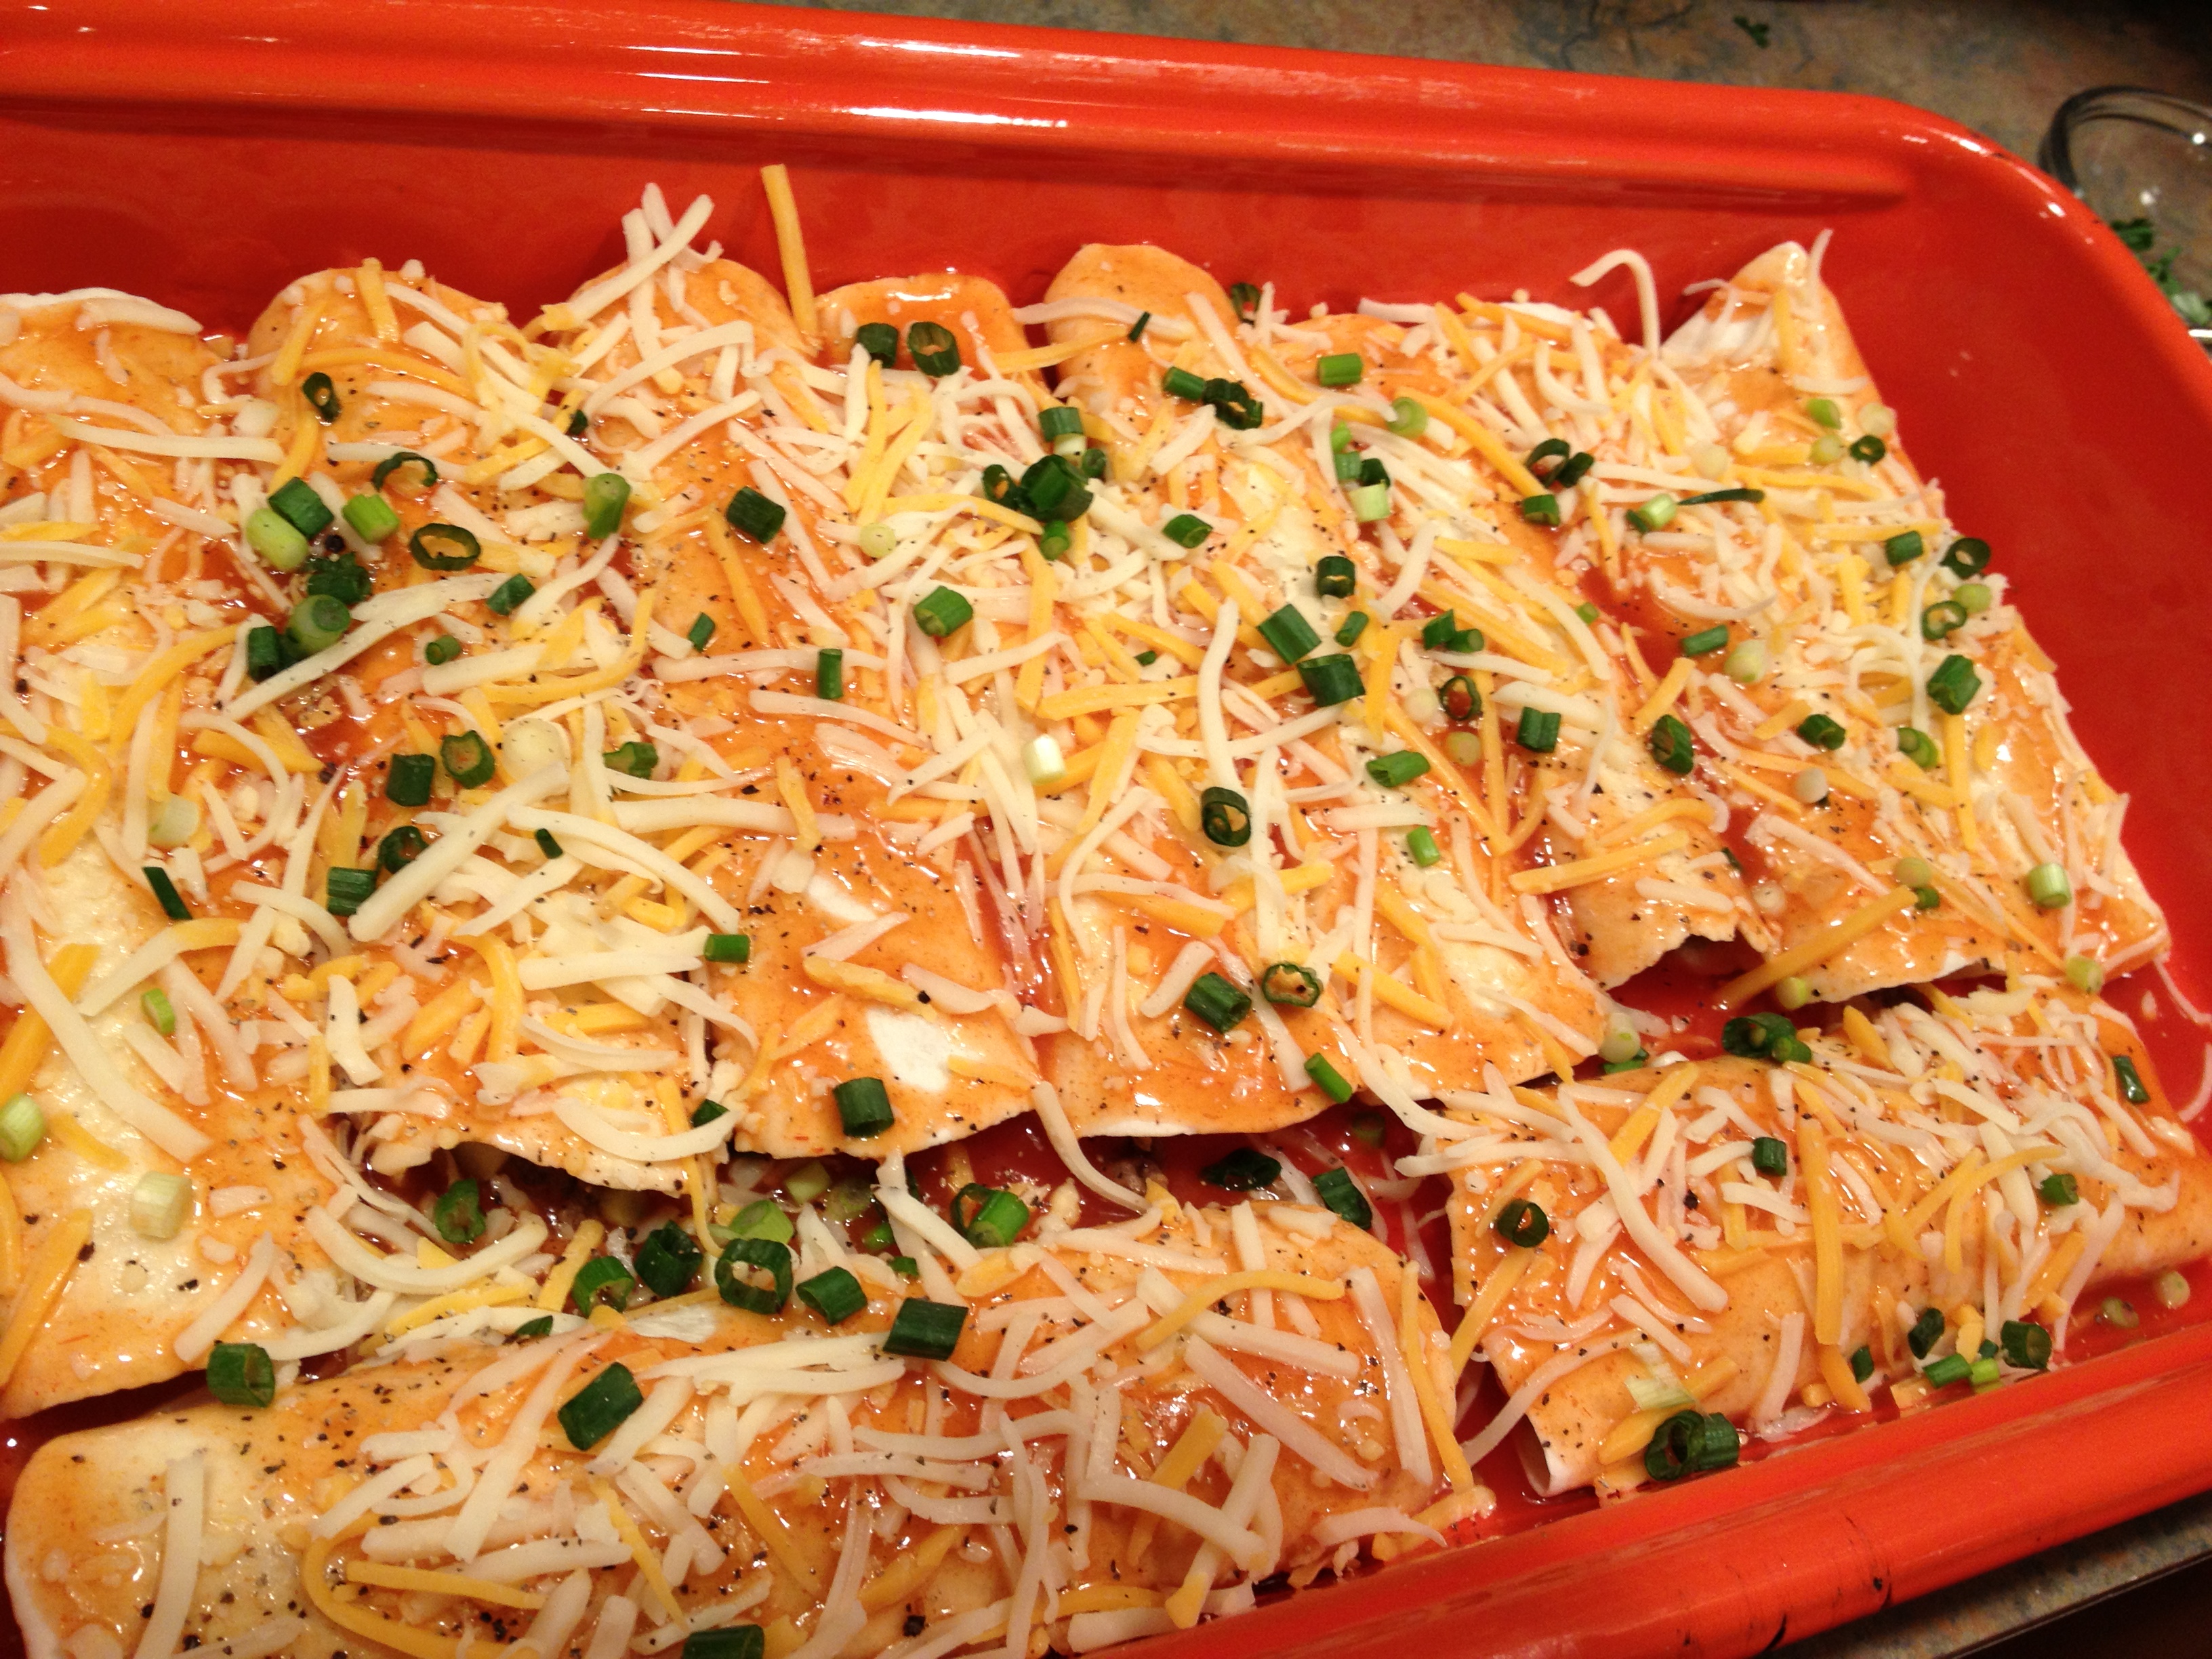
place seam side down in prepared dish. (see visual below) pour sauce atop evenly (they do not need to be completely coated or saturated- it is for flavor and you still want to ‘see’ the enchilada you’re eating)
generously sprinkle with cheese and diced green onions. (save cilantro for when they come OUT of oven) – sprinkle with black pepper as well
Bake at 350 for 25-30 minutes.
prepared pan- ready for the hotbox!!FINITO!! and smelling amazing, PS.
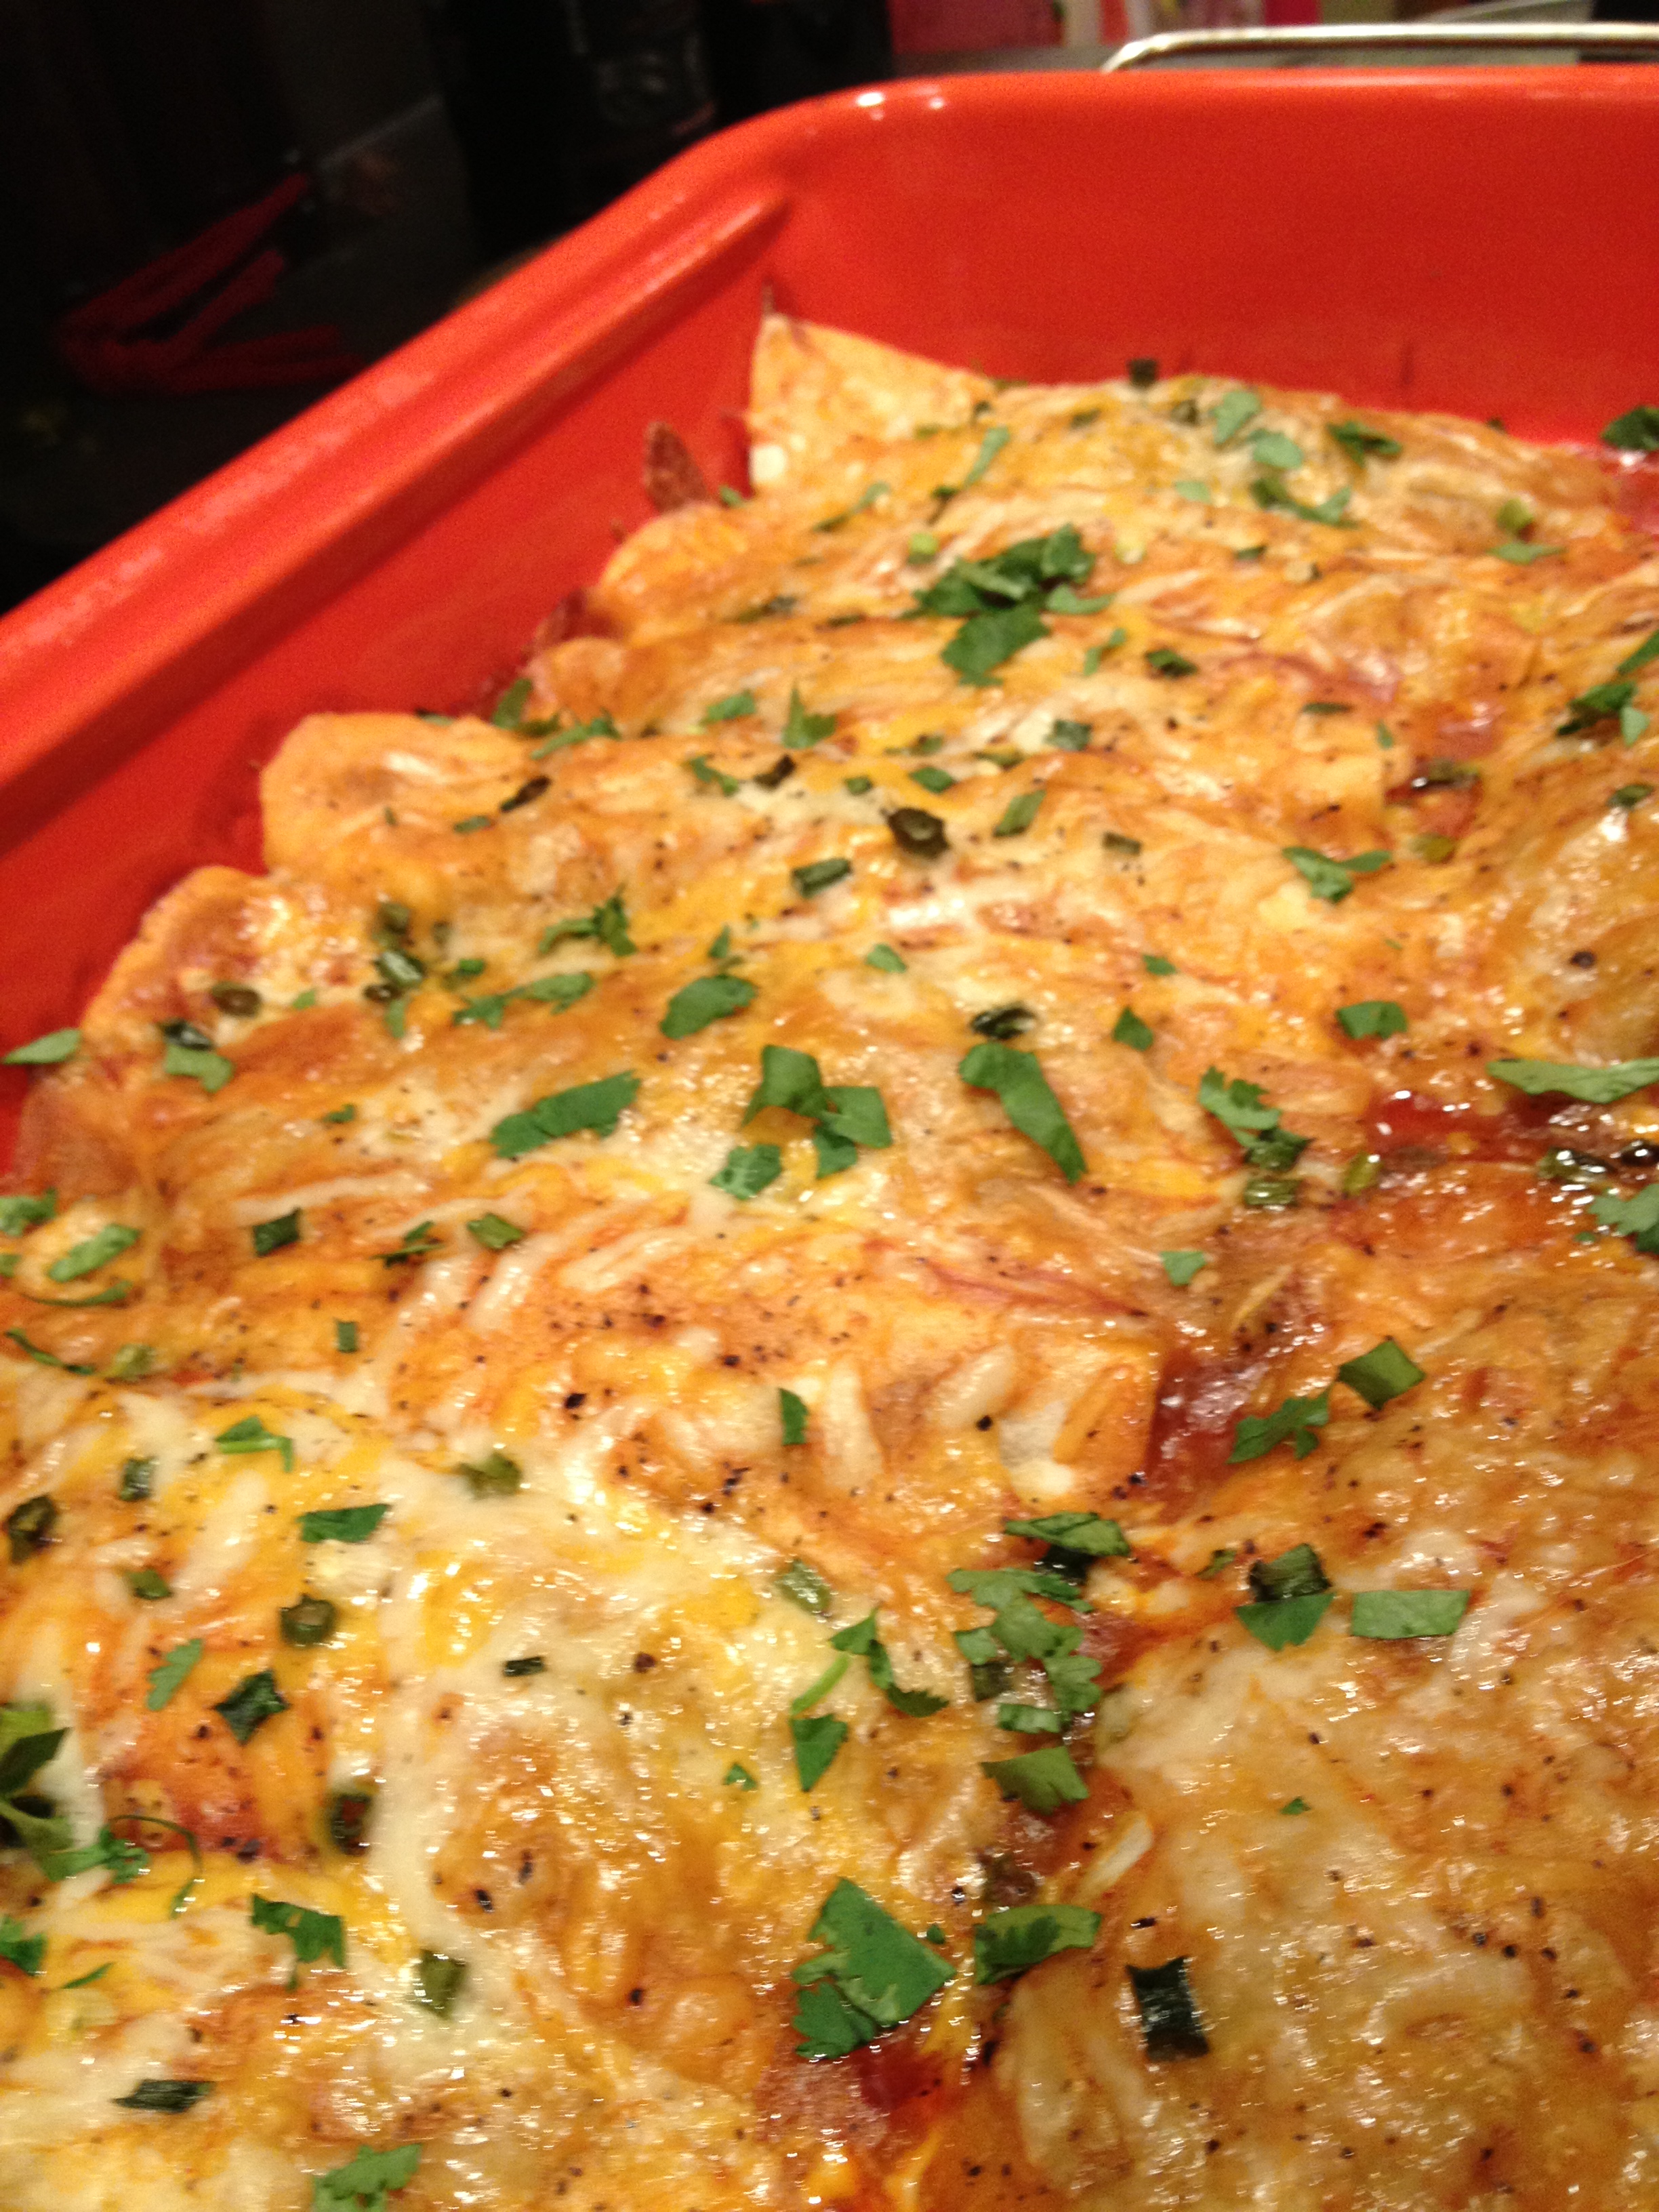
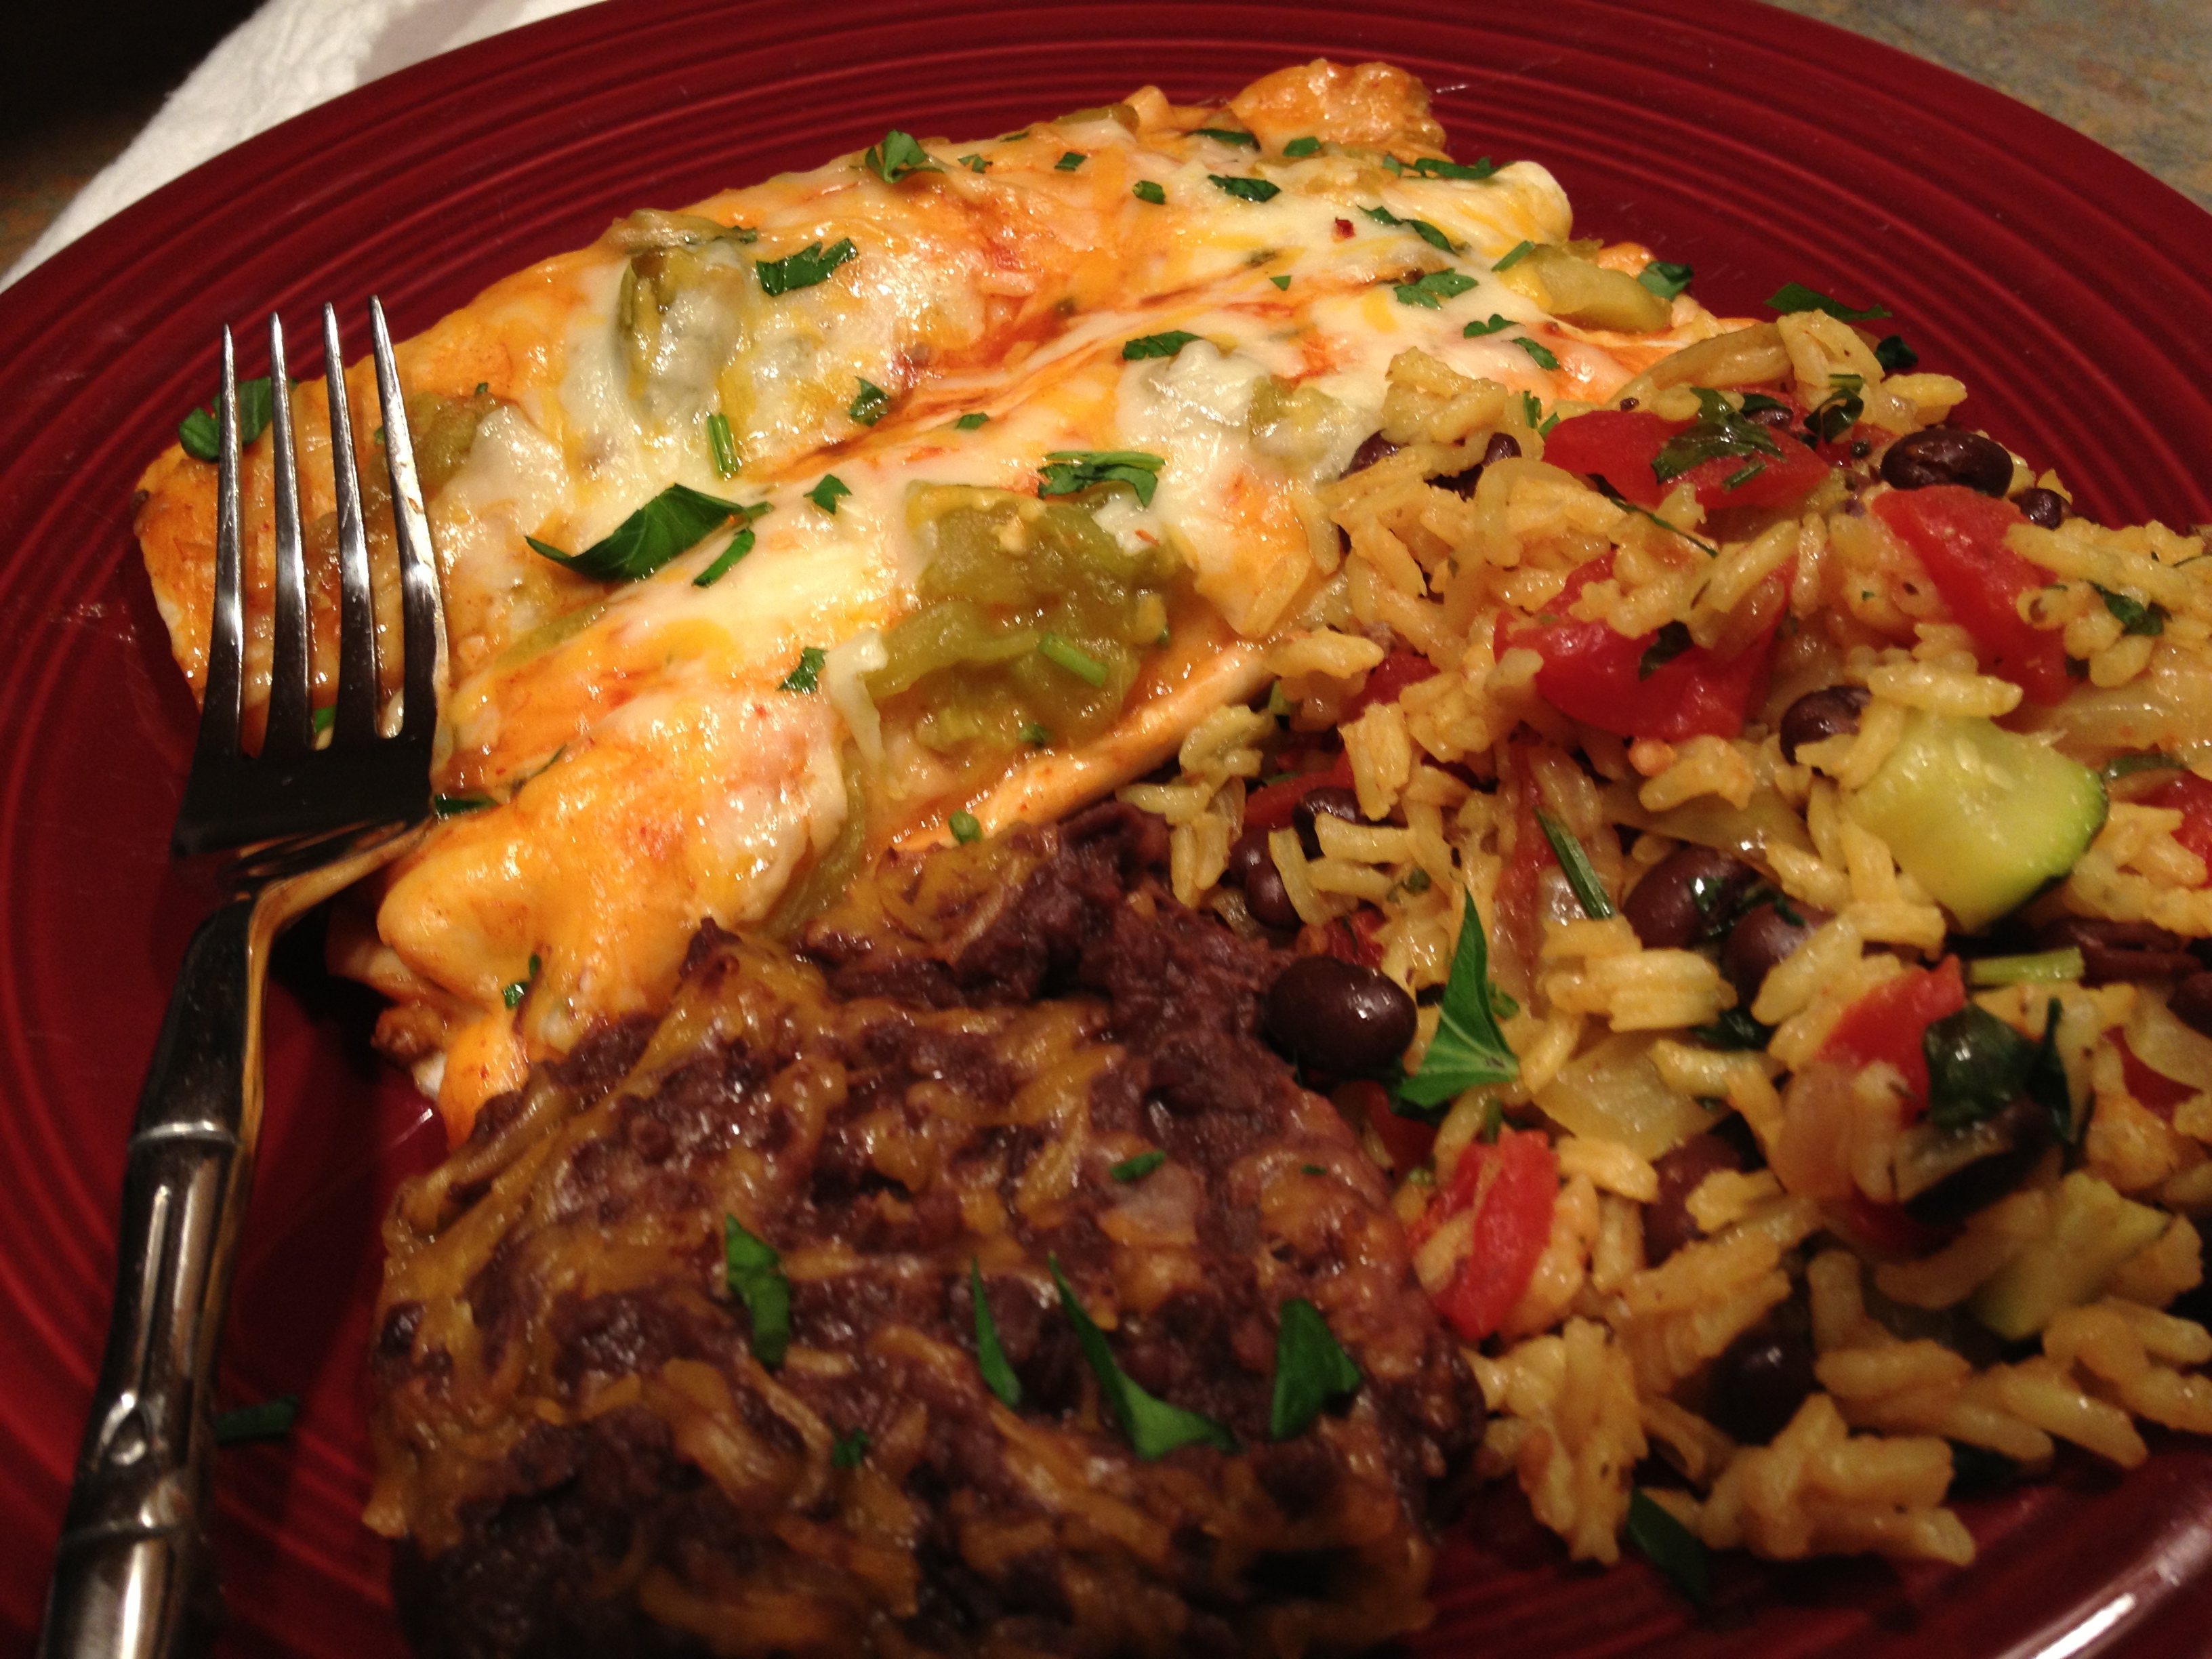
once you take these out of the oven, go ahead and hit them up with a generous shower of chopped fresh cilantro. do it while the cheese is hot, as it will hold on the herbs nicely this way! i highly recommend allowing these to rest for ten minutes or so… if you try to take them from pan to plate immediately- you will have a mess. give them some time to ‘set’ a bit- and also this way your lovelies can dig right in without burning their mouths once you hand them their plate of goodness. 🙂 i love serving this with black refried beans- which i do serve from a can. i buy these in the mexican aisle of your better grocer- and always opt for organic if it’s an option. simply turn them out into a bowl, sprinkle about a 1/2 cup of shredded cheese atop, and microwave for about two minutes. stir lightly, and serve. if you have an aversion to refried beans… ( i used to, until i tried these.. and i absolutely love them now, PS) go ahead and serve with some fresh veggies or a simple salad, your call.
now… on to the RICE. this is a rice recipe i have dubbed “mom’s yummy rice” in my household. it is easy- yet over the top good. it does call for turmeric, which not every lay cook will have, but i do recommend purchasing some- as it gives lovely color to your rice. (it turns it a lovely yellowy hue)
Here’s what you need:
a cup and a half of long grain white rice (not Minute rice- this is the real deal)
olive oil
1 large chopped onion (big vidalia or spanish)
15 oz can of diced tomatoes- undrained
15 oz can of chicken broth
–(i normally also add either a can of chick peas or black beans – drained and rinsed- but for this particular food pairing- if you are serving refried black beans- you may want to leave the beans out of this recipe) – if making this at other times however, just for a side dish… add a bean to the mix for sure.
1/2 tsp of salt
1/4 tsp black pepper
1/4 tsp ground turmeric
shake of cayenne pepper
pinch of cinnamon
fresh cilantro (chopped)
Here’s what you do:
Heat 2Tablespoons of olive oil in a large non stick skillet. Add one large chopped onion. saute five to ten minutes stirring frequently and then add 1.5 cups of rice. stir in and saute a minute or two, allowing to heat up a bit. Add another tsp of olive oil, and then add your tomatoes and your can of chicken broth. (if using beans or chick peas, add them at this time- remember to drain and rinse first) add your spices, including a small handful of chopped cilantro. stir, and bring just up to bubbling and then COVER. reduce heat to simmer- and cook for 15 minutes. DO NOT STIR THE RICE AT ALL AS IT COOKS- THIS WILL RUIN IT AND MAKE IT A GUMMY MESS. trust me on the time- it’s 15 mins at a simmer. cut heat, remove lid and stir lightly- i tell people to take your spatula, and with the back side of the spatula, take and kind of push your rice around a bit, loosening it from the bottom. do not full on stir it up- again- you want it to stay light and fluffy. sprinkle with plenty of cilantro- and if you desire, move the rice to a nice serving bowl at this point- and even hit the top again with salt, pepper, and more cilantro.
VOILA!! the perfect partner for the enchiladas above- or any main course for that matter. we prepare this rice frequently as a side in the summer months- adding fresh chopped zucchini at the end- or just as is alongside some grilled citrus chicken- or a nice steak kebab. i hope it becomes a go to recipe for many of you. Enjoy yo!!
“Why, sometimes i’ve believed as many as six impossible things before breakfast.”
Lewis Carroll – Alice in Wonderland
Maine Pancakes
i remember writing this recipe down nearly 13 years ago, one lazy winter day at work thumbing through my employer’s many cook books in my days as a full time nanny. it sat in my recipe box… and it sat… until one day i made it- i think after i acquired three lovely cast iron skillets from an estate sale in the city for five bucks. after i made it, that was it, i was smitten. it was unbelievably basic, and i loved the way it puffed up in the oven… a real show off right off the bat- and perfect for impressing an overnight guest in the morning. who, in those days happened to be my husband (we began dating around that time) most weekends. you start this on the stove, just to melt the butter… and then once you pour in a bit of batter, into a hot oven it goes for ten minutes. the puffiness is short lived (extremely) so if you’re trying to wow them, be sure they are near their plate once you pull this out of the oven. have their fixings ready- i recommend fresh fruit, maple syrup or honey, and plenty of powdered sugar in a sifter to lend a nice sweetness to it’s simple flavor.
you need:
2 large eggs- lightly beaten
1/2 cup flour
1/2 cup milk
pinch of salt and a pinch of nutmeg
T. of butter
powdered sugar for dusting
Heat oven to 425. Whisk together eggs, flour, milk, salt and nutmeg until well combined. May be a little lumpy. melt a T. of butter in a cast iron skillet over medium heat. pour batter into pan, enough to generously coat bottom (but not too much) – and transfer to oven. bake for 10-12 mins until pancake is golden brown and fluffy. Transfer to plate immediately and dust with powdered sugar. enjoy!
“We’ve only been sitting here forty minutes. I’m never at the morning table less than an hour and a half. I do some of my finest plotting over breakfast coffee and raisin brioche.” ― Dean Koontz, Forever Oddnever work before breakfast; if you have to work before breakfast, EAT breakfast FIRST. -Josh Billings
the homefry. i’ve finally unlocked it. after using several different pans and skillets and oodles of cooking methods, i nailed it. the trick? a large enough cooking surface, plenty of olive oil, and a uniform cut. my favorite potato to use is the yukon gold, hands down. i find it to be the rockstar of all potatoes. it fries up like no other, maintaining its sliced shape all the while. not to mention the skin of the yukon is so paper thin, there’s never any reason in the world to remove it for a homefry. ever. simply wash, dry and slice. the size of your slice is a personal preference. i find a width of 1/4 inch and an overall size of about an inch and half to be ideal to work with. it’s a trial and error game, for sure.
gaining a brown crust
here’s the gameplan: get the largest non stick cooking pan you own. coat bottom with olive oil. (swirl to coat- don’t prep a drowning pool) prepare your potato on cutting board, so that you’re ready when your pan is calling. crank on the heat. high first, and then just below high. add a sprinkle of crushed red pepper flakes. once you see the flakes sweating and dancing, it’s go time. add your potatoes. rearrange them so each and every one has plenty of contact face down in the oil. see visual. now the hard part for us type A’ers… don’t mess with them. this allows the down side to take on a beauteous brown hue, and a heavenly crispness. this crisp side is critical to counteract the softness you’ll achieve at the end. a plate of mush is what you’re trying to avoid at all costs. salt the raw up side generously. check one after about 5 mins with a fork. if you like what you see, take your spatula and flip it upside down in your grip. this is the way you wanna free your lovelies from the skillet. you have to be fast, and apply a downward pressure toward the skillet surface at a 45 degree angle. make attempts to rearrange with brown side upward. dust lightly with garlic powder and a sprinkle of dried parsley or oregano. (no need for pepper, as the red pepper flakes you tricked out your oil with will provide all the heat you need here) obviously there are 50 ways you could flavor your potatoes. i’m giving you the most basic recipe, with flavorings most every reader would have in their kitchen. personally, i love mine with coriander powder, dried oregano, and even a pinch more salt. if it’s summer and i have lots of fresh parsley outside… i’ll chop a bit and rain it down over my plate to finish. ok, back to cooking… cook like this for a few more minutes, and then add a 1/4 cup of water to hot skillet- IMMEDIATELY applying lid to steam them for a bit. reduce heat to medium and allow to cook for 4 minutes or so. stir- check for doneness, cooking a bit longer uncovered if needed. enjoy with your favorite condiment. Heinz ketchup is a natural local partner for us Pittsburghers. -see visual.
salmon. it’s thick, it’s pink, and it’s bursting with flavor. and don’t even get me started on it’s nutritional benefits. ok, get me started. did you know that a measly 4 oz serving of wild salmon provides a full day’s requirement of vitamin D? not many foods can make that claim. that same piece of fish contains oodles of omega 3 fatty acids (lowers cholesterol), B12, niacin, and selenium (makes your hair shiny), and is an excellent source of B6 and magnesium. it’s thick like a steak, and it’s a fish that even ‘non fish lovers’ can love. it helps strengthen the heart muscle, and it’s known for helping your brain work better and improving your memory. why, i ask then, would you not want to eat this bad boy at bare minimum- once per week?? in my house, we’re trying in earnest to subscribe to this thought process. three out of four of us heart salmon more than a back alley hooker loves crack. we purchase a one pound piece (sometimes wild, sometimes farm raised) and rub it down with olive oil and salt and pepper. move your oven rack to the top position to utilize your broiler properly. set broiler to high, and let preheat a few mins. line a cookie sheet with aluminum foil. and place metal cooling rack on top. position your salmon in the middle, and cook for 8 minutes or so. remove pan from oven, and carefully with a firm spatula… free up salmon from cooking rack and flip over quickly like a pancake. cook other side under broiler for four minutes. (note: this was a thick piece of salmon, and these time frames yielded a well done fish. if you like it a little more rare, please tweak accordingly.) remove to cutting board and let rest a few minutes. serve however you see fit. i like it over a bed of orzo, or sometimes with a gorgeous salad plate. however you plate it up, this power house’s health benefits are too fabulous to ignore! it’s the perfect addition to your healthy lifestyle.
drizzle the salmon with olive oil and generously sprinkle with salt and pepper.what it looks like after 8 mins under the broiler at 495 degrees. ready for flipping now.serve it a little something like this... and watch them smile and giggle like a school girl.
if you need to host a brunch for any reason, and are in need of an epicenter recipe… use this winner- and branch out in several directions from there. it’s an easy, no fuss, make ahead recipe that is sure to please the masses. the trick is in the sausage. yes-sir-eee, the pig saves the day once again. buy bob evans ‘sage’ flavored. it suits this recipe perfectly, and lends the perfect savory tang you’re after. this recipe is truly versatile, so much so that i’ve once even used some left over garlic bread in it, as well as pre-chopped frozen red and yellow peppers. whatever veggies and herbs i have on hand, that’s what is going into the egg mix. (within reason) the nice thing is that it has to sit in the fridge over night… allowing no stress for you come the next day when you’re ready to eat. simply take it out of the fridge one hour before you’re ready to bake it, and allow it to come to room temperature a bit. It bakes for 50 mins to one hour, and you want to serve it shortly after taking out of the oven- for the best taste. it’s great with a few drops of hot sauce on top, salsa, alone, or even with Pittsburgh’s favorite condiment, Heinz ketchup.
OK, HERE’S WHAT YOU NEED:
1 lb of bulk sausage (i love Bob Evans Sage sausage in this recipe)
9 eggs
3 cups skim milk
1.5 tsp dry mustard powder
1.5 tsp salt
1/2 tsp black pepper
1.5 cups shredded cheddar cheese
10 slices white bread, crust removed (or left on, both ways are delish) and cubed (feel free to use some stale ital. bread from dinner two nights ago as well.)
bell pepper (diced) – i like red or yellow or orange in this.
handful of chopped fresh spinach leaves if you have them
small piece of onion finely diced (if you have it)
Brown and drain the sausage. set aside to cool. In a large bowl, beat eggs and milk. Add seasonings and bread cubes. Fold in sausage, cheese , peppers, onion and spinach or herbs. Place in your 9×13 glass pan (i use a big round dish and it works out perfectly and looks amazing upon serving.) refrigerate over night. remove from fridge one hour before baking. bake at 350 for around 55 mins. Cool just slightly before serving.